
Introduction
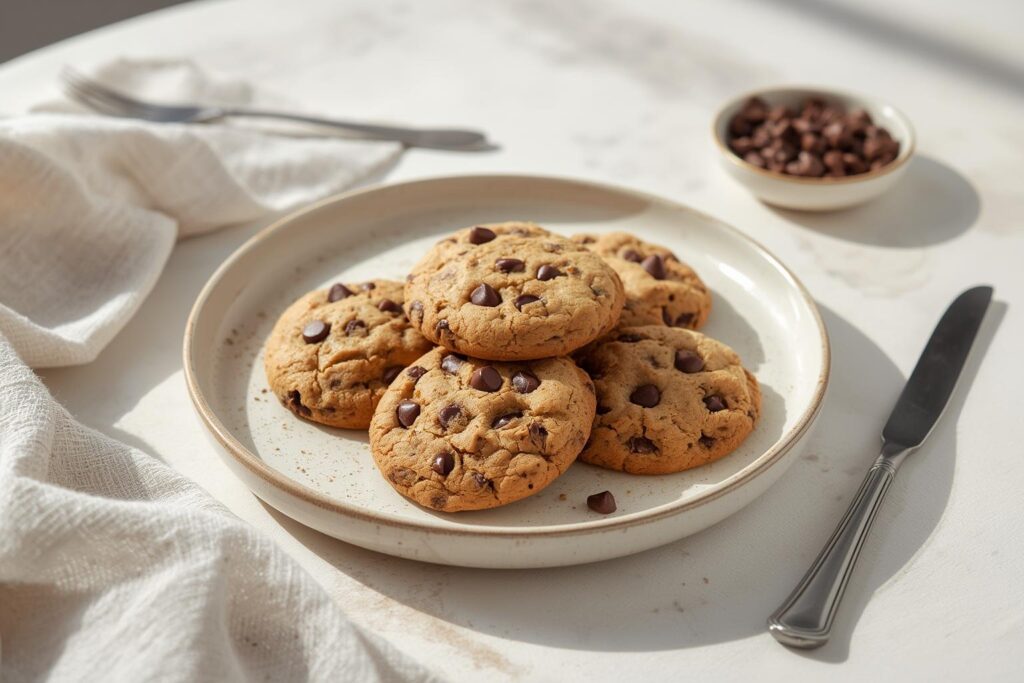
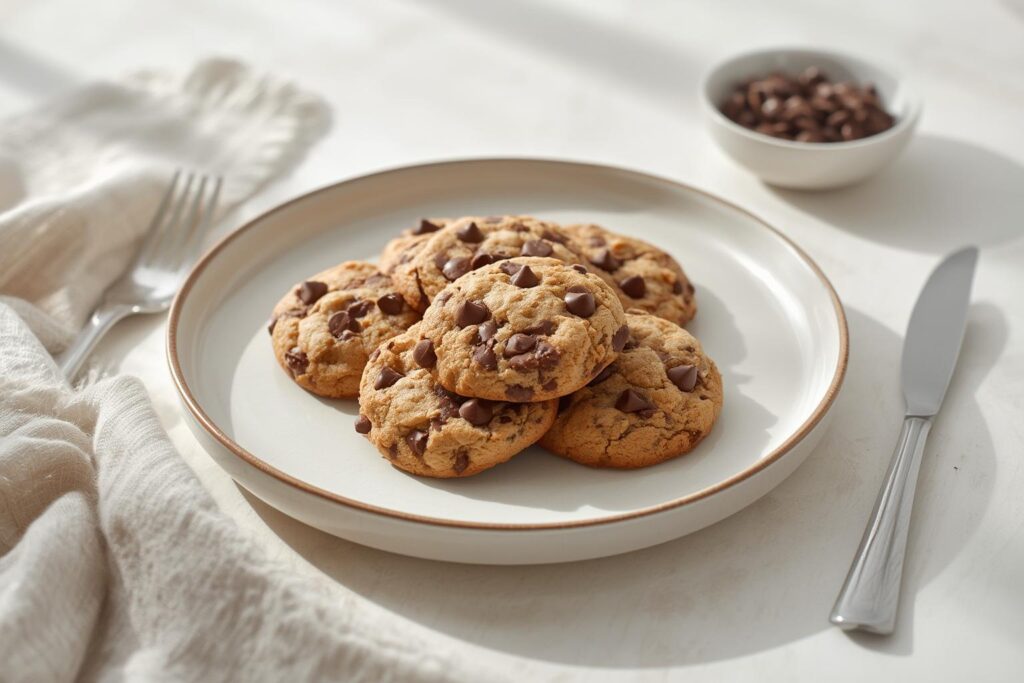
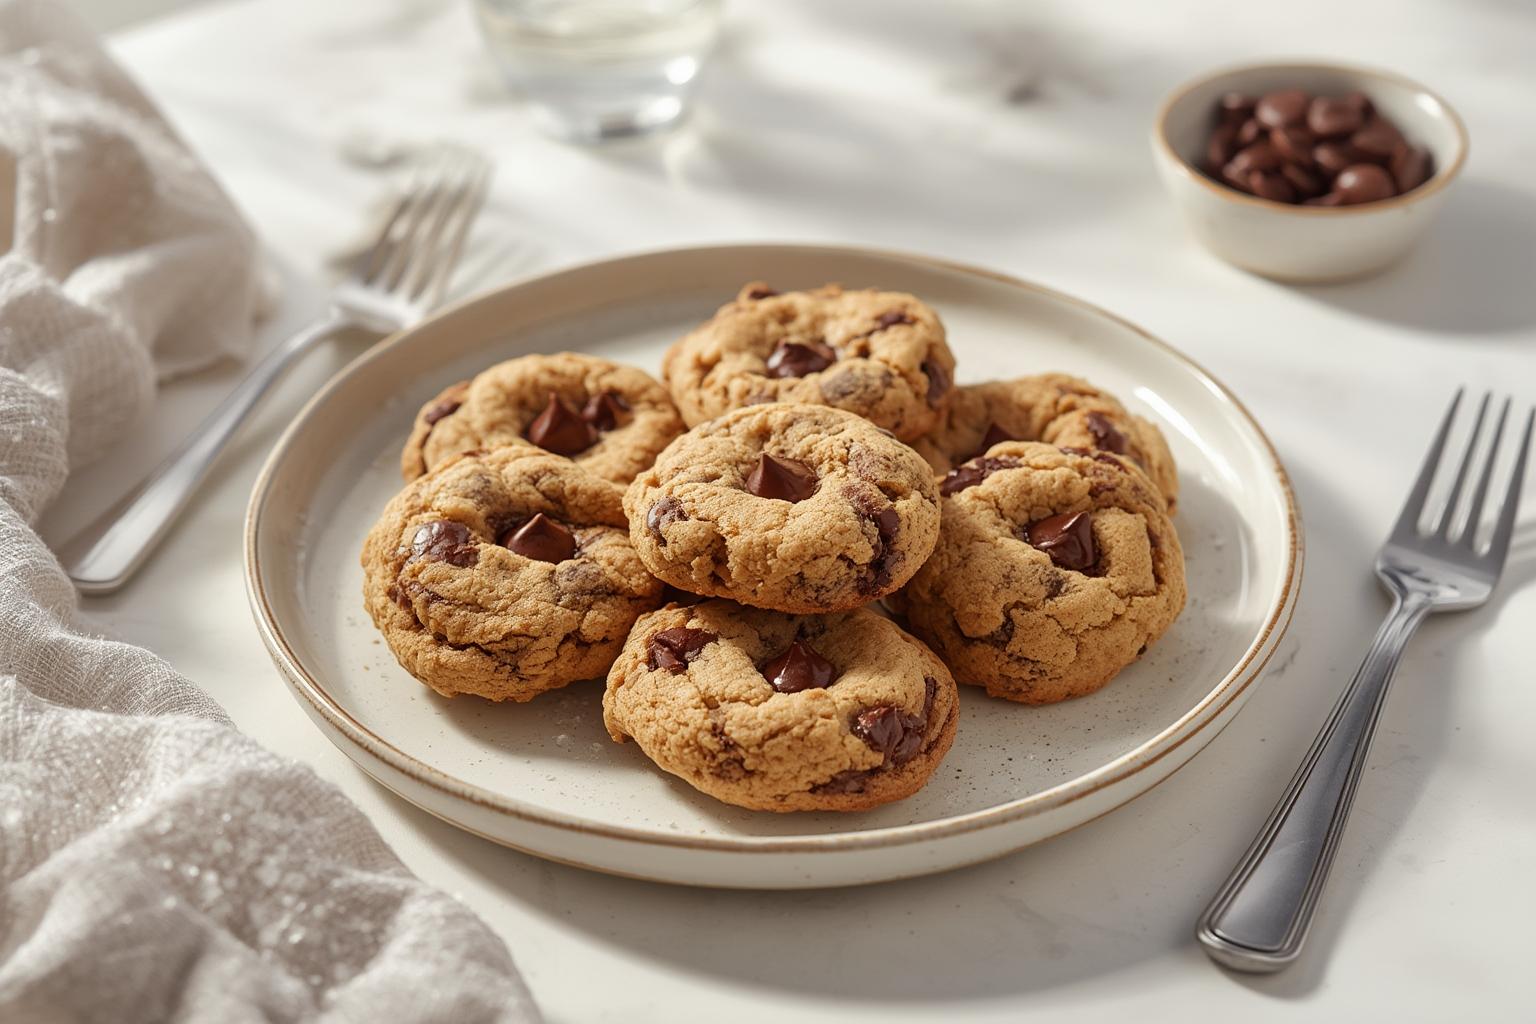
The Ultimate Soft Chocolate Chip Cookies Recipe
Is there anything better than a warm, gooey cookie straight from the oven? While store-bought treats are convenient, they rarely capture that perfect bakery-style magic we crave. Learning to bake these Chocolate Chip Cookies at home gives you total control over the texture and sweetness. You get that nostalgic aroma wafting through your kitchen and the satisfaction of creating something delicious from scratch. Whether you are a novice baker or looking to upgrade your existing recipe, mastering the art of bakery style cookies, soft cookies is a game-changer for your dessert repertoire.
Table of Contents
Materials & Supplies
To get started, you will need the right ingredients and tools. Here is everything you need to bake the perfect batch:
Ingredients
- Unsalted Butter (1 cup, softened): The foundation of flavor. Ensure it is at room temperature (not melted) for the best creaming action.
- Granulated Sugar (¾ cup): Adds crisp edges and sweetness.
- Light Brown Sugar (¾ cup, packed): The secret to that chewy texture and caramel flavor.
- Large Eggs (2): Room temperature helps them bind the dough better.
- Pure Vanilla Extract (2 tsp): Don’t skimp here; it adds depth.
- All-Purpose Flour (2 ¼ cups): Spoon and level your measuring cup to avoid dense cookies.
- Baking Soda (1 tsp): Helps the cookies rise and spread slightly.
- Salt (½ tsp): Balances the sweetness.
- Semi-Sweet Chocolate Chips (2 cups): Use your favorite brand or chop a chocolate bar for varied texture.
- Optional: 1 cup chopped walnuts or pecans.
Kitchen Tools
- Electric Hand Mixer or Stand Mixer (paddle attachment)
- Large Mixing Bowl
- Measuring Cups and Spoons
- Rubber Spatula
- Baking Sheets (light-colored metal works best)
- Parchment Paper or Silicone Baking Mat
- Cooling Rack
Timing / Cooking Schedule
- Prep Time: 15 minutes
- Cook Time: 10 minutes per batch
- Total Time: 25 minutes
Schedule Tip: This recipe is perfect for a weeknight treat because it requires no chilling time (though chilling does improve flavor). If you are prepping for a party, you can make the dough balls ahead of time and freeze them raw for up to 3 months.
Step-by-Step Instructions
- Preheat and Prep: Preheat your oven to 375°F (190°C). Line your baking sheets with parchment paper. This prevents sticking and makes cleanup a breeze.
- Cream the Butter and Sugars: In your large bowl, beat the softened butter, granulated sugar, and brown sugar together on medium speed for about 2–3 minutes. You want the mixture to look pale and fluffy. This step incorporates air, which helps the cookies rise.
- Add Eggs and Vanilla: Add the eggs one at a time, beating well after each addition. Scrape down the sides of the bowl with your spatula, then mix in the vanilla extract.
- Combine Dry Ingredients: In a separate bowl, whisk together the flour, baking soda, and salt. This ensures the leavening agent is evenly distributed.
- Mix Wet and Dry: Gradually add the dry ingredients to the wet mixture. Mix on low speed just until streaks of flour disappear. Pro Tip: Do not overmix, or the gluten will develop too much, resulting in tough, hard cookies.
- Fold in the Chocolate: Gently fold in the Chocolate Chip Cookies ingredients (the chocolate chips) using your spatula. If you are adding nuts, toss them in now.
- Scoop the Dough: Drop rounded tablespoons of dough onto the prepared baking sheets, spacing them about 2 inches apart. For that chunky, bakery style cookies, soft cookies look, roll the dough into tall mounds rather than flat balls.
- Bake: Bake for 9–11 minutes, or until the edges are golden brown and the centers look slightly underbaked. They will continue to cook on the hot pan.
- Cool: Let the cookies sit on the baking sheet for 5 minutes to set, then transfer them to a wire rack to cool completely.
Nutritional Benefits / Advantages
While cookies are certainly an indulgence, baking them at home has distinct advantages over buying packaged snacks. You have full control over the ingredients, meaning you can opt for high-quality butter and real vanilla extract rather than preservatives and artificial flavors. Baking is also a great way to practice portion control—you can make smaller cookies or freeze half the batch to prevent overeating. Furthermore, making food from scratch reduces packaging waste, making it a slightly more sustainable choice for your household.
Tips, Alternative Methods, or Cooking Advice
If you want to customize this recipe or adapt it to your kitchen setup, try these suggestions:
- For Extra Flavor: Sprinkle a tiny pinch of flaky sea salt on top of the cookies immediately after taking them out of the oven.
- Dietary Swaps: Substitute the all-purpose flour with a 1:1 gluten-free baking blend. You can also use dairy-free butter and chocolate chips for a vegan version.
- The “Pan Bang” Method: As soon as the cookies go in the oven, lift the baking sheet a few inches and drop it onto the rack. Do this twice during baking. This collapses the cookie, creating ripples and a chewier texture.
- Alternative Mixing: If you don’t have a mixer, you can do this by hand! Just make sure your butter is very soft, and use a sturdy wooden spoon and some elbow grease.
Common Mistakes to Avoid
- Using Melted Butter: While melted butter makes delicious brownies, it ruins cookies by making them spread too thin and greasy. Always use softened butter.
- Over-measuring Flour: Scooping the measuring cup directly into the flour bag packs it down, leading to dry, cakey cookies. Always spoon the flour into the cup and level it off.
- Overbaking: The cookies will look underdone when you pull them out. Trust the process! If they look fully baked in the oven, they will be hard as rocks once cooled.
- Hot Pans: Always use cool baking sheets for the next batch. Placing dough on a hot pan will cause the butter to melt immediately and the cookies to spread before they ever bake.
Storage / Maintenance Tips
- Room Temperature: Store cooled cookies in an airtight container at room temperature for up to 5 days. Adding a slice of bread to the container can help keep them soft.
- Freezing Baked Cookies: Place cooled cookies in a freezer-safe bag or container for up to 3 months. Thaw at room temperature.
- Freezing Raw Dough: Scoop the dough into balls and freeze them on a baking sheet. Once frozen, transfer to a bag. Bake from frozen, adding 1–2 minutes to the baking time.
- Reheating: To recreate that fresh-baked experience, microwave a cookie for 10–15 seconds. It will become soft and gooey again instantly.
Conclusion
Baking these classic treats is a rewarding experience that fills your home with warmth and your belly with deliciousness. By following these steps, you can consistently produce Chocolate Chip Cookies that rival your local bakery. Don’t be afraid to experiment with mix-ins or toppings to make the recipe truly your own. Whether you are baking for a special occasion or just a Tuesday night, these bakery style cookies, soft cookies are sure to become a family favorite. Happy baking!
FAQs
Q: Why are my cookies flat?
A: This usually happens if the butter was too warm or melted. Chill your dough for 30 minutes before baking if your kitchen is hot, or check that your oven temperature is accurate.
Q: Can I use different types of chocolate?
A: Absolutely! You can use milk chocolate, dark chocolate chunks, or even white chocolate chips. Chopping up a high-quality chocolate bar often yields the best results.
Q: How do I know when they are done?
A: Look for golden brown edges and a slightly pale, soft center. They will look a bit undercooked, which is exactly what you want for a soft texture.
Q: Can I make the dough ahead of time?
A: Yes, you can refrigerate the dough for up to 72 hours. This actually enhances the flavor. Let it sit at room temperature for 30 minutes before scooping.
Q: Why are my cookies hard?
A: You likely overmixed the dough or overbaked them. Mix just until the flour disappears, and pull them from the oven when the centers still look slightly soft.
