
The Ultimate Weekend Classic: How to Make Perfect Homemade Pancakes
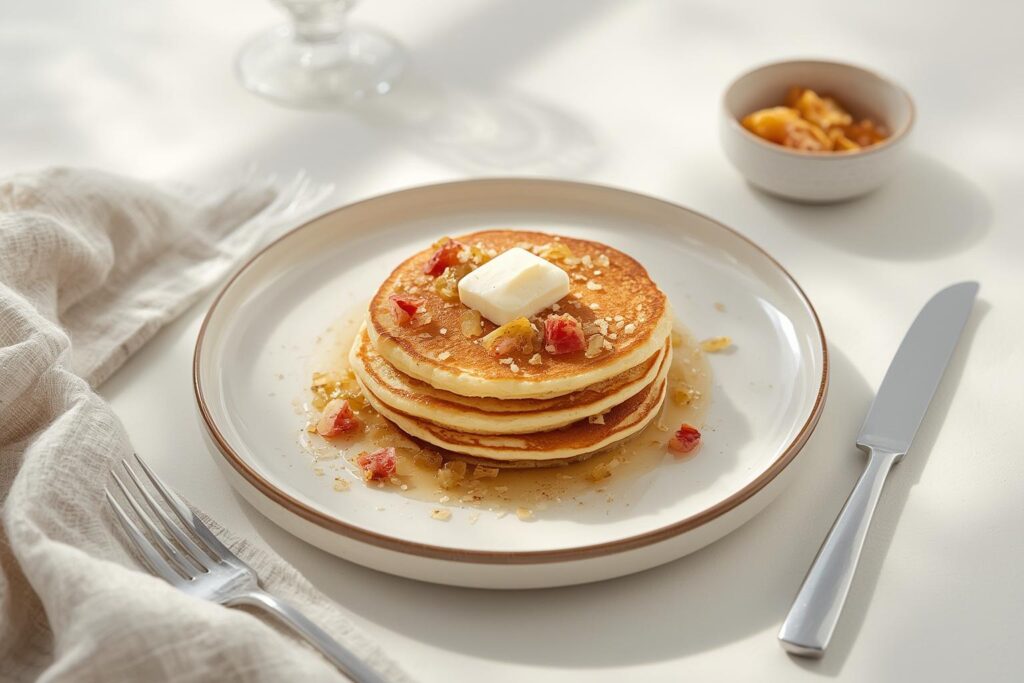
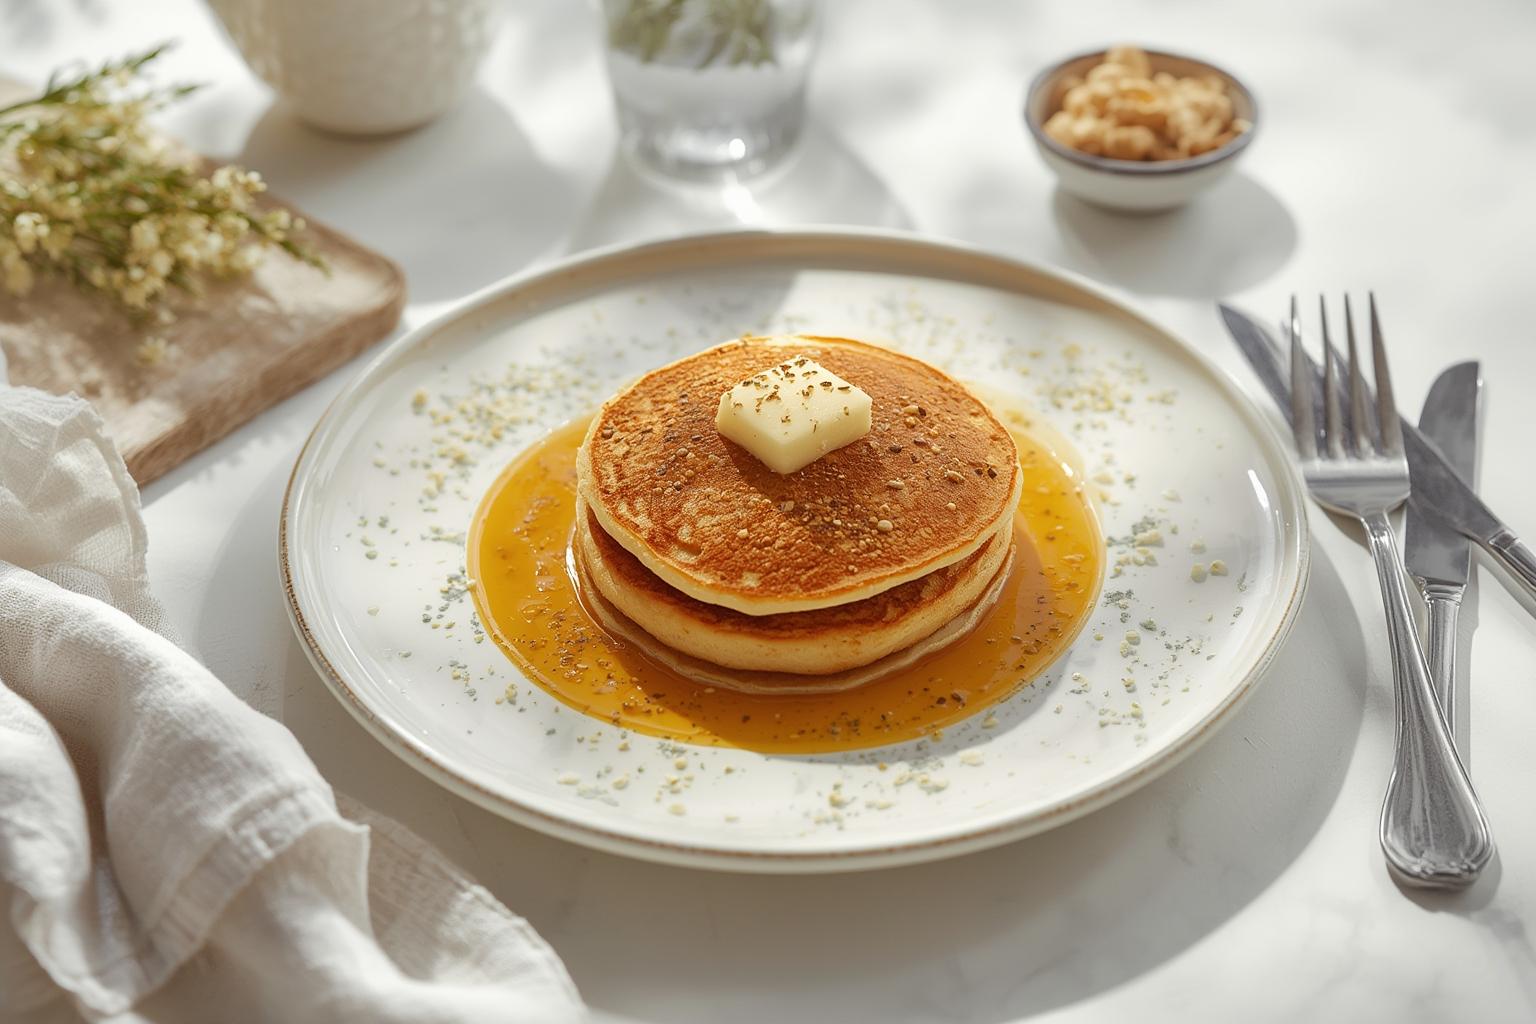
Is there anything more comforting than a warm stack of pancakes on a lazy weekend morning? That fluffy, golden-brown delight smothered in melting butter and real maple syrup is the kind of simple joy that makes a house feel like a home.
But let’s be honest—we’ve all experienced the disappointment of flat, rubbery diner-style pancakes or the overly sweet boxed mix that just doesn’t hit the spot. Making them from scratch isn’t just about saving a few dollars; it’s about taking control of what goes into your body. You control the sweetness, the quality of the ingredients, and the texture. When you whisk up a batch yourself, you unlock the secret to that café-quality taste right in your own kitchen.
I believe that mastering a solid Pancakes recipe is a foundational skill for any home cook. It’s the recipe that teaches you about ratios, heat management, and the magic of leavening agents. And the best part? You don’t need fancy equipment or professional training. By the end of this guide, you’ll be whipping up a batch of light, airy, and absolutely delicious fluffy pancakes, American pancakes that rival your favorite breakfast spot.
Table of Contents
Materials & Supplies
Before you start, gather your ingredients and tools. Having everything measured and ready (a practice called “mise en place”) makes the cooking process smooth and stress-free.
Ingredients:
- All-Purpose Flour (1 ½ cups): The structural base. Spoon and level it; don’t scoop it directly from the bag to avoid packing in too much flour.
- Baking Powder (3 ½ teaspoons): This is the key leavening agent that creates the rise and airy pockets. Make sure it’s fresh for maximum lift.
- Sugar (2 tablespoons): Adds a hint of sweetness and helps with browning.
- Salt (1 teaspoon): Essential for balancing flavors and cutting through the sweetness.
- Large Eggs (2): Binds the ingredients and adds richness.
- Milk (1 ¼ cups): Whole milk is best for richness, but any milk (dairy or plant-based) works. Adjust slightly if the batter seems too thick or thin.
- Unsalted Butter (4 tablespoons): Melted and slightly cooled. Adds flavor and moisture.
- Vanilla Extract (1 teaspoon): For that warm, aromatic background flavor.
Kitchen Tools:
- Large Mixing Bowl: For dry ingredients.
- Medium Mixing Bowl: For wet ingredients.
- Whisk: To combine the wet ingredients and to gently fold the batter.
- Spatula: For scraping the bowl and flipping pancakes.
- Griddle or Large Non-Stick Skillet: The surface you’ll cook on.
- Measuring Cups & Spoons: For accuracy.
- Ladle or ¼-cup Measure: For portioning batter evenly.
Timing / Cooking Schedule
Cooking pancakes is surprisingly quick once you get into a rhythm. Here’s a breakdown of the schedule:
- Prep Time: 10 minutes (measuring and mixing).
- Cook Time: 15 minutes (depending on pan size, you can cook multiple at once).
- Total Time: 25 minutes.
This is perfect for a weekend breakfast or brunch. While the batter rests for 10 minutes (during prep), you can preheat your skillet and get your toppings ready, making the whole process feel very efficient.

Step-by-Step Instructions
Follow these steps precisely for the best results. The secret is in the mixing technique—don’t over-mix!
1. Combine Dry Ingredients: In your large bowl, whisk together the flour, baking powder, sugar, and salt. Whisking ensures the baking powder is evenly distributed, which is crucial for a uniform rise.
2. Combine Wet Ingredients: In the medium bowl, whisk the eggs until frothy. Then, whisk in the milk, melted butter, and vanilla extract.
3. Make the Batter: Pour the wet ingredients into the dry ingredients all at once. Use your whisk or spatula to gently stir until the ingredients are just combined. It’s okay if there are a few small lumps. Do not over-mix! Over-mixing develops gluten, which leads to tough, flat pancakes.
4. Let it Rest: Allow the batter to sit for 10 minutes. This gives the flour time to hydrate and the baking powder to activate, which is a key step for creating Pancakes with maximum height and a tender crumb.
5. Preheat Your Cooking Surface: Heat a griddle or non-stick skillet over medium heat. To test if it’s ready, drop a tiny splash of water on it—it should sizzle and evaporate immediately. Lightly grease the surface with a thin layer of butter or neutral oil.
6. Pour the Batter: Scoop about ¼ cup of batter onto the hot griddle for each pancake. Leave plenty of space between them so they are easy to flip.
7. Cook the First Side: Cook until bubbles form on the surface, the edges look set, and the bottom is golden brown. This usually takes 2-3 minutes.
8. Flip and Finish: Slide your spatula underneath and flip decisively. Cook for another 1-2 minutes on the second side until golden brown.
9. Serve Immediately: Serve the pancakes straight from the griddle to the plate. The secret to achieving fluffy pancakes, American pancakes that stay light is to serve them hot!
Nutritional Benefits & Advantages
While pancakes are certainly a comfort food, making them at home has distinct advantages over commercial mixes or restaurant versions. You control the sugar content completely, which is a major benefit for managing energy levels throughout the morning. By using whole ingredients like fresh milk and real butter, you’re getting more natural fats and nutrients compared to the preservatives and artificial flavors often found in pre-packaged mixes.
Cooking at home also promotes sustainability. You avoid the excessive plastic packaging of boxed mixes and reduce food waste by using pantry staples. It’s also incredibly cost-effective; a batch of homemade pancakes costs a fraction of what you’d pay at a café. This recipe allows you to enjoy a delicious, satisfying meal while being mindful of your health, budget, and the environment.
Tips, Alternative Methods, or Cooking Advice
Flexibility is key in the kitchen. Here are some ways to adapt this recipe to your needs:
- Alternative Cooking Methods: While the stovetop is classic, you can bake this batter! Pour it into a greased 9×13 inch baking pan at 400°F (200°C) for 15-20 minutes to make a pancake “sheet” that you can cut into squares.
- Dietary Swaps:
* Gluten-Free: Substitute the all-purpose flour with a 1:1 gluten-free baking blend.
* Dairy-Free: Use unsweetened almond or oat milk and swap the butter for coconut oil or a vegan butter substitute.
* Higher Protein: Replace ¼ cup of flour with protein powder and add a splash more milk.
- Small Kitchen Hack: If you have limited space, a large electric skillet can serve as your griddle, or you can use two smaller pans to cook a few at a time.
- Troubleshooting:
* Too Thick? Add a tablespoon of milk at a time until it reaches a pourable consistency.
* Too Thin? Sprinkle in a tablespoon of flour and gently stir.
Common Mistakes to Avoid
Even simple recipes can go wrong. Here are the most common pitfalls and how to steer clear of them:
- Overcrowding the Pan: Pacing too many pancakes on the skillet at once drops the temperature, causing them to steam instead of brown. Cook in batches for the best crust.
- Using High Heat: This is the #1 mistake. Too hot, and the outside will burn before the inside is cooked. Keep the heat at a steady medium.
- Over-mixing the Batter: I can’t stress this enough. A lumpy batter is a good batter. A smooth, over-mixed batter is the enemy of fluffiness.
- Not Letting the Batter Rest: Skipping the 10-minute rest period means you miss out on significant rise and a more tender texture.
- Using Old Baking Powder: If your baking powder is expired, your pancakes will be flat as a pancake (the bad kind). Test it in hot water; it should fizz vigorously.
Storage & Maintenance Tips
Pancakes are great for meal prep. Here’s how to keep them tasting fresh:
- Refrigerating: Let leftovers cool completely, then store them in an airtight container or zip-top bag with a sheet of parchment paper between layers. They’ll last in the fridge for up to 4 days.
- Freezing: For longer storage, flash-freeze cooled pancakes on a baking sheet for an hour. Then, transfer them to a freezer bag. They’ll keep for up to 3 months.
- Reheating: The best way to reheat is in a toaster or toaster oven, which restores the crispy edges. You can also warm them in a skillet over medium-low heat. The microwave works in a pinch, but it can make them a bit soggy; place a paper towel under them to absorb moisture.
Conclusion
Mastering this recipe gives you the confidence to create a breakfast classic that brings everyone to the table. You now have the knowledge to make tender, golden, and incredibly satisfying Pancakes from scratch. Remember the key takeaways: don’t over-mix, let the batter rest, and cook over medium heat. It’s a simple process that yields impressive results every single time. I hope you enjoy every bite of these homemade fluffy pancakes, American pancakes. I’d love to hear how they turn out for you, so feel free to leave a comment below with your favorite toppings or any questions you might have!
FAQs
Can I make the batter the night before?
Yes, you can! Store the batter in an airtight container in the refrigerator. The baking powder will lose some of its power overnight, so they might not be quite as tall, but they will still be delicious. Give it a gentle stir before cooking.
Why are my pancakes flat?
The most common culprits are expired baking powder, over-mixing the batter (which deflates the air bubbles), or letting the batter sit for too long before cooking. Ensure your baking powder is fresh and mix just until combined.
How do I know when it’s time to flip?
Wait for visual cues: bubbles should pop and stay open on the surface, the edges should look dry and matte (not shiny/wet), and the bottom should be golden brown when you peek with your spatula.
Can I use a different type of milk?
Absolutely. This recipe works well with almost any milk, including whole, 2%, skim, almond, soy, oat, or coconut milk. The final texture may vary slightly based on the fat content of the milk you choose.
What’s the best way to keep pancakes warm for a crowd?
If you’re making a large batch, preheat your oven to 200°F (95°C). Place the cooked pancakes in a single layer on a baking sheet and keep them in the oven until you’re ready to serve. This keeps them warm without drying them out.
