
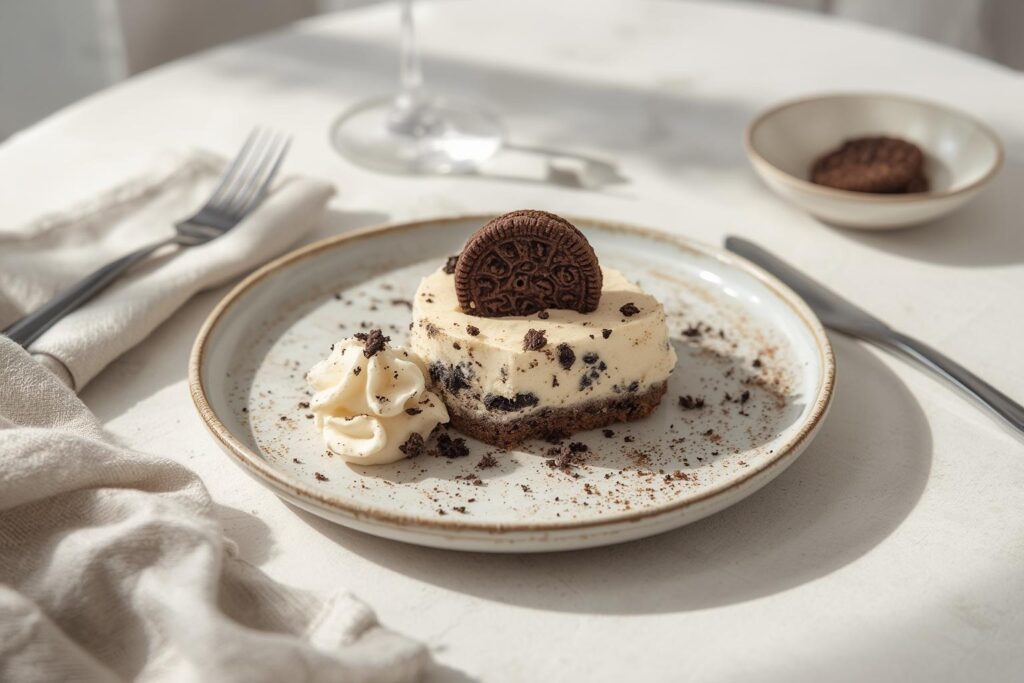
The Ultimate Cookies and Cream Cheesecake: A Homemade Masterpiece
There’s something undeniably magical about the combination of creamy vanilla cheesecake and crunchy chocolate sandwich cookies. It’s a dessert that brings out the inner child in all of us. But why settle for store-bought versions when you can create a bakery-quality treat right in your own kitchen? Making this dessert at home gives you complete control over the ingredients, ensuring maximum freshness and flavor. It’s also surprisingly cost-effective compared to ordering from a fancy bakery, and the confidence you gain from mastering this impressive dessert is priceless. In this guide, we’ll walk you through creating the perfect Cookies and Cream Cheesecake while sharing an amazing oreo cheesecake recipe that will become your new go-to for celebrations.
Table of Contents
Materials & Supplies
Creating this showstopper requires a specific set of ingredients and tools. Here’s everything you’ll need to gather before you start.
For the Crust:
- Chocolate Sandwich Cookies (24): The star of our base. You’ll need the entire cookie, filling and all, for maximum flavor. Brands like Oreos work perfectly.
- Unsalted Butter (6 tablespoons, melted): This acts as the binder, holding your crust together and adding a rich flavor. Using unsalted butter allows you to control the final sodium level.
For the Cheesecake Filling:
- Full-Fat Cream Cheese (32 oz, softened): This is the foundation of any great cheesecake. It’s crucial that it’s fully softened to room temperature to avoid lumps in your batter.
- Granulated Sugar (1 cup): Provides the necessary sweetness to balance the tang of the cream cheese.
- Sour Cream (1/2 cup): Adds a slight tang and incredible creaminess, contributing to the signature cheesecake texture.
- Vanilla Extract (1 teaspoon): Enhances all the other flavors in the dish.
- Large Eggs (3): These should also be at room temperature. They provide structure and richness to the filling.
- Heavy Cream (1/4 cup): Adds extra moisture and a luxurious mouthfeel.
- Chocolate Sandwich Cookies (15, roughly chopped): You’ll fold these into the batter for that signature cookies and cream texture.
For the Topping (Optional but Recommended):
- Whipped Cream: For a light, airy topping.
- Extra Chocolate Sandwich Cookies: For garnish.
Essential Kitchen Tools:
- 9-inch Springform Pan: This is non-negotiable for cheesecakes, as it allows you to easily release the dessert without damaging it.
- Food Processor or Ziploc Bag & Rolling Pin: For crushing the cookies into fine crumbs.
- Large Mixing Bowl: For combining your crust and filling.
- Electric Mixer (Hand or Stand): Essential for achieving a smooth, lump-free cheesecake filling.
- Rubber Spatula: For scraping the sides of the bowl and gently folding in the cookie pieces.
- Large Roasting Pan or High-Sided Baking Sheet: To hold the springform pan for the water bath.
- Aluminum Foil: To wrap around the springform pan to prevent water from seeping in.
Timing / Cooking Schedule
- Prep Time: 25 minutes
- Cook Time: 65-75 minutes
- Chill Time: 6 hours (minimum) to Overnight
- Total Time: 7 hours, 30 minutes (plus chilling)
This recipe is perfect for a weekend baking project or as a make-ahead dessert for a special occasion. While the active time in the kitchen is relatively short (about 25-30 minutes), the most important part is the patience required for chilling. You can easily prepare the crust and filling the night before, let it chill overnight, and have a perfect dessert ready for your event the next day.
Step-by-Step Instructions
1. Prepare Your Pan and Oven: Preheat your oven to 325°F (160°C). Take your 9-inch springform pan and wrap the outside bottom and sides with two layers of heavy-duty aluminum foil. This is a critical step to waterproof it for the water bath. Set it aside.
2. Make the Crust: Place all 24 chocolate sandwich cookies into a food processor and pulse until you have fine crumbs. Alternatively, place them in a zip-top bag and crush them with a rolling pin. Pour the crumbs into a medium bowl, drizzle in the melted butter, and mix with a fork until it resembles wet sand. Press this mixture firmly and evenly into the bottom of your prepared springform pan. Use the bottom of a flat glass to get it tightly packed. Bake for 10 minutes, then remove and let it cool on a wire rack while you prepare the filling.
3. Start the Filling: In a large mixing bowl, use your electric mixer to beat the softened cream cheese on medium-low speed until it’s completely smooth and creamy, about 2 minutes. Scrape down the sides and bottom of the bowl with your spatula. This prevents lumps, which are a common beginner mistake.
4. Add Sugar and Wet Ingredients: Add the granulated sugar and beat on low speed until just combined. Add the sour cream and vanilla extract, mixing again on low until incorporated. Now, add the heavy cream and mix.
5. Incorporate the Eggs: Add the room-temperature eggs one at a time, beating on low speed after each addition only until the yolk disappears. Do not overmix at this stage. Overmixing incorporates too much air, which can cause the cheesecake to crack.
6. Fold in the Chopped Cookies: Gently fold in the 15 roughly chopped cookies with a spatula until they are evenly distributed throughout the batter. You want to see those cookie chunks!
7. Assemble and Bake (with Water Bath): Pour the filling over your cooled crust and smooth the top. Place the foil-wrapped springform pan into your larger roasting pan. Carefully pour boiling water into the roasting pan until it comes about halfway up the sides of the springform pan. This water bath (bain-marie) is the secret to a creamy, crack-free cheesecake as it provides gentle, even heat.
8. Bake and Cool: Bake for 65-75 minutes. The cheesecake is done when the edges are set, but the center 2-3 inches still have a slight jiggle (like Jell-O). Turn off the oven, crack the oven door open about an inch, and let the cheesecake cool slowly inside for 1 hour. This gradual cooling process also prevents cracks. After an hour, remove it from the oven and the water bath, and let it cool completely on a wire rack at room temperature. Once cool, cover with plastic wrap and refrigerate for at least 6 hours, but preferably overnight.
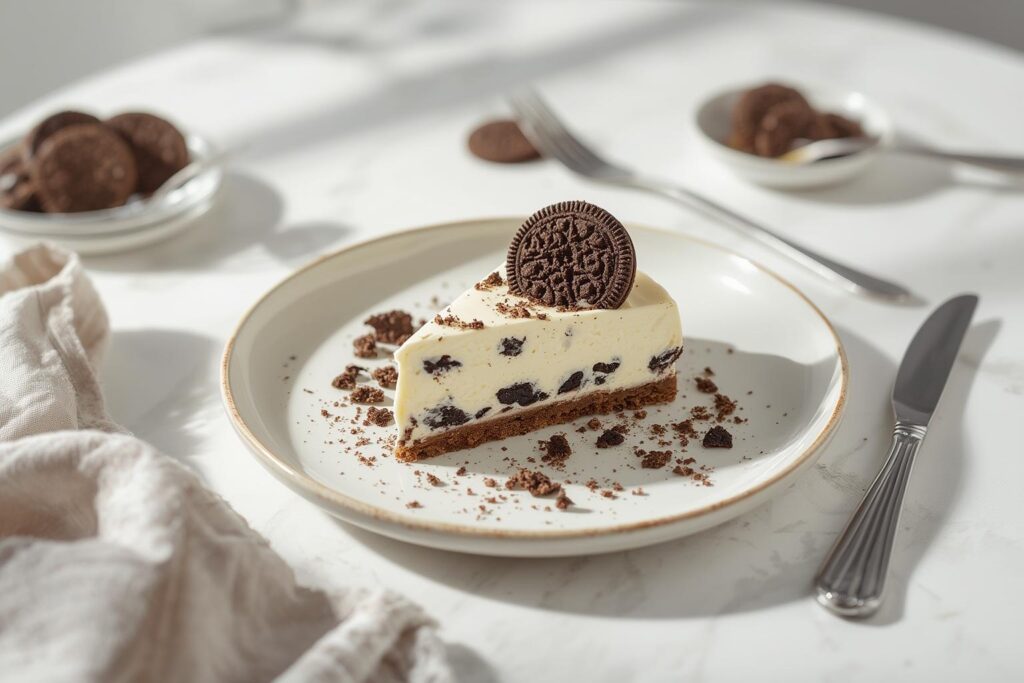
9. Serve: When ready to serve, run a thin knife around the edge of the cheesecake before releasing the springform collar. Top with whipped cream and extra cookie crumbs if desired. For the best results, we recommend trying this oreo cheesecake recipe for your next gathering. The final product will be a stunning Cookies and Cream Cheesecake that will have everyone asking for the recipe.
Nutritional Benefits / Advantages
While this is an indulgent dessert, making it at home has several advantages from a nutritional and wellness perspective. First and foremost, you have complete control over the ingredients. You can choose high-quality cream cheese made with simple ingredients, and you know exactly how much sugar is going into your treat. There are no mystery preservatives or artificial flavors.
Cooking at home is also a fantastic way to practice mindful eating. The process of creating something from scratch encourages a deeper appreciation for the food you consume. Furthermore, by making a single large dessert, you can reduce packaging waste compared to buying multiple single-serving items. It’s a small step towards more sustainable living. Finally, from a cost perspective, creating a bakery-quality cheesecake at a fraction of the price you’d pay at a specialty store is a significant financial advantage.
Tips, Alternative Methods, or Cooking Advice
- Room Temperature is Key: I can’t stress this enough. Using room temperature cream cheese and eggs is the number one rule for a smooth, lump-free filling.
- Alternative Crust: If you want to try something different, a crust made from crushed chocolate wafers, graham crackers, or even Biscoff cookies would be delicious.
- No Springform Pan? While not ideal, you can use a standard cake pan. Line it with parchment paper with an overhang to act as “sling” to lift the cheesecake out after it’s frozen solid. It will be difficult to slice cleanly, but the flavor will be the same.
- Gluten-Free Version: Simply use your favorite gluten-free chocolate sandwich cookies for both the crust and the filling.
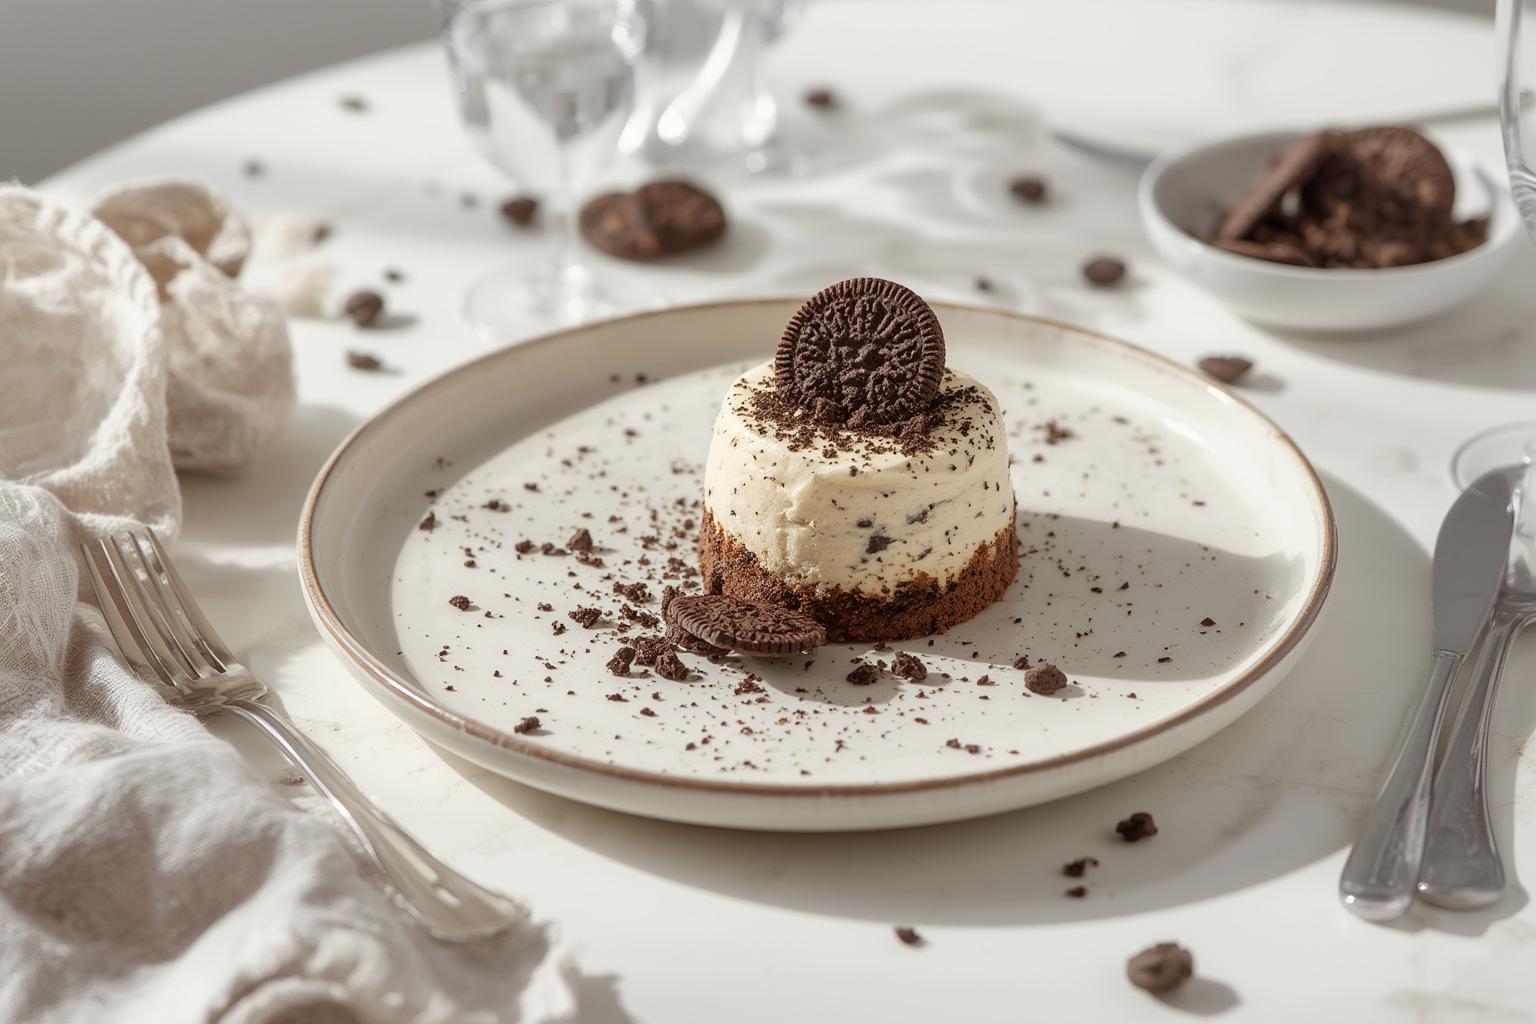
- Air Fryer Method: For a smaller, crustless cheesecake, you can bake individual portions in ramekins in an air fryer at 300°F for 20-25 minutes. This is great for portion control and smaller kitchens.
- Troubleshooting: If your filling is too thick, you may have overmixed or your ingredients were too cold. If it’s too runny, ensure you’ve baked it long enough (but not so long that it curdles). For a salty-sweet twist, sprinkle a tiny pinch of flaky sea salt over the top before chilling.
Common Mistakes to Avoid
- Cracking: This is the most common cheesecake issue. It’s caused by rapid temperature changes, overmixing, or overbaking. Our water bath and slow cooling instructions are designed to prevent this. Don’t skip them!
- Lumpy Filling: This almost always happens because the cream cheese wasn’t soft enough before you started mixing. Be patient and let it sit out for at least an hour.
- Soggy Bottom: This happens if water from the water bath leaks into your pan. That’s why double-wrapping the springform pan in foil is a crucial, non-negotiable step.
- Overbaking: A cheesecake continues to cook from residual heat after you take it out of the oven. Remember the jiggle test! The center should not be completely firm when you turn off the oven.
- Sticking to the Pan: Always remember to run a thin knife around the edge of the cheesecake while it’s still slightly warm (but after its initial cooling) before refrigerating. This releases it from the sides of the pan and prevents pulling and cracking when you remove the ring.
Storage / Maintenance Tips
Proper storage is essential to maintain the freshness and texture of your cheesecake.
- In the Refrigerator: Cover the cheesecake (either whole or in slices) tightly with plastic wrap or store it in an airtight container. It will stay fresh and delicious in the fridge for up to 5 days. The flavor actually gets even better on day two!
- In the Freezer: Cheesecake freezes beautifully. To freeze, chill the cheesecake completely first. Then, you can either freeze it whole or in pre-sliced portions. Wrap each piece tightly in plastic wrap, then a layer of aluminum foil, and place in a freezer-safe bag or container. It will last for up to 3 months.
- Thawing and Reheating: Thaw frozen cheesecake overnight in the refrigerator. Do not microwave it to thaw, as this will ruin the texture. This is a cold dessert and is not meant to be served warm. If you desire a slightly softer texture, let it sit at room temperature for 15-20 minutes before serving. To refresh the texture after refrigeration, you can let a slice sit out for about 30 minutes.
Conclusion
Creating a stunning and delicious cheesecake at home is a rewarding experience that’s well within your reach. By following our detailed steps, you can avoid common pitfalls and achieve a smooth, creamy, and flavorful dessert that’s far superior to anything you can buy in a store.
The combination of rich cream cheese and crunchy chocolate cookies is a classic for a reason, and now you have the secret to perfecting it. We encourage you to bake this incredible Cookies and Cream Cheesecake for your next special occasion or even just as a weekend treat. If you’re looking for more inspiration, be sure to explore our other fantastic oreo cheesecake recipe variations. Happy baking, and don’t forget to share your beautiful creations with friends and family!
FAQs
1. Can I use low-fat cream cheese for this recipe?
While you can, I don’t recommend it. Full-fat cream cheese provides the best structure and flavor. Low-fat versions contain more water and can result in a softer, less creamy cheesecake that is more prone to cracking.
2. My cheesecake cracked! What happened?
Cracks are usually caused by one of three things: the oven temperature was too high, the cheesecake cooled too quickly, or you overmixed the batter (incorporating too much air). Following the water bath and slow cooling instructions will help prevent this.
3. Do I really need a water bath?
Yes, for a classic baked cheesecake, a water bath is highly recommended. It provides a humid, gentle cooking environment that ensures your cheesecake bakes evenly and stays incredibly creamy without drying out or cracking on top.
4. How do I know for sure when my cheesecake is done?
The “jiggle test” is your best friend. Gently nudge the pan; the edges should look set and firm, while the very center (about a 2-3 inch circle) should jiggle slightly, like Jell-O. It will firm up completely as it cools and chills.
5. Can I make this recipe without the water bath?
You can, but you’ll need to be very careful. Bake it on a lower oven rack (300°F) and check it frequently. The texture may be slightly denser, and the risk of cracking is significantly higher. A water bath is the best way to guarantee a perfect result.
