
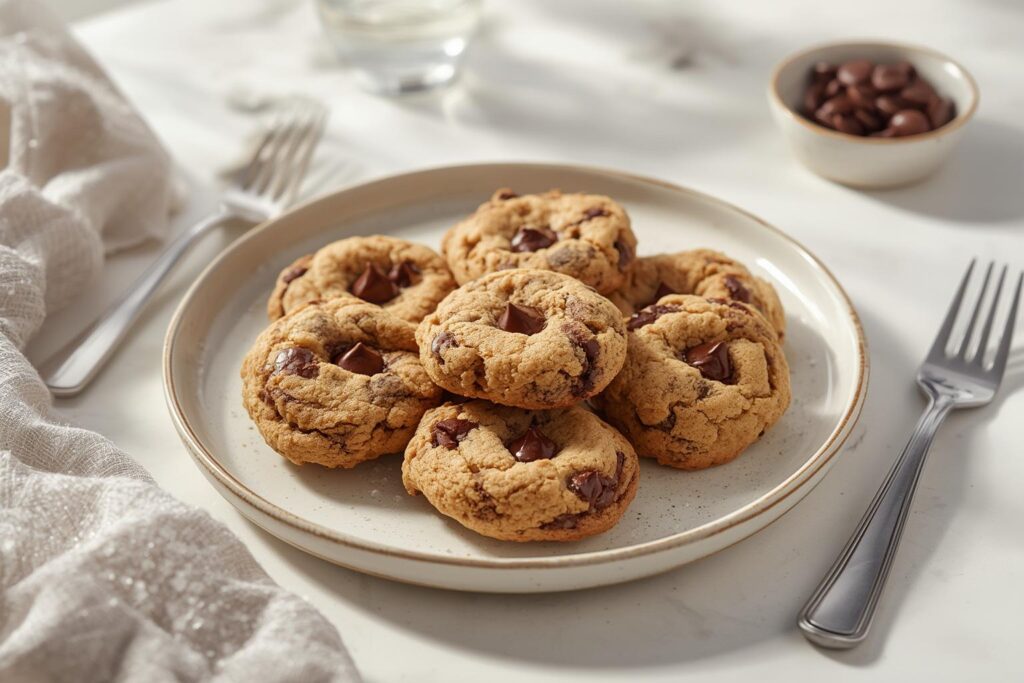
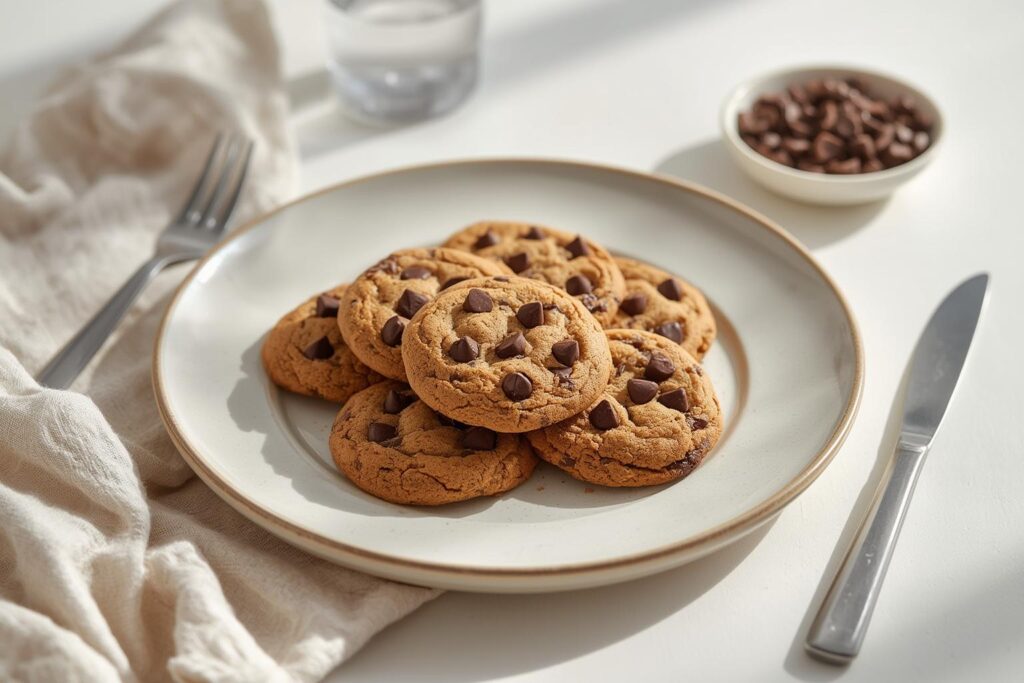
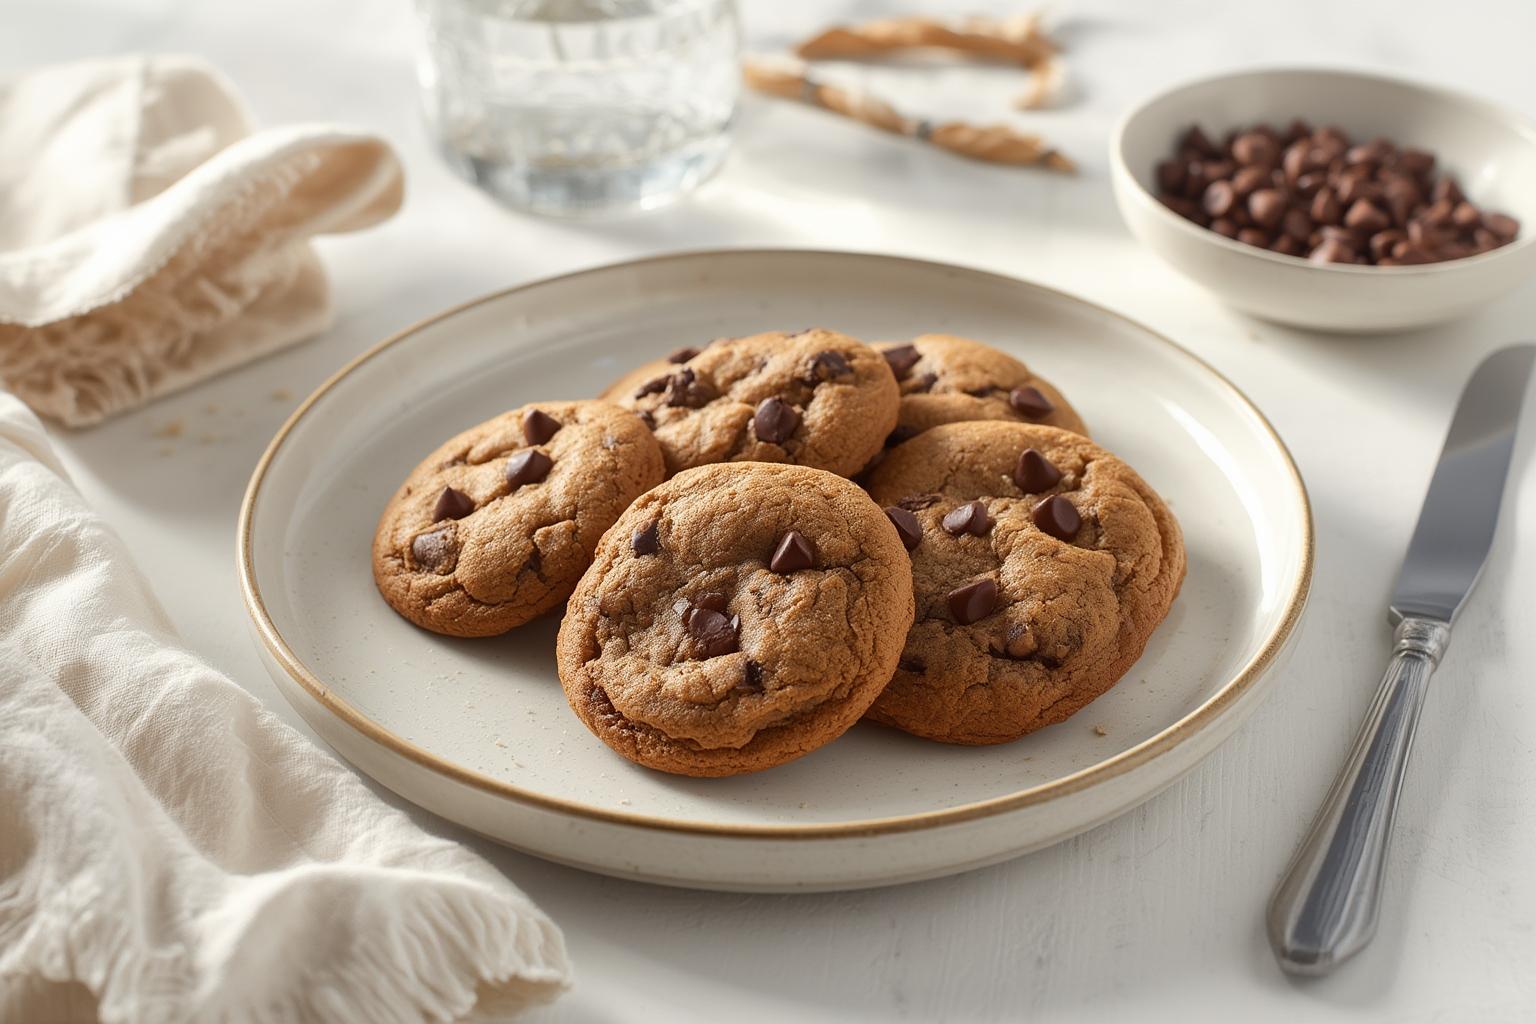
The Ultimate Guide to Perfect Bakery Style Chocolate Chip Cookies
There’s something magical about pulling a tray of warm, gooey cookies from the oven, isn’t there? That first bite—crispy edges, soft center, and pockets of melted chocolate—is pure comfort. But let’s be honest, we’ve all had our share of flat, greasy, or rock-hard disasters. Making the perfect Chocolate Chip Cookies at home shouldn’t be a gamble.
It should be a reliable, delicious skill that fills your kitchen with an irresistible aroma and your heart with confidence. You control the quality of the chocolate, the chewiness of the dough, and the thickness of the cookies, ensuring every batch is a masterpiece. Plus, it’s a fun, rewarding project that beats store-bought any day, especially when you’re aiming for those thick, bakery style cookies, soft cookies that everyone craves.
Table of Contents
Materials & Supplies
Before you start, gather your ingredients and tools. Precision is key to consistent results, so using a kitchen scale is highly recommended if you have one.
Ingredients:
- Unsalted Butter (1 cup / 226g): The star of the show. It should be softened to room temperature (cool to the touch, not melty or oily) for proper aeration. Using unsalted butter allows you to control the salt level.
- Granulated Sugar (¾ cup / 150g): Contributes to crispy edges and spreads the dough.
- Light Brown Sugar (¾ cup / 165g), packed: Adds moisture, chewiness, and a deep caramel flavor.
- Large Eggs (2): Must be at room temperature. They bind the dough and add richness.
- Pure Vanilla Extract (2 teaspoons): Don’t skimp here; it’s essential for flavor depth.
- All-Purpose Flour (2 ¼ cups / 280g): Spoon and level it into your measuring cup. Scooping directly compacts the flour, leading to dry cookies.
- Baking Soda (1 teaspoon): The leavening agent that helps the cookies rise and brown.
- Fine Sea Salt (1 teaspoon): Balances the sweetness and enhances the chocolate flavor.
- Semi-Sweet Chocolate Chips or Chunks (1 ½ cups / 255g): Use a high-quality brand or chop up a baking bar for superior meltiness.
- Optional Add-ins: A pinch of cinnamon, toffee bits, chopped nuts (walnuts, pecans), or flaky sea salt for topping.
Kitchen Tools:
- Stand Mixer or Hand Mixer: For creaming the butter and sugar effectively.
- Mixing Bowls: Large bowl for the dough, a medium bowl for dry ingredients.
- Rubber Spatula: For scraping down the sides and folding in the chocolate.
- Measuring Cups and Spoons: Or a digital kitchen scale for accuracy.
- Baking Sheets: Light-colored metal pans to prevent over-browning.
- Parchment Paper or Silicone Baking Mat: Essential for preventing sticking and easy cleanup.
- Cookie Scoop (2-tablespoon size): Ensures uniformly sized cookies that bake evenly.
- Wire Cooling Rack: Allows air to circulate under the cookies, keeping the bottoms crisp.
Timing / Cooking Schedule
- Prep Time: 15 minutes (for mixing the dough)
- Rest Time (Crucial!): 30 minutes to 24 hours (for chilling the dough)
- Cook Time: 10-12 minutes per batch
- Total Time: About 1 hour (including a minimum chill time)
This recipe is perfect for a weekend baking session or a weeknight treat if you plan ahead. The active work is minimal, making it great for involving the family. While the dough chills, you can clean up or prepare a glass of milk!
1. Combine Dry Ingredients: In a medium bowl, whisk together the all-purpose flour, baking soda, and fine sea salt. This ensures the leavening and salt are evenly distributed throughout the dough. Set aside.
2. Cream Butter and Sugars: In the bowl of your stand mixer fitted with the paddle attachment (or a large bowl with a hand mixer), beat the softened butter, granulated sugar, and light brown sugar on medium-high speed for 2-3 minutes. The mixture should be light, fluffy, and pale in color. This step is crucial for incorporating air into the dough.
3. Add Eggs and Vanilla: Add the room-temperature eggs one at a time, beating well after each addition until fully incorporated. Scrape down the sides and bottom of the bowl as needed. Beat in the vanilla extract.
4. Gradually Add Flour: With the mixer on low speed, slowly add the dry ingredient mixture to the wet ingredients. Mix only until the flour streaks have just disappeared. Do not overmix! Overmixing develops gluten and results in tough, dense cookies.
5. Fold in the Chocolate: Remove the bowl from the mixer. Add your chocolate chips or chunks. Use a spatula to gently fold them into the dough until they are evenly distributed. This manual folding prevents you from breaking up the chocolate too much.
6. Chill the Dough (This is the secret to thick, bakery style cookies, soft cookies): Cover the bowl with plastic wrap and refrigerate for at least 30 minutes, but ideally for 24-48 hours. Chilling solidifies the butter, preventing the cookies from spreading too much in the oven. It also allows the flour to hydrate and the flavors to meld, resulting in a deeper, more complex taste and a chewier texture.
7. Preheat and Prep: When ready to bake, preheat your oven to 350°F (175°C). Line two baking sheets with parchment paper.
8. Scoop and Arrange: Using a 2-tablespoon cookie scoop, portion out the chilled dough and roll into balls. Place them 2-3 inches apart on the prepared baking sheets. You should get 12-16 cookies per batch.
9. Bake: Bake for 10-12 minutes. The edges should be golden brown, but the centers should still look slightly soft and underdone. They will continue to cook on the hot pan.
10. Cool Properly: Let the cookies cool on the baking sheet for 5 minutes. This allows them to set. Then, transfer them to a wire rack to cool completely.
Nutritional Benefits / Advantages
While cookies are an indulgence, baking them at home offers several advantages. You have complete control over the ingredients, meaning you can opt for higher quality chocolate and real vanilla extract, avoiding the artificial flavors and preservatives often found in commercial brands. You can adjust the sugar content to your preference and make smart substitutions if needed. Baking at home reduces packaging waste from store-bought cookies and can be more cost-effective, especially when making large batches for events or holidays. It’s also a wonderful way to practice mindfulness and share a homemade treat with loved ones, fostering connection and joy.
Tips, Alternative Methods, or Cooking Advice
- For Extra Chewy Cookies: Use more brown sugar than white sugar and don’t skip the chilling step. Some bakers swear by adding an extra egg yolk for richness.
- For Crispier Cookies: Use melted and cooled butter, slightly more white sugar, and bake a minute or two longer.
- Air Fryer Method: You can bake small batches in an air fryer. Place dough balls in the basket (don’t overcrowd) at 320°F (160°C) for 6-8 minutes. Keep a close eye on them.
- Dietary Swaps:
* Gluten-Free: Substitute the all-purpose flour with a 1-to-1 gluten-free baking blend.
* Dairy-Free: Use a high-quality dairy-free butter alternative and dairy-free chocolate chips.
- Troubleshooting:
* Too Salty: If you accidentally used salted butter, reduce or omit the added fine sea salt.
* Too Dry: This usually means too much flour. Next time, spoon and level your flour instead of scooping. You can also add a tablespoon of milk or cream to the dough.
* Too Thick/Thin: If your dough is too stiff, let it sit at room temp for 10 minutes. If it’s too sticky, chill it a bit longer. To fix flat cookies, ensure your butter isn’t melted and your baking soda is fresh.
Common Mistakes to Avoid
- Using Melted Butter: Unless a recipe specifically calls for it, never use melted butter. It will cause your cookies to spread into thin, greasy crisps. The creaming step requires solid fat.
- Measuring Flour Incorrectly: This is the #1 mistake. Scooping your measuring cup into the flour bag packs it down, adding up to 25% extra flour. Always spoon flour into your cup and level it off, or better yet, use a scale.
- Skipping the Chill: Don’t rush this step! Chilling the dough is the key to thick, chewy cookies with a rich flavor. It makes a world of difference.
- Overmixing the Dough: Once you add the flour, mix only until it’s combined. Overmixing leads to gluten development, which makes cookies tough instead of tender.
- Overcrowding the Baking Sheet: Give your cookies space to breathe and spread. Baking too many at once leads to uneven cooking and steaming, which prevents browning.
- Under-baking or Over-baking: Pull the cookies out when the centers still look a little soft. They will set up as they cool. Over-baked cookies are hard and dry.
Storage / Maintenance Tips
- Room Temperature: Store cooled cookies in an airtight container at room temperature for up to 5 days. To keep them soft, add a slice of sandwich bread to the container; the cookies will absorb moisture from the bread.
- Freezing Baked Cookies: Place cooled cookies in a freezer-safe bag or container, separating layers with parchment paper. They will last for up to 3 months. Thaw at room temperature or warm in the microwave for a few seconds.
- Freezing Raw Cookie Dough: This is a game-changer! Scoop the dough into balls, place them on a baking sheet to freeze solid, then transfer to a freezer bag. You can bake them straight from the freezer whenever a craving hits—just add 1-2 minutes to the baking time. They’re ready in a flash!
Conclusion
Mastering this recipe for homemade Chocolate Chip Cookies is a true baking win. By following the steps, avoiding common pitfalls, and understanding the “why” behind techniques like chilling the dough, you can consistently create amazing treats. It’s about more than just a recipe; it’s about the experience and the confidence you build in your own kitchen. So, preheat that oven and give it a try. Once you taste that perfect combination of a crispy edge and a soft, chocolate-filled center, you’ll never look at store-bought bakery style cookies, soft cookies the same way again. Let us know how your batch turns out in the comments below!
FAQs
1. Why do I need to chill the cookie dough?
Chilling the dough is the most important step for achieving thick cookies. It solidifies the butter, preventing the cookies from spreading too much in the oven. It also allows the flour to hydrate, which improves the texture and deepens the flavor of your final cookies.
2. Can I use salted butter instead of unsalted?
Yes, you can, but you’ll need to adjust the recipe. If you use salted butter, omit the fine sea salt from the recipe to avoid over-salting the dough.
3. My cookies are flat and greasy. What went wrong?
This usually happens for one of three reasons: your butter was too warm or melted, you didn’t chill the dough, or you used too much flour (if you scooped it directly from the bag). Make sure your butter is just softened (cool to the touch) and always chill your dough before baking.
4. Can I freeze the cookie dough?
Absolutely! This is one of the best time-saving tricks. Scoop the dough into balls, freeze them on a baking sheet until solid, then transfer them to a freezer bag. You can bake them from frozen; just add 1-2 minutes to the baking time.
5. How do I know when the cookies are done?
Look for golden-brown edges while the centers still appear slightly soft and underdone. They will continue to cook and set on the hot baking sheet after you take them out of the oven. This is the secret to a soft, chewy center.
