
The Ultimate Creamy Baked Mac and Cheese: Your New Comfort Food Champion
Is there anything more universally loved than a big, gooey dish of homemade mac and cheese? It’s the ultimate comfort food, a staple at potlucks, and the side dish everyone fights over. But achieving that perfect balance of creamy sauce, tender pasta, and a crispy, buttery topping can feel intimidating. Store-bought versions often lack that fresh, cheesy flavor, and restaurant prices can add up quickly. Making it yourself at home puts you in the driver’s seat, allowing you to control the quality of the cheese, the creaminess of the sauce, and the saltiness to your exact preference.
In this guide, we’re diving deep into how to create the absolute best Baked Mac and Cheese you’ve ever tasted. We’ll also explore how to make a delicious southern mac and cheese that’s rich, custardy, and sure to impress your family and friends. Get ready to master the techniques that will make this classic dish your signature recipe.
Table of Contents
Materials & Supplies
Before you start, gather all your ingredients and tools. Having everything ready makes the cooking process smooth and enjoyable.
Ingredients for the Creamy Cheese Sauce:
- Butter (1/2 cup, unsalted): The foundation of our roux, which thickens the sauce. Using unsalted butter gives you full control over the final seasoning.
- All-Purpose Flour (1/2 cup): This is the thickening agent for the béchamel sauce. It combines with the butter to create a roux that will hold all that cheesy goodness.
- Whole Milk (4 cups): The base of our sauce. Whole milk provides the best richness and creaminess. For an even richer sauce, you can substitute 1-2 cups with heavy cream.
- Heavy Cream (1 cup, optional): Adds extra decadence and helps prevent the sauce from breaking or becoming grainy.
- Sharp Cheddar Cheese (12 oz, freshly shredded): The star of the show. Shred it yourself from a block! Pre-shredded cheese contains anti-caking agents that can make your sauce gritty.
- Gruyère or Monterey Jack Cheese (6 oz, freshly shredded): This adds a lovely melt and a more complex flavor profile that complements the cheddar beautifully.
- Ground Nutmeg (1/4 teaspoon): The secret weapon for any cream sauce. It enhances the dairy flavors without being overpowering.
- Salt and Freshly Ground Black Pepper: To taste. Be generous but mindful, as cheese can be salty.
The Pasta & Topping:
- Elbow Macaroni (1 lb / 16 oz): The classic choice. Cavatappi or shells also work well, as they have nooks and crannies to catch the sauce.
- Panko Breadcrumbs (1 cup): For that essential, crispy topping. You can use regular breadcrumbs, but Panko gives a lighter, crunchier texture.
- Parmesan Cheese (1/2 cup, grated): Adds a salty, nutty bite to the topping.
- Melted Butter (2 tablespoons): To toast the breadcrumbs and make them golden brown.
Kitchen Tools You’ll Need:
- Large pot for boiling pasta
- Colander or strainer
- Large, heavy-bottomed saucepan or Dutch oven (for the sauce)
- Whisk
- Measuring cups and spoons
- Cutting board and box grater (for shredding cheese)
- 9×13 inch baking dish
- Mixing bowl
Timing / Cooking Schedule
- Prep Time: 20 minutes (includes shredding cheese and boiling pasta)
- Cook Time: 25 minutes
- Total Time: 45 minutes
This recipe is perfect for a weeknight dinner since it comes together in under an hour. The active cooking time is about 30 minutes, making it a great option for when you want something special without spending all evening in the kitchen. It’s also a fantastic dish to prepare ahead of time for a weekend gathering or holiday meal.
Step-by-Step Instructions
Follow these steps carefully to ensure a smooth, lump-free sauce and perfectly cooked pasta.
1. Preheat and Prep: Preheat your oven to 375°F (190°C). Lightly grease a 9×13 inch baking dish with butter or non-stick spray. This is the time to shred all your cheese if you haven’t already. A good rule of thumb is to shred the cheese and let it come to room temperature, which helps it melt more smoothly.
2. Cook the Pasta: Bring a large pot of salted water to a rolling boil. Add the macaroni and cook according to package directions until al dente (still with a slight bite). It’s important not to overcook the pasta, as it will continue to cook in the oven. Drain the pasta and set it aside. You can toss it with a tiny bit of olive oil to prevent sticking if you like.
3. Start the Roux: In your large saucepan or Dutch oven, melt the 1/2 cup of butter over medium heat. Once it’s fully melted and foamy, sprinkle in the flour. Whisk constantly for about 1-2 minutes. This step cooks out the raw flour taste and forms your roux. You’ll know it’s ready when it smells nutty and turns a light golden color.
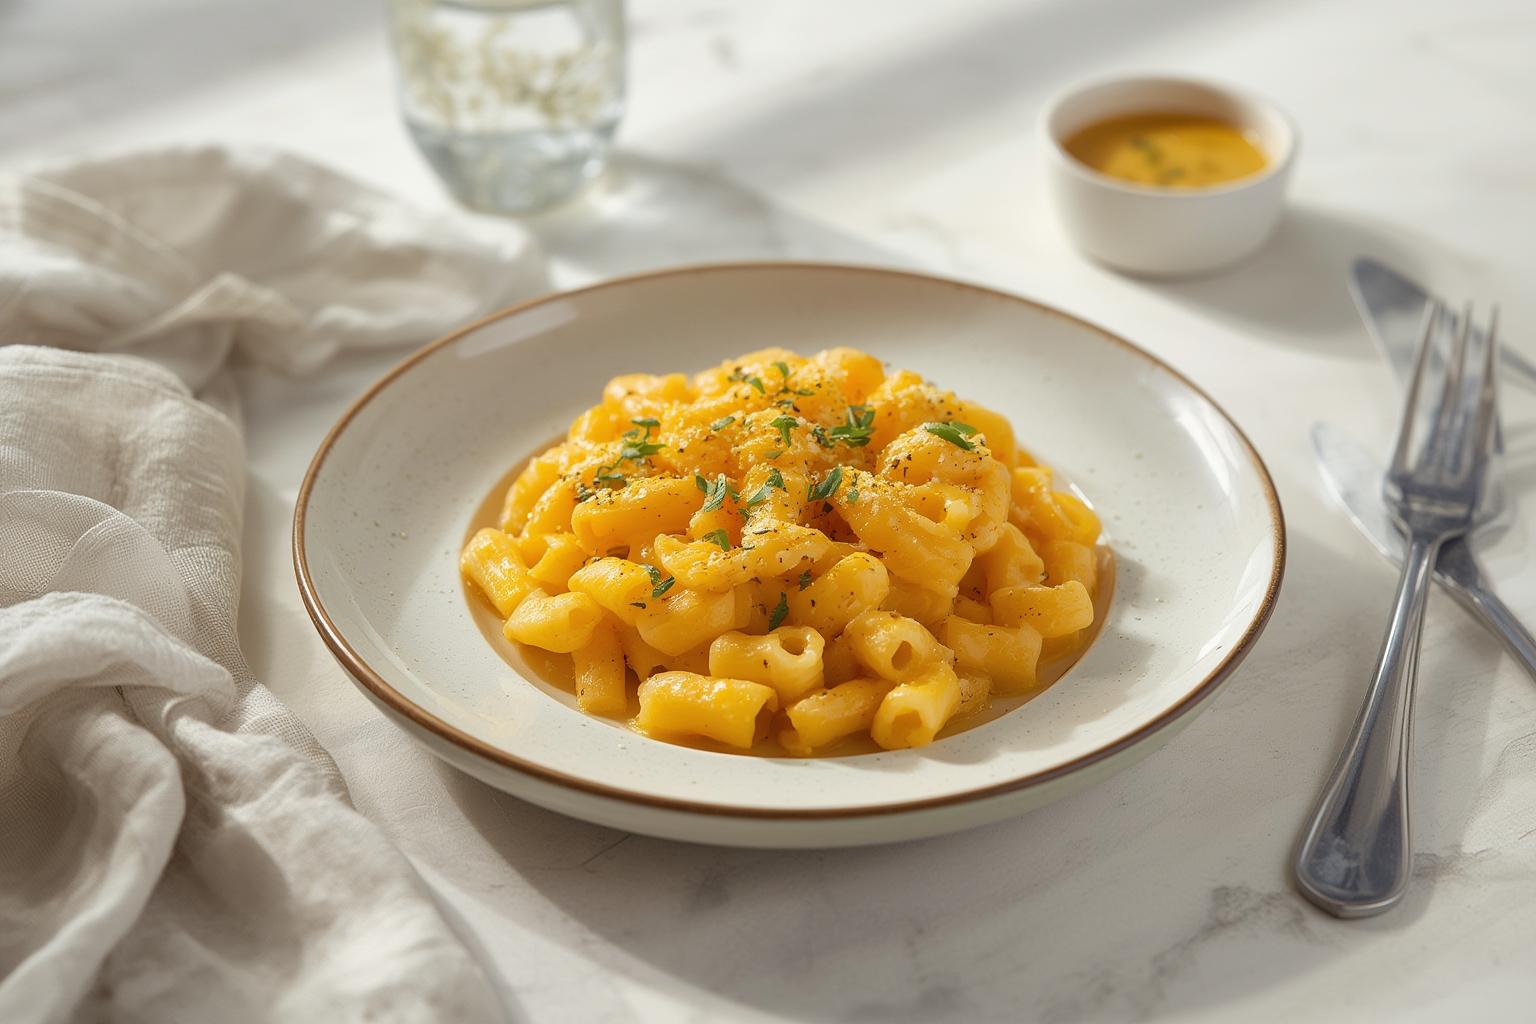
4. Build the Béchamel: Slowly pour in the milk and heavy cream (if using), about a cup at a time, while whisking continuously. Whisking vigorously as you add the liquid is the key to preventing lumps. Once all the liquid is incorporated, continue to cook, stirring often, until the sauce thickens enough to coat the back of a spoon (about 5-7 minutes). It should be thick but still pourable. This is the base for what will become an incredible Baked Mac and Cheese. The technique ensures a stable, velvety sauce that won’t separate in the oven.
5. Make it Cheesy: Turn the heat down to low. Add the shredded cheddar and Gruyère/Monterey Jack to the sauce, one handful at a time, stirring until each addition is fully melted before adding the next. Stir in the ground nutmeg, salt, and pepper. Taste the sauce and adjust seasoning as needed. Remember, you’re about to add salty pasta and cheese, so don’t over-salt at this stage.
6. Combine and Transfer: Add the drained pasta to the cheese sauce and stir until every piece of macaroni is beautifully coated. Pour the entire mixture into your prepared baking dish and spread it into an even layer.
7. Prepare the Topping: In a small bowl, combine the Panko breadcrumbs, grated Parmesan, and 2 tablespoons of melted butter. Toss until the breadcrumbs are evenly moistened.
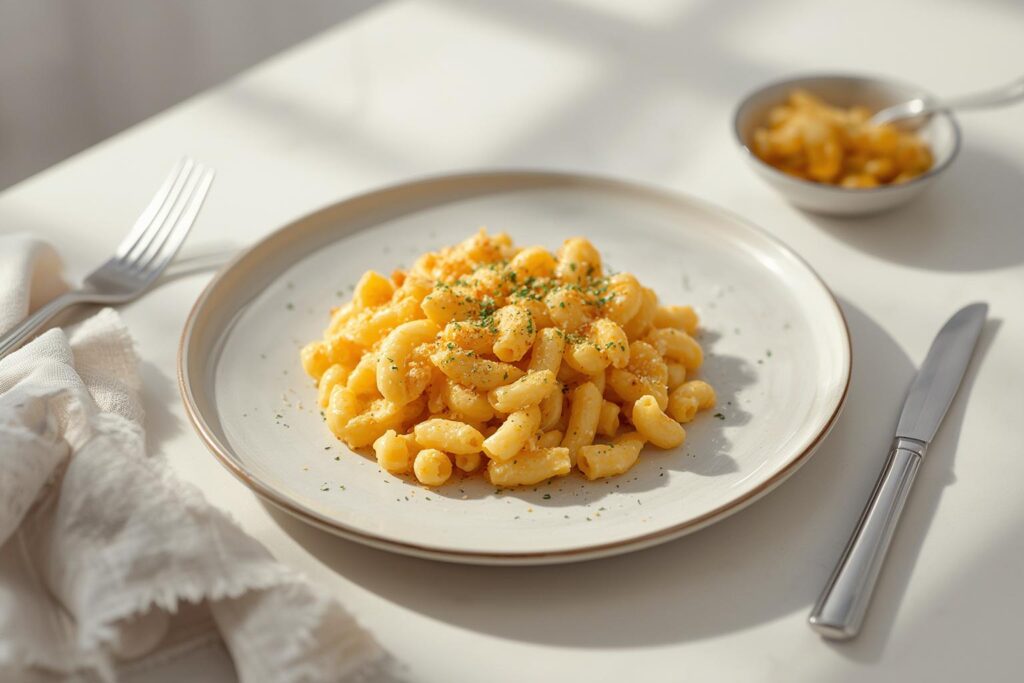
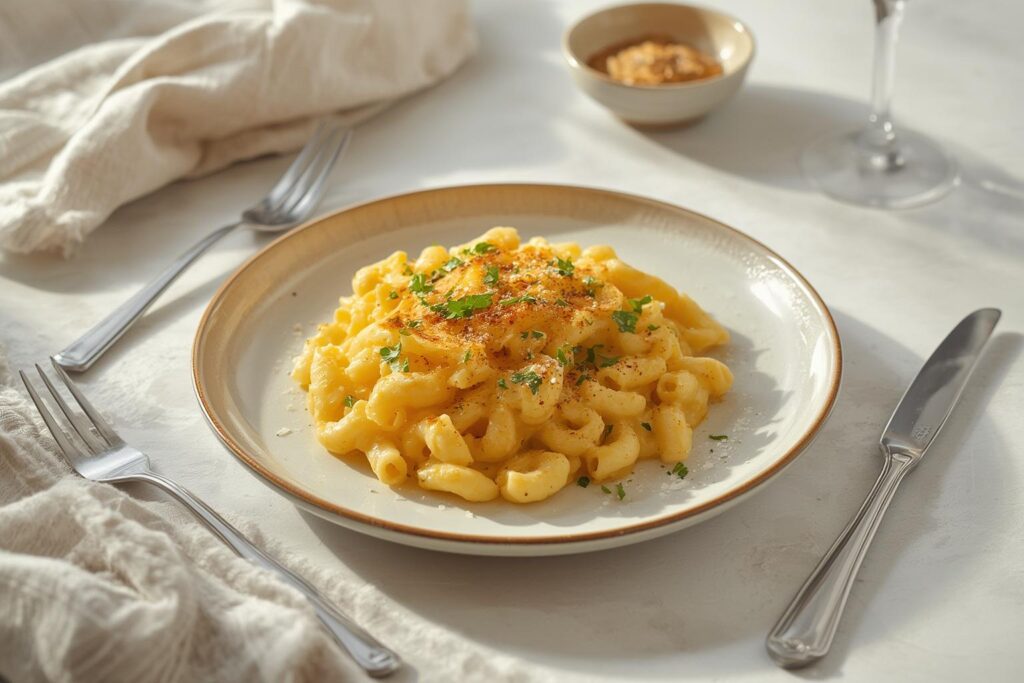
8. Bake to Perfection: Sprinkle the breadcrumb topping evenly over the mac and cheese. Bake for 20-25 minutes, or until the sauce is bubbly around the edges and the topping is golden brown and delicious. For the last few minutes, you can switch the oven to broil to get an extra-crispy top, but watch it carefully to prevent burning. Let it rest for 10 minutes before serving. This allows the sauce to set up slightly. This step-by-step method will help you master a truly memorable southern mac and cheese, known for its rich, baked texture.
Nutritional Benefits & Advantages
While mac and cheese is often seen as an indulgent treat, making it at home has several advantages. By using high-quality ingredients, you ensure there are no artificial preservatives, colors, or flavors often found in boxed or frozen versions.
You have complete control over the nutritional profile. You can:
- Boost Protein: Add cooked chicken, ham, or even some white beans.
- Sneak in Veggies: Stir in steamed broccoli, roasted red peppers, or spinach.
- Choose Your Dairy: Opt for lower-fat milk or skip the heavy cream to reduce calories.
- Reduce Sodium: You control how much salt goes in, unlike processed products.
Cooking at home is also more sustainable. You buy ingredients, often with less packaging than pre-made meals, and you can use leftovers creatively, reducing food waste. Plus, it’s significantly more cost-effective to make a large, family-sized dish from scratch than to buy individual servings or restaurant portions.
Tips, Alternative Methods, or Cooking Advice
- Stovetop Mac and Cheese: Want it creamy without the bake? Simply follow the sauce instructions and stir the cooked pasta right into the sauce. Serve immediately for a delicious, one-pot meal.
- Slow Cooker Method: For a hands-off approach, combine uncooked pasta, cheese sauce ingredients (using less liquid as it won’t evaporate), and milk in a slow cooker. Cook on low for 2-3 hours, stirring occasionally, until pasta is tender and sauce is creamy.
- Air Fryer for Single Servings: Have leftover mac and cheese? Form it into patties or place a scoop in an air fryer-safe ramekin. Top with extra cheese or breadcrumbs and air fry at 350°F (175°C) for 5-8 minutes until hot and crispy.
- Flavor Variations: Don’t be afraid to experiment! Add a dash of hot sauce, a spoonful of Dijon mustard, or smoked paprika to the sauce. Mix-ins like caramelized onions, mushrooms, or jalapeños can completely change the dish.
- Troubleshooting:
* Grainy Sauce: This usually happens if the cheese is added over high heat or if you used pre-shredded cheese. Next time, shred your own and keep the heat low.
* Too Thick: If your sauce seems too thick before baking, just stir in a splash of milk or pasta water to thin it out.
* Too Thin: It will likely thicken up in the oven. You can make a thicker roux next time (more flour/butter) or let the sauce simmer a bit longer before adding the pasta.
* Too Salty: If you’ve oversalted the sauce, serve it with unsalted sides like a simple green salad or steamed vegetables to balance it out.
Common Mistakes to Avoid
Even simple recipes have pitfalls. Avoid these common errors for a foolproof result every time.
1. Using Pre-Shredded Cheese: We’ve said it before, but it’s the #1 mistake. The cellulose coating on pre-shredded cheese prevents it from melting smoothly, leading to a grainy, oily sauce. Take the extra 5 minutes to shred your own block of cheese.
2. Overcooking the Pasta: Mushy pasta ruins the texture of the final dish. It will cook more in the oven and when reheating, so cook it until it’s just al dente.
3. Adding Cheese to a Boiling Sauce: High heat can cause the proteins in the cheese to seize up and the fats to separate, resulting in a greasy sauce. Always turn the heat down to low before adding the cheese.
4. Not Seasoning in Layers: Simply adding salt at the end won’t be enough. Salt your pasta water (it should taste like the sea) and season the sauce as you go. Taste and adjust!
5. Skipping the Roux: The roux (butter and flour mixture) is essential for a stable sauce that won’t break in the oven. Don’t try to thicken the milk with cornstarch or skip this step.
Storage & Maintenance Tips
Leftovers are one of the best parts of making mac and cheese! Here’s how to store and reheat it properly.
- Refrigerating: Cool the mac and cheese completely before covering and storing it in an airtight container. It will stay fresh in the refrigerator for 3-5 days. To keep it from drying out, you can add a splash of milk before storing.
- Freezing: Mac and cheese freezes beautifully. For best results, freeze it before baking. Assemble the dish (without the breadcrumb topping), let it cool, wrap it tightly in plastic wrap and foil, and freeze for up to 3 months. When ready to bake, thaw it in the fridge overnight, add the topping, and bake as directed (you may need to add 10-15 minutes to the bake time). You can also freeze baked leftovers, but the texture of the pasta may soften slightly upon reheating.
- Reheating:
* Oven (Best for texture): Place in an oven-safe dish, cover with foil to prevent drying, and bake at 350°F (175°C) until hot and bubbly (about 20 minutes). Remove foil for the last 5 minutes to re-crisp the top.
* Stovetop: Place in a saucepan over low heat. Add a splash of milk or cream and stir gently until it’s warmed through and creamy again.
* Microwave (Fastest): Place a single serving in a microwave-safe bowl, add a splash of milk, cover, and heat in 30-second intervals, stirring in between, until hot.
Conclusion
Mastering the art of homemade mac and cheese is a rewarding journey that results in a truly spectacular dish. By using real cheese, creating a proper béchamel sauce, and avoiding common mistakes, you can elevate this simple comfort food into something truly special. Whether you prefer the classic baked version with a crunchy topping or a creamy, custardy Baked Mac and Cheese style, the techniques are now in your hands. This recipe for southern mac and cheese is sure to become a family favorite.
Now it’s your turn! Give this recipe a try and let us know how it turns out in the comments below. Did you add any special mix-ins? What’s your favorite cheese combination? We’d love to hear from you! Don’t forget to rate the recipe and share it with a fellow comfort food lover.
FAQs
1. Can I use different types of cheese?
Absolutely! The best mac and cheese uses a blend of cheeses. A great combo is 2 parts sharp cheddar (for flavor) and 1 part good melting cheese like Gruyère, Monterey Jack, or Fontina (for texture). Avoid soft cheeses like Brie or hard, aged cheeses like Parmesan for the main sauce, as they don’t melt as well or can become oily.
2. Why is my cheese sauce gritty or oily?
This is almost always due to high heat. Cheese proteins seize up and fats separate when exposed to high temperatures. Always melt your cheese over low heat. The other culprit is pre-shredded cheese, which contains starches that inhibit a smooth melt.
3. Do I have to boil the pasta first?
Yes, for this baked version. The pasta needs to be cooked first because the sauce is a finished product that thickens quickly. If you added uncooked pasta to the sauce, it would absorb all the liquid and become a solid brick.
4. Can I make this ahead of time?
Yes! You can assemble the entire dish (without the breadcrumb topping), cover it tightly, and refrigerate it for up to 2 days. When you’re ready to bake, let it sit at room temperature for 30 minutes, add the topping, and then bake. You may need to add 10-15 minutes to the baking time.
5. My sauce is too thick/thin. How can I fix it?
If it’s too thick before adding the pasta, whisk in a little more milk or some of the starchy pasta water until it reaches the right consistency. If it seems too thin after adding the cheese, let it simmer gently for a few more minutes to reduce and thicken. Remember, it will also thicken as it bakes.
