
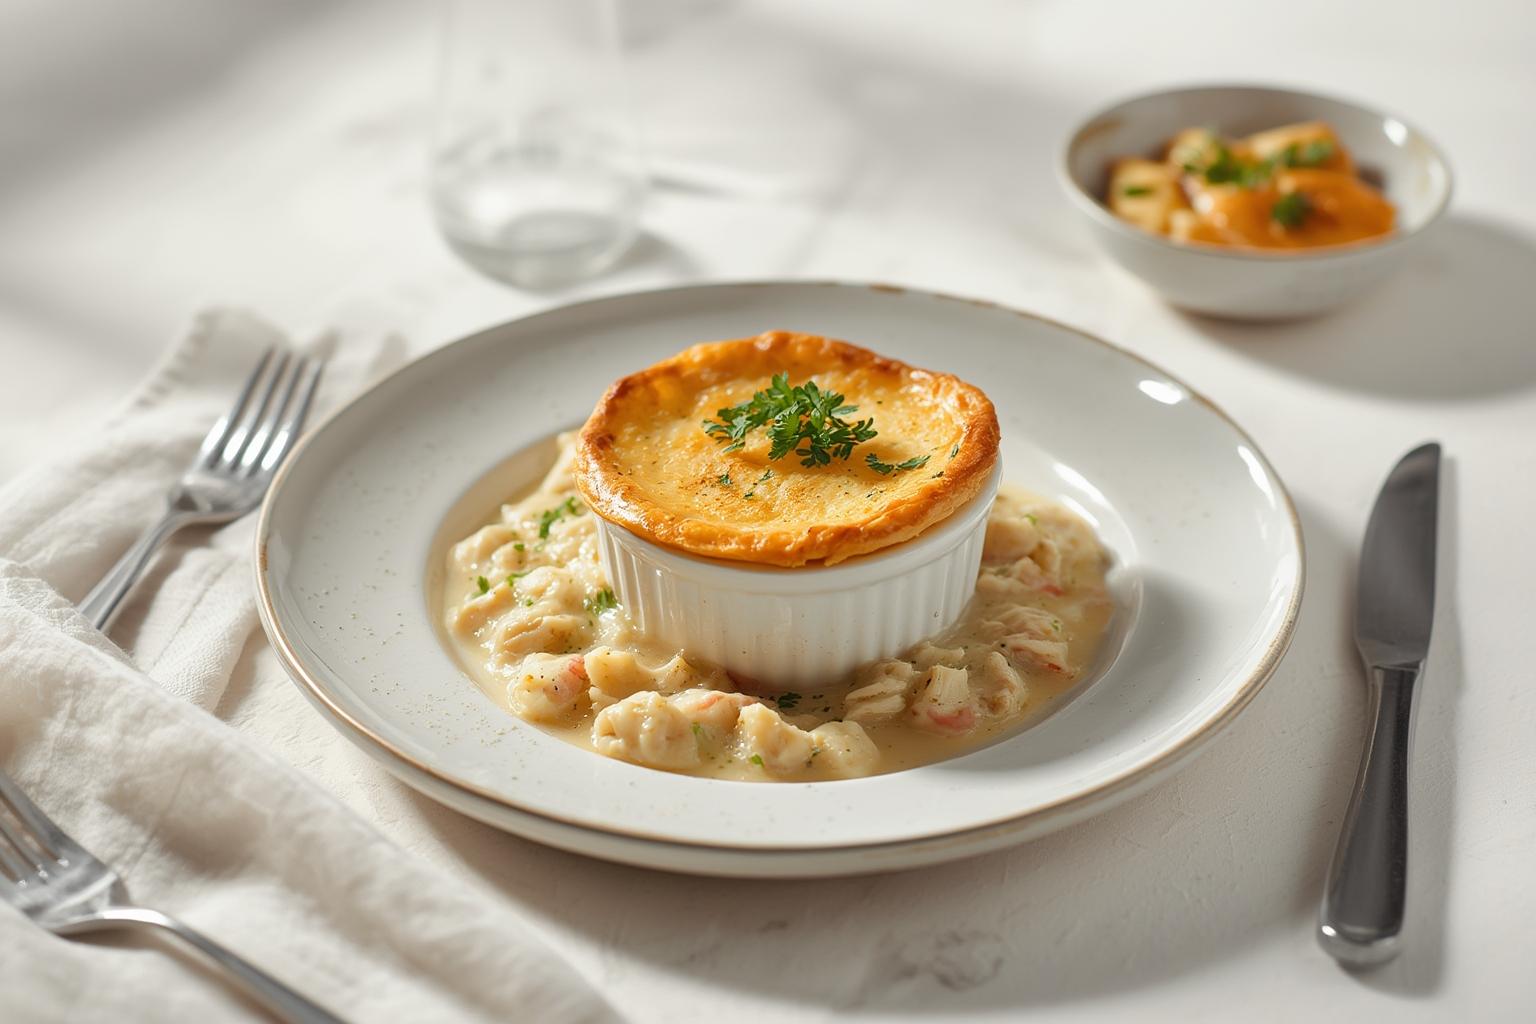
Homestyle Chicken Pot Pie: A Cozy, Flavor-Packed Recipe
There’s something undeniably comforting about a steaming, golden-crusted pie fresh from the oven. Have you ever wondered why homemade pot pie tastes so much better than the frozen ones you find at the grocery store? It’s all about the layers of flavor, the flaky pastry, and the creamy, chunky filling loaded with tender chicken and garden vegetables.
Making this classic American dish at home isn’t just about saving a few dollars; it’s about controlling the ingredients, ensuring maximum freshness, and filling your home with the kind of aroma that brings everyone to the kitchen. This recipe for Chicken Pot Pie is designed to be approachable, yielding a creamy chicken pot pie that rivals any restaurant version.
Table of Contents
Materials & Supplies
Before you start cooking, gather your ingredients and tools. Having everything ready (mise en place) makes the process seamless and enjoyable.
Ingredients
- Chicken: 3 cups cooked, diced chicken. Leftover rotisserie chicken is perfect for this, or poach 1 lb of boneless, skinless chicken breasts or thighs.
- Vegetables: 1 cup diced carrots, 1 cup green peas (frozen works great), 1/2 cup diced celery, and 1/2 cup diced yellow onion.
- Fats: 1/2 cup unsalted butter (1 stick). You can substitute with olive oil or a dairy-free butter alternative.
- Flour: 1/3 cup all-purpose flour (essential for thickening the filling). For gluten-free, use a 1:1 gluten-free baking blend or cornstarch slurry.
- Liquids: 2 cups chicken broth (low sodium preferred) and 1/3 cup heavy cream or half-and-half. For a lighter version, use whole milk, though the sauce will be less rich.
- Seasonings: 1 teaspoon salt, 1/2 teaspoon black pepper, 1/2 teaspoon dried thyme, and a pinch of cayenne pepper or paprika for a subtle kick (optional).
- Pastry: 1 package of refrigerated pie crusts (usually contains 2 discs) or homemade pie dough.
- Egg Wash: 1 large egg beaten with 1 tablespoon of water (for that shiny, golden crust).
Kitchen Tools
- Large Skillet or Dutch Oven: A 12-inch skillet with deep sides is ideal for making the filling.
- Mixing Bowls: One medium bowl for the filling and a small bowl for the egg wash.
- Whisk & Spatula: For stirring and smoothing the sauce.
- Measuring Cups & Spoons: Accuracy is key for a perfect sauce consistency.
- 9-inch Pie Dish: If you aren’t using an oven-safe skillet.
- Rolling Pin: Only if you need to adjust your dough.
- Sharp Knife & Cutting Board: For prepping fresh veggies.
Timing / Cooking Schedule
Planning your time helps ensure the meal comes together without stress.
<img src="https://kitchennest.net/wp-content/uploads/2026/01/Hoppin_John-50-1024x683.jpg"/>- Prep Time: 20 minutes (chopping veggies, dicing chicken).
- Cook Time: 25–30 minutes (making the filling and baking).
- Total Time: Under 1 hour (50 minutes total).
Schedule Note: This is a fantastic weeknight-friendly meal. If you are meal prepping, you can make the filling a day ahead and store it in the fridge. Simply reheat it slightly before assembling the pie to reduce baking time.
Step-by-Step Instructions
Follow these steps to create a pie with a flaky crust and a velvety filling.
1. Preheat and Prep: Preheat your oven to 400°F (200°C). If you are using a separate pie dish, place one of the pie crusts inside it and gently press it into the bottom and sides. Keep the second crust covered to prevent it from drying out.
2. Sauté Aromatics: In your large skillet or Dutch oven, melt the butter over medium heat. Add the diced onion, carrots, and celery. Sauté for 5–7 minutes until the onions are translucent and the carrots begin to soften. This step builds the flavor base, so don’t rush it!
3. Make the Roux: Sprinkle the flour over the cooked vegetables. Stir constantly for about 1–2 minutes to cook off the raw flour taste. The mixture will look pasty and thick.
4. Create the Sauce: Slowly pour in the chicken broth while whisking constantly to avoid lumps. Bring the mixture to a gentle simmer. Let it cook for 3–5 minutes until it thickens into a gravy consistency. Stir in the heavy cream, dried thyme, salt, pepper, and cayenne.
5. Combine the Filling: Remove the skillet from the heat. Fold in the cooked chicken and the frozen peas. Stir gently to combine. Let the mixture cool slightly for 5 minutes so the crust doesn’t get soggy.
6. Assemble the Pie: Pour the creamy filling into your prepared pie dish (or leave it in the skillet if it’s oven-safe). Unroll the second pie crust and place it over the filling. Trim any excess dough and crimp the edges together with a fork to seal.
7. Vent and Brush: Cut 3–4 small slits in the top crust to allow steam to escape. Brush the top evenly with the egg wash for a beautiful, glossy finish.
8. Bake: Place the pie on a baking sheet (to catch any potential drips) and bake for 25–30 minutes, or until the crust is golden brown and the filling is bubbling through the vents.
9. Rest and Serve: Let the pie cool for at least 10–15 minutes before slicing. This allows the filling to set, making it easier to serve neat slices.
Nutritional Benefits & Advantages
While comfort food is often associated with indulgence, this Chicken Pot Pie offers several advantages when made from scratch.
- Ingredient Control: By making it at home, you eliminate preservatives, high sodium, and artificial flavors often found in frozen or canned versions.
- Nutrient Density: You can pack this pie with fresh vegetables like carrots (Vitamin A), peas (fiber and protein), and celery. Using lean chicken breast provides high-quality protein without excess fat.
- Digestive Health: Homemade sauces allow you to control the fat content. Using low-sodium broth and fresh herbs enhances flavor without relying on excessive salt.
- Cost Savings: Bulk ingredients like flour, butter, and frozen vegetables are significantly cheaper than buying pre-made individual pies. Plus, it’s a great way to use up leftover chicken and veggies, reducing food waste.
Tips, Alternative Methods, or Cooking Advice
Variety is the spice of life. Here are ways to adapt this recipe to your kitchen and dietary needs.
- Alternative Cooking Methods:
* Stovetop Skillet Pie: If you don’t want to turn on the oven, cook the filling in an oven-safe skillet, top with a sheet of puff pastry, cover, and steam on low until the pastry is cooked through (about 15 minutes).
* Slow Cooker: Prepare the filling in a slow cooker on low for 4 hours, then top with crust and bake briefly to brown the pastry.
* Air Fryer: Use a small ramekin for individual pot pies. Top with crust and air fry at 350°F for 12–15 minutes.
- Dietary Swaps:
* Low Carb: Skip the flour and crust. Thicken the filling with a cream cheese or heavy cream reduction and top with a sprinkle of almond flour and parmesan “crust” before baking.
* Vegetarian: Swap chicken for hearty mushrooms and cannellini beans. Use vegetable broth and add a dash of soy sauce for umami depth.
- Small Kitchen Tip: If you don’t have a rolling pin or fancy pie dish, use a sheet of puff pastry cut to size, and bake the filling in a standard casserole dish. It tastes just as good!
Common Mistakes to Avoid
Even experienced cooks can stumble on pot pie. Here’s how to avoid the most common pitfalls:
1. A Soggy Bottom Crust: This usually happens when the filling is too hot or liquid when adding the top crust. Letting the filling cool slightly before assembling helps, as does pre-baking the bottom crust for 5 minutes (blind baking).
2. Watery Filling: If you skip the flour or don’t let the sauce simmer long enough, the filling won’t thicken. Always cook the roux until it smells nutty and allows the liquid to reduce slightly before adding the cream. If it’s still runny after baking, let it sit longer—it will set as it cools.
3. Burnt Edges: The crust edges brown faster than the center. To prevent this, cover the edges with a strip of aluminum foil halfway through baking, removing it for the last 10 minutes to brown the center.
4. Bland Flavor: Pot pie relies on seasoning. Taste the filling before putting it in the dish. Does it need more salt? More thyme? Remember, the crust is bland, so the filling must carry the flavor.
Storage & Maintenance Tips
Proper storage ensures you can enjoy this meal multiple times.
- Refrigeration: Store leftovers covered tightly in plastic wrap or in an airtight container in the fridge for up to 3–4 days.
- Freezing: This creamy chicken pot pie freezes beautifully. You can freeze it before baking (cover tightly with foil and freeze for up to 3 months; bake from frozen at 400°F for about 50 minutes) or freeze individual slices.
- Reheating:
* Oven (Best Method): Reheat at 350°F for 15–20 minutes. This keeps the crust crispy.
* Microwave (Fastest): Reheat on medium power in 1-minute intervals. Note that the crust will soften in the microwave. To crisp it up, finish it in a hot skillet or toaster oven for a few minutes.
- Texture Preservation: If the filling has thickened too much in the fridge, stir in a splash of chicken broth or milk when reheating to loosen it up.
Conclusion
Mastering the Chicken Pot Pie is a culinary rite of passage. It’s a dish that proves simple ingredients, treated with care, can create something extraordinary. Whether you stick to the classic recipe or experiment with the variations suggested, you are now equipped to make a creamy chicken pot pie that will become a staple in your home. We’d love to hear how it turns out—leave a comment below with your favorite vegetable additions or rate the recipe if you tried it!
FAQs
1. Can I make chicken pot pie ahead of time?
Yes! You can assemble the pie (without baking) and keep it covered in the fridge for up to 24 hours. If baking from the fridge, add 5–10 minutes to the baking time. You can also make the filling ahead of time and store it separately for up to 3 days.
2. What is the best way to reheat pot pie without drying it out?
The oven is best. Cover the pie loosely with aluminum foil to trap moisture and bake at 350°F until heated through. Remove the foil for the last few minutes to crisp the crust.
3. Can I use store-bought rotisserie chicken?
Absolutely! This is a time-saving hack. Just make sure to remove the skin and dice the meat. The flavor of rotisserie chicken adds a delicious depth to the filling.
4. Why is my filling runny?
Runny filling usually means the sauce didn’t cook long enough to thicken or the flour wasn’t fully incorporated. If this happens, you can bake the pie a bit longer or let it rest longer before serving; it will continue to set as it cools.
5. Can I use puff pastry instead of pie crust?
Yes, puff pastry creates a flakier, more delicate topping. It may cook faster than traditional pie crust, so keep an eye on it during the last 10 minutes of baking to ensure it doesn’t burn.
