
The Ultimate Guide to Making Perfect Homemade Bagels
Have you ever walked past a bakery and caught that irresistible scent of fresh-baked bread, then wondered if you could ever recreate that magic in your own kitchen? The truth is, making authentic New York-style bagels at home isn’t just possible—it’s incredibly rewarding. You gain complete control over ingredients, achieve that signature chewy texture, and enjoy the pride that comes with mastering a technique that seems intimidating but is actually quite straightforward. Today, we’re diving deep into the art of crafting Homemade Bagels that are every bit as satisfying as your favorite deli’s, plus we’ll share the secrets to achieving those perfectly chewy homemade bagels that keep you coming back for more.
Table of Contents
Materials & Supplies
Creating bagels requires a handful of pantry staples and a few specific tools. Here’s everything you need:
Core Ingredients:
- Bread Flour (5 cups): High protein content is crucial for gluten development, which creates that signature chew. All-purpose flour works in a pinch but yields a softer crumb.
- Warm Water (1 ½ cups, ~110°F): Activates the yeast. Too hot kills it; too cold slows it down.
- Active Dry Yeast (2 ¼ tsp or 1 packet): The leavening agent that gives the bagels lift.
- Honey or Barley Malt Syrup (1 tbsp): Provides food for the yeast and a subtle sweetness. Malt syrup is traditional for authentic flavor.
- Salt (1 ½ tsp): Essential for flavor and controlling yeast activity.
- Oil (1 tbsp, neutral like canola): Adds a touch of softness to the dough.
For the Water Bath (The Secret Step):
- Water (8 cups): For boiling.
- Baking Soda (1 tbsp): Alkalizes the water, promoting a better crust and browning.
- Optional: Barley Malt Syrup (1 tbsp): Added to the boiling water for deeper color and flavor.
Toppings (Optional):
- Egg Wash (1 egg beaten with 1 tbsp water): For a shiny finish that helps toppings stick.
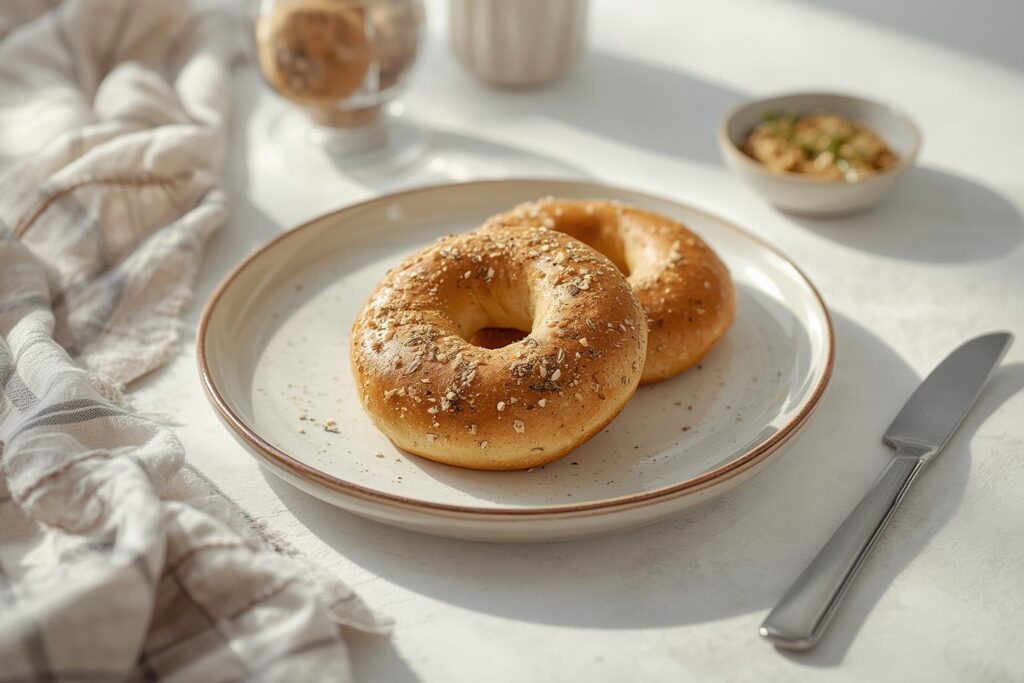
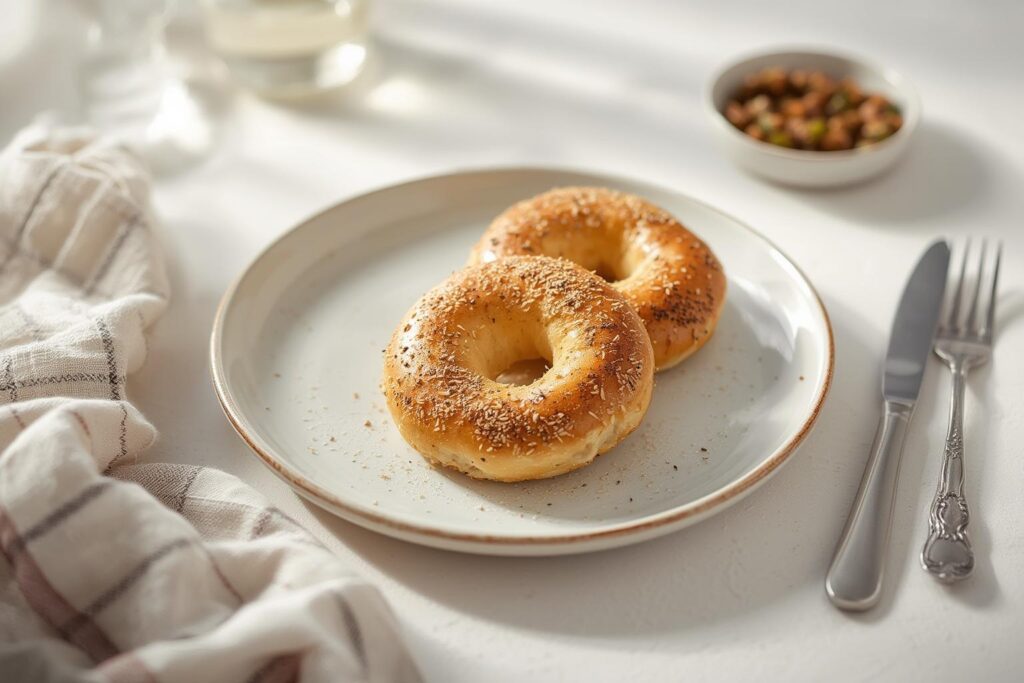
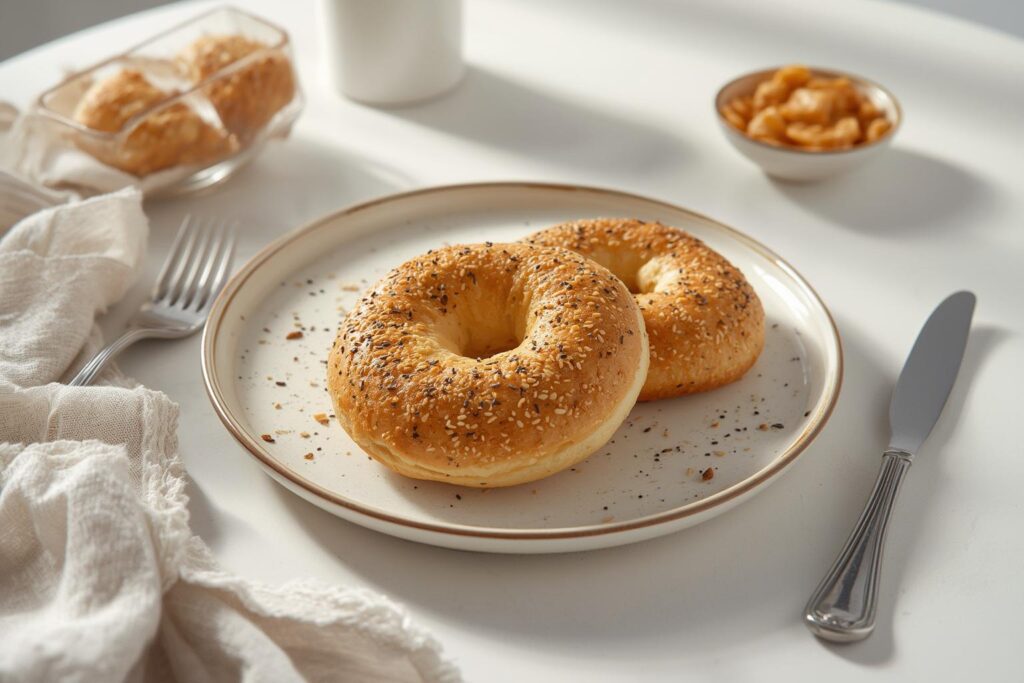
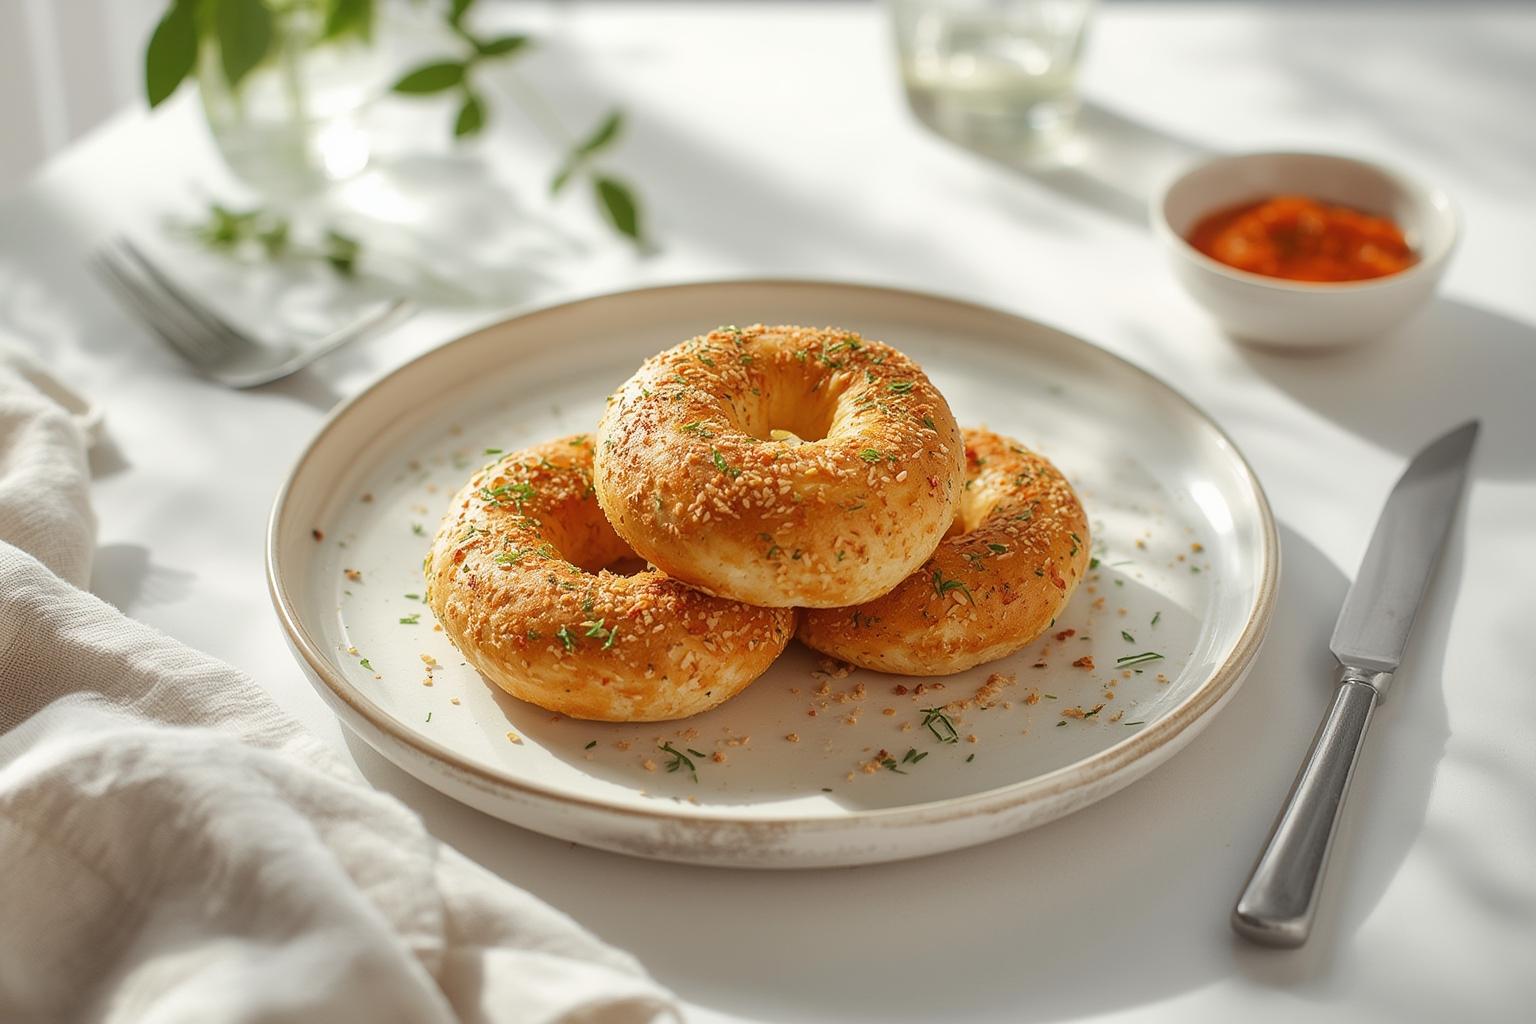
- Everything Bagel Seasoning, Sesame Seeds, Poppy Seeds, Dried Onion/Garlic, Coarse Salt.
Kitchen Tools:
- Large Mixing Bowl: For combining and kneading dough.
- Stand Mixer with Dough Hook (Optional): Makes kneading effortless, but mixing by hand is fine.
- Measuring Cups & Spoons: For accuracy.
- Plastic Wrap or Clean Kitchen Towel: For covering dough during rises.
- Large Pot or Dutch Oven: Wide and deep enough for boiling a couple of bagels at a time without crowding.
- Slotted Spoon or Spider Strainer: For safely moving bagels in and out of boiling water.
- Parchment Paper & Baking Sheet: For baking.
- Kitchen Scale (Highly Recommended): Ensures evenly sized bagels for consistent baking.
Optional Substitutions:
- Gluten-Free: Use a 1:1 gluten-free bread flour blend (results will be denser).
- Vegan: Use maple syrup or agave instead of honey; skip the egg wash or use plant-based milk/oil.
- Sourdough Starter: Replace yeast with 1 cup active sourdough starter and reduce water/flour slightly.
Timing / Cooking Schedule
- Prep Time: 25 minutes (active mixing/shaping)
- Rise Time: 1 to 1.5 hours (first rise)
- Boil Time: 10 minutes
- Bake Time: 20–25 minutes
- Total Time: Approx. 2 hours (mostly hands-off rising)
Schedule Breakdown: This recipe is ideal for a relaxed weekend morning. You can mix the dough, let it rise while you sip coffee, shape the bagels during the second rise, boil, and bake within about 2 hours. For a breakfast treat, you can prepare the dough the night before, let it cold-proof in the fridge overnight, then shape, boil, and bake in the morning.
Step-by-Step Instructions
Step 1: Activate the Yeast
In your large mixing bowl, combine the warm water (110°F), honey (or malt syrup), and active dry yeast. Give it a gentle stir and let it sit for 5–10 minutes until it becomes foamy and aromatic. This “bloom” confirms your yeast is alive and ready to work.
Step 2: Mix the Dough
Add the bread flour, salt, and oil to the yeast mixture. Stir with a sturdy wooden spoon or the dough hook on low speed until a shaggy, stiff dough forms. It will feel dry—this is normal for bagel dough. Don’t be tempted to add extra water; the hydration level is key for texture.
Step 3: Knead to Perfection
Knead the dough on a lightly floured surface (or on medium speed in a stand mixer) for 8–10 minutes. The dough should become very smooth, elastic, and tacky but not sticky. To test for readiness, perform the “windowpane test”: stretch a small piece of dough thin; if you can see light through it without it tearing, the gluten is well-developed. This is the foundation for those chewy homemade bagels.
Step 4: First Rise
Shape the dough into a ball, place it in a lightly oiled bowl, cover with plastic wrap or a damp towel, and let it rise in a warm, draft-free spot for 60–90 minutes, or until doubled in size.
Step 5: Shape the Bagels
Punch down the risen dough to release air bubbles. Divide it into 8 equal pieces (use a scale for accuracy: ~120g each). Roll each piece into a smooth ball. Let them rest for 5 minutes. Then, poke your thumb through the center of each ball and gently stretch the hole to about 2 inches in diameter (it will shrink slightly). Place shaped bagels on a parchment-lined baking sheet.
Step 6: Second Rise (Optional Cold Ferment)
Cover the shaped bagels loosely and let them rise for 30–45 minutes at room temperature until puffy. For deeper flavor, you can cover and refrigerate overnight at this stage. Before boiling, check if they float: drop one in a bowl of water; if it floats, they’re ready.
Step 7: Prepare for Boiling
Preheat your oven to 425°F (220°C). Bring a large pot of water to a rolling boil. Add the baking soda (and optional malt syrup) to the water.
Step 8: The Boil
Boil the bagels 1–2 at a time for 60–90 seconds per side. Use a slotted spoon to flip and remove them. This alkaline bath sets the crust and gives the bagel its signature chew and shine. Transfer boiled bagels back to the parchment-lined baking sheet.
Step 9: Top and Bake
Brush the bagels with egg wash (for shine and topping adhesion) and immediately sprinkle with your chosen seeds or seasonings. Bake for 20–25 minutes, rotating the pan halfway through, until deep golden brown and crisp.
Step 10: Cool and Enjoy
Transfer to a wire rack and let cool for at least 30 minutes before slicing. This allows the crumb to set. Making Homemade Bagels fresh means you can enjoy them warm with butter, cream cheese, or your favorite jam.
Nutritional Benefits & Advantages
Making bagels at home isn’t just a fun project—it’s a healthier, more sustainable choice. First, you control exactly what goes in, meaning no unnecessary preservatives, dough conditioners, or excessive sodium common in store-bought versions. Using bread flour provides a good source of plant-based protein and complex carbohydrates for sustained energy. Freshness translates to better nutrient retention compared to packaged products that sit on shelves. You also reduce food packaging waste. Finally, the cost savings are significant: a batch of 8 high-quality bagels costs a fraction of buying artisanal ones, making this a budget-friendly kitchen skill.
Tips, Alternative Methods, and Cooking Advice
- Alternative Cooking Methods: While boiling and baking is traditional, you can achieve a decent crust in an air fryer (375°F for 12–15 mins, no boil—spritz with water). For a softer, steamed texture, you can skip the boil and bake directly, but you’ll lose the classic chew.
- Small Kitchen Hack: If you lack a stand mixer, use a bread machine on the dough setting for kneading, then shape and finish manually.
- Dietary Tweaks: To boost fiber, substitute 1 cup of flour with whole wheat flour. For a lower-carb version, use a keto-friendly almond/coconut flour blend (note: texture changes dramatically).
- Flavor Variations: Mix cinnamon and raisins into the dough, or add dried garlic and herbs for savory options.
- Troubleshooting:
* Too Salty? Reduce salt in the dough next time; salt slows yeast.
* Too Dense? You may have over-floured or under-kneaded. Ensure proper gluten development.
* Holes Closed Up? The holes need to be wider than you think; they shrink. Use a chopstick to gently widen if needed before boiling.
Common Mistakes to Avoid
1. Using Water That’s Too Hot: This kills the yeast. Invest in a cheap thermometer; aim for 110°F–115°F.
2. Skipping the Boil: This is non-negotiable for authentic texture. Skipping it results in a plain bread roll with a hole.
3. Overcrowding the Pot: Boiling too many at once lowers the water temperature and causes sticking. Give them space.
4. Under-Developing Gluten: Bagel dough needs aggressive kneading. If you stop too early, the bagels will be crumbly, not chewy.
5. Not Testing the Float: If they don’t float, they aren’t proofed enough. Give them more time. A dense bagel that sinks won’t bake up light.
Storage & Maintenance Tips
- Freshness: Homemade bagels are best eaten within 2–3 days. Store them in a paper bag at room temperature to maintain crust crispness. Avoid plastic bags immediately, as they trap moisture and make the crust soft and chewy (unless you prefer that texture).
- Freezing: These freeze beautifully. Slice them first, wrap tightly in plastic wrap, and place in a freezer bag. They last up to 3 months.
- Reheating: For the best texture, toast frozen or stale bagels directly from the freezer. If you must microwave, wrap in a damp paper towel for 10–15 seconds to steam-soften, then toast to re-crisp. Oven reheating at 350°F for 5–10 minutes also works well.
Conclusion
Mastering the art of baking Homemade Bagels is a game-changer for any home cook. From the satisfying chew to the crackling crust, you can achieve bakery-quality results with patience and the right technique. Whether you enjoy them plain, loaded with cream cheese, or piled high with lox, the flavor of a bagel fresh from your own oven is unbeatable. Give this recipe a try this weekend—it might just become your new weekend tradition. Have you customized your chewy homemade bagels with a unique topping? Let us know your favorite flavor combo in the comments below!
FAQs
1. Can I use all-purpose flour instead of bread flour?
Yes, you can, but the texture will be less chewy and more bread-like. Bread flour is highly recommended for that classic density and chew.
2. Why are my bagels dense and heavy?
This usually happens if the yeast wasn’t active, the dough was under-kneaded, or the bagels were under-proofed. Ensure your yeast is fresh, knead until smooth and elastic, and let them rise until visibly puffy and float in water.
3. Do I really have to boil them?
For authentic New York-style bagels, yes. Boiling sets the crust immediately, locking in the chewy interior. If you skip it, you are essentially baking a plain bread roll with a hole.
4. Can I make the dough the night before?
Absolutely. After kneading, place the dough in a lightly oiled bowl, cover tightly, and refrigerate overnight. The next day, let it sit at room temperature for 30 minutes before shaping and proceed with the recipe.
5. How do I get shiny bagels like the bakery?
The egg wash (beaten egg with water) brushed on before baking is the secret. For a vegan shine, you can brush with a little oil or maple syrup wash.
