
The Ultimate Juicy Cheeseburger Recipe (Better Than Takeout!)
Introduction
Is there anything more satisfying than sinking your teeth into a perfectly grilled patty with melted cheese and all the fixings? While drive-thru burgers are convenient, they simply can’t compete with the flavor and satisfaction of a meal you made yourself. Making this classic American staple at home gives you total control over the quality of the meat, the freshness of the toppings, and the exact amount of seasoning.
It’s a budget-friendly way to enjoy a gourmet meal, and it boosts your kitchen confidence significantly. Plus, the taste of a Cheeseburger made with love is unbeatable. Whether you are looking for a quick weeknight dinner or planning a weekend barbecue, mastering this recipe is a game-changer. We are going to cover everything you need to know to craft the best homemade cheeseburger, beef burger that will have everyone asking for seconds.
Table of Contents
Materials & Supplies
To create the perfect patty, you need to gather high-quality ingredients and the right tools. Here is everything you’ll need for four servings.
Ingredients & Seasonings:
- Ground Beef (1 ½ lbs): Aim for an 80/20 lean-to-fat ratio. This provides enough fat for flavor and juiciness without shrinking too much. You can use ground chuck or a brisket blend.
- Salt and Black Pepper: Kosher salt and freshly cracked black pepper are essential for seasoning the meat.
- Worcestershire Sauce (1 tbsp): This adds a savory, umami depth to the beef mixture.
- Garlic Powder (1 tsp): For an aromatic flavor base without the texture of fresh garlic chunks.
- Onion Powder (1 tsp): Complements the garlic and beef flavors.
The “Stack” (Toppings & Buns):
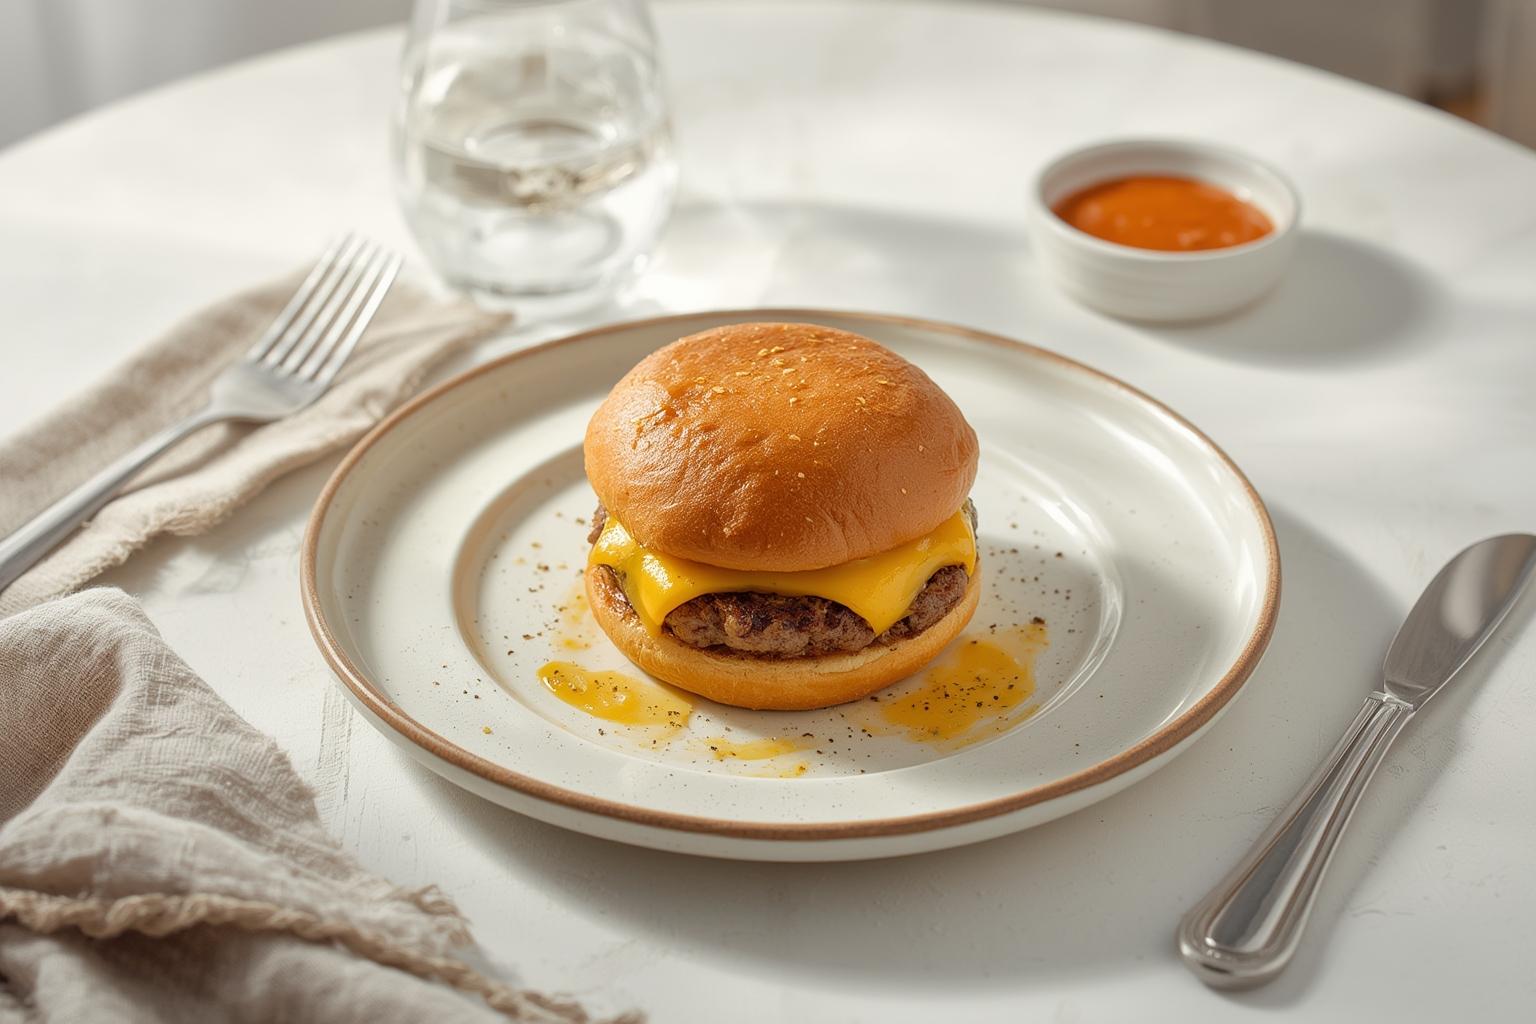
- Burger Buns (4): Brioche, potato, or sesame seed buns work best. Toast them to prevent sogginess.
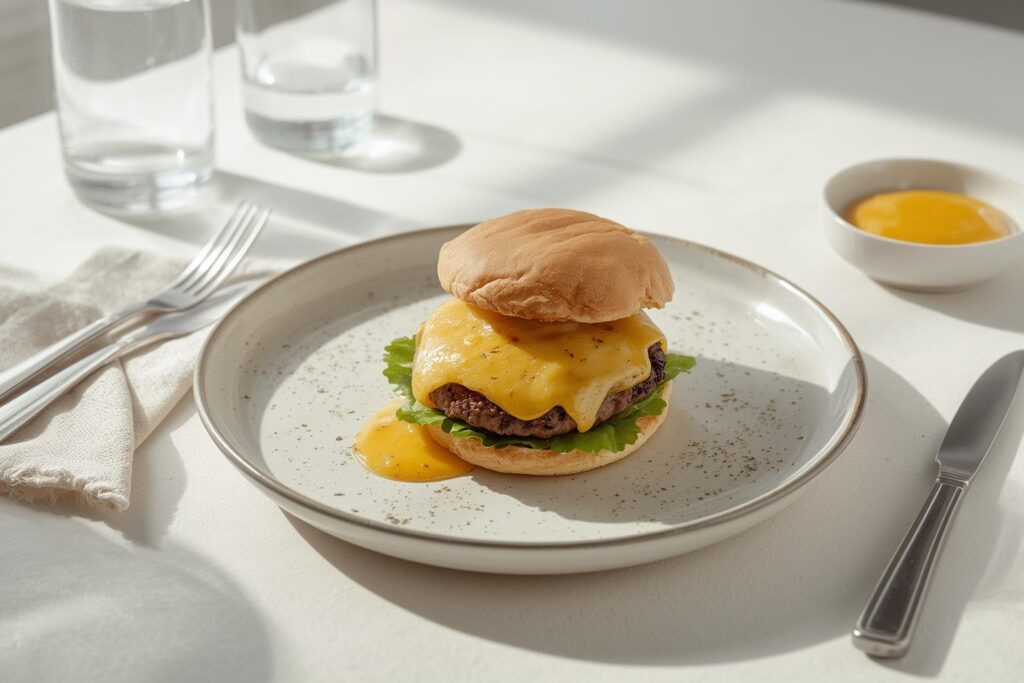
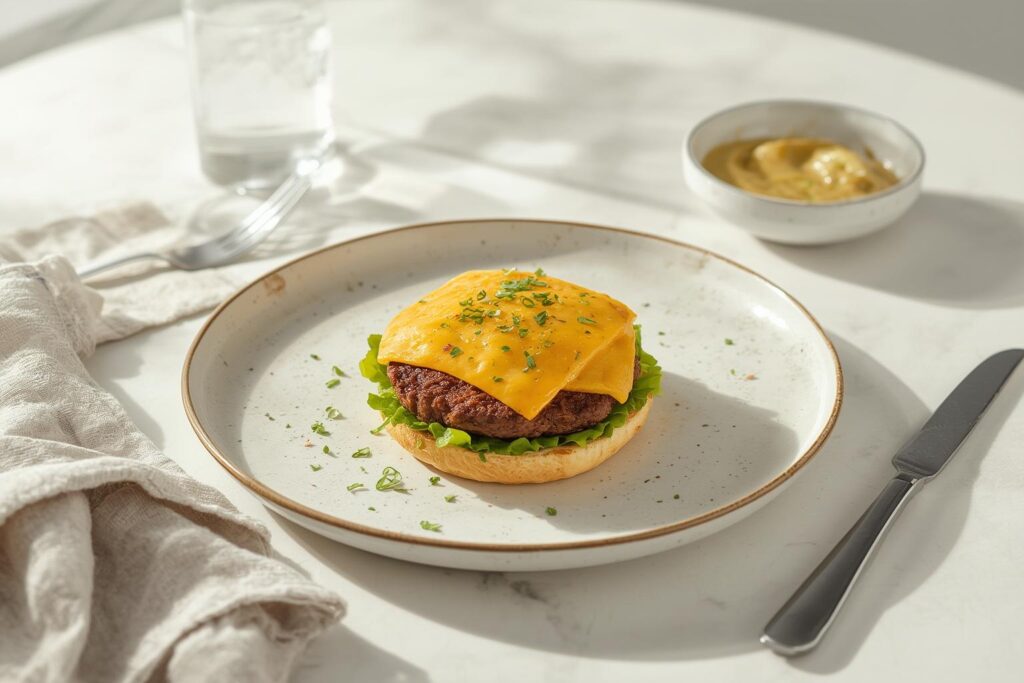
- Cheese Slices (4-8): American cheese melts best for that classic gooey texture. Sharp cheddar is a great alternative for more bite.
- Mayonnaise & Ketchup: The classic condiment duo.
- Mustard (Dijon or Yellow): Adds a necessary acidic kick.
- Fresh Lettuce: Iceberg or butter lettuce for crunch.
- Sliced Tomato & Red Onion: Sliced thin for easy biting.
- Pickles: Dill chips or spears for tang.
- Optional: Bacon strips, sautéed mushrooms, or jalapeños.
Kitchen Tools:
- Large Mixing Bowl: For gently combining the meat and spices.
- Digital Kitchen Scale or Measuring Cups: To ensure even patty sizes.
- Cast Iron Skillet or Heavy Stainless Steel Pan: Essential for getting a great crust.
- Spatula (Metal or Heat-Resistant): For pressing and flipping.
- Meat Thermometer: The only way to guarantee food safety and perfect doneness.
- Cutting Board and Sharp Knife: For prepping toppings.
Timing / Cooking Schedule
- Prep Time: 15 minutes
- Cook Time: 10–12 minutes
- Total Time: 25–30 minutes
This recipe is incredibly weeknight-friendly. The prep is minimal, requiring just a bit of chopping and mixing. The cooking process is fast, taking less than 15 minutes from the moment the patties hit the heat. It’s perfect for a quick family meal or a spontaneous gathering. If you are prepping in advance, you can form the patties and store them in the fridge up to 24 hours before cooking.
Step-by-Step Instructions
1. Prep the Beef: Place your ground beef in the mixing bowl. Add the salt, pepper, garlic powder, onion powder, and Worcestershire sauce. Use your hands to gently mix the ingredients. Crucial Tip: Do not overwork the meat! Over-mixing creates dense, tough patties. Mix just until the seasonings are distributed.
2. Form the Patties: Divide the meat into four equal portions (using a scale helps). Gently roll each portion into a ball, then flatten it into a disc about 3/4-inch thick. Make the patties slightly wider than your buns (they will shrink). Press a small dimple into the center of each patty with your thumb; this prevents the burger from puffing up into a ball while cooking.
3. Heat the Pan: Place your cast iron skillet over medium-high heat. Let it get hot for about 2 minutes. You want the pan hot enough to sear the meat instantly. Add a small drizzle of high-heat oil (like canola or avocado) or a pat of butter.
4. Sear the Burgers: Place the patties in the pan. Do not crowd them. Let them cook undisturbed for 3–4 minutes to develop a deep brown crust. If you try to move them too early, they will stick.
5. Flip and Cheese: Flip the burgers only once. Cook for another 3–4 minutes on the second side. When you have about 1 minute left, place your cheese slices on top. To help the cheese melt faster, you can add a teaspoon of water to the pan (away from the meat) and cover briefly with a lid to trap steam. This step transforms a regular Cheeseburger into a masterpiece.
6. Toast the Buns: While the cheese is melting, toast your buns in the residual grease in the pan or in a toaster. This takes about 30 seconds and adds texture.
7. Assemble: Spread your condiments on both sides of the bun. Add lettuce and tomato on the bottom bun (this creates a barrier against heat and grease). Place the hot patty on top, followed by onions and pickles. Cap it with the top bun.
8. Serve: Let the homemade cheeseburger, beef burger rest for a minute before serving to let the juices redistribute. Serve immediately with fries or a side salad.
Nutritional Benefits / Advantages
While we often think of burgers as indulgent, making them at home offers significant health advantages over fast-food options.
- Ingredient Control: You control the sodium levels and avoid preservatives, fillers, and processed additives found in commercial patties.
- Fresh Nutrients: Using fresh produce like lettuce, tomatoes, and onions adds essential vitamins and fiber to your meal.
- Sustainability: Buying meat from a local butcher or choosing grass-fed beef can be more environmentally friendly. Cooking at home reduces the waste associated with fast-food packaging.
- Cost Savings: A high-quality homemade burger costs a fraction of the price of a restaurant version, allowing you to use premium ingredients without breaking the bank.
Tips, Alternative Methods, or Cooking Advice
- The Grill: This recipe translates perfectly to a charcoal or gas grill. Preheat to high, sear for crust, then move to indirect heat to finish cooking without burning.
- Oven/Broiler: If it’s raining, place patties on a broiler pan and cook at 400°F for about 15 minutes, flipping halfway.
- Air Fryer: Cook at 375°F for about 10 minutes, flipping halfway. Great for a lower-fat option as the fat drips away.
- Smash Burger Style: For a diner-style thin and crispy burger, cook two smaller patties at once and smash them flat against the pan with a heavy spatula immediately after adding them to the heat.
- Dietary Swaps: Use turkey or chicken for a leaner option, or a plant-based patty for a vegetarian version. Use lettuce wraps instead of buns for a low-carb/keto diet.
Common Mistakes to Avoid
- Using Meat that is Too Lean: 90/10 or 93/7 ground beef will result in a dry, crumbly burger. Stick to 80/20.
- Overhandling the Meat: Squeezing and compacting the meat mixture makes the burgers rubbery. Be gentle.
- Making the Patty Too Thick: A massive thick patty often results in a burnt outside and raw inside. A 3/4-inch thickness cooks evenly.
- Pressing Down on the Patty While Cooking: Do not press your spatula down on the burger while it’s in the pan! You are pressing out all the precious juices.
- Overcrowding the Pan: If you crowd the pan, the burgers will steam instead of sear. Cook in batches if necessary.
Storage / Maintenance Tips
- Raw Patties: You can prep raw patties and store them in an airtight container in the fridge for up to 2 days. Place parchment paper between them to prevent sticking.
- Cooked Leftovers: Store cooked burgers in the fridge for up to 3 days. Separate the meat from the buns and toppings to keep textures distinct.
- Reheating: To reheat without drying out the meat, place the patty in a skillet with a splash of water or beef broth over medium-low heat, covered. Alternatively, wrap in foil and warm in the oven at 300°F. Avoid the microwave if possible, as it makes the meat rubbery.
- Freezing: Cooked patties freeze well. Wrap tightly in plastic wrap and foil, and freeze for up to 3 months. Thaw in the fridge before reheating.
Conclusion
Creating the perfect burger at home is an art form that is actually very easy to master once you know the basics. By selecting the right meat, handling it gently, and searing it at the right temperature, you can produce a restaurant-quality meal that is fresh, juicy, and customized exactly to your liking. It’s a fun cooking project that delivers delicious rewards. We hope this guide gives you the confidence to fire up the stove and make this iconic dish. Once you try this Cheeseburger recipe, you’ll never go back to fast food. Try making this homemade cheeseburger, beef burger this weekend and let us know how it turns out!
FAQs
1. How do I know when the burger is done without a thermometer?
While a thermometer is best, you can use the “finger test.” Touch the center of the patty: if it feels very soft and squishy like the flesh at the base of your thumb (palm open), it’s rare. If it feels firm like the tip of your nose, it’s well done. However, for food safety, 160°F is the recommended temperature for ground beef.
2. Why is my burger falling apart?
This usually happens if the meat is too lean, the patty wasn’t formed tightly enough, or you flipped it too early. Ensure you have enough fat (80/20) and let the crust form completely before flipping.
3. Can I prepare the patties ahead of time?
Yes! You can form the patties up to 24 hours in advance. Keep them covered in the refrigerator. Let them sit out for 15 minutes before cooking to take the chill off for more even cooking.
4. Why is my burger dry?
Dry burgers are usually caused by overcooking or using meat that is too lean. Remember that the internal temperature will rise a few degrees after you take it off the heat (carryover cooking). Pull it off just before it reaches your desired doneness.
5. What is the best cheese for melting?
American cheese is engineered to melt perfectly due to the emulsifiers in it. For a balance of meltability and flavor, try a blend of American and sharp cheddar, or Gruyère for a nuttier taste.
