
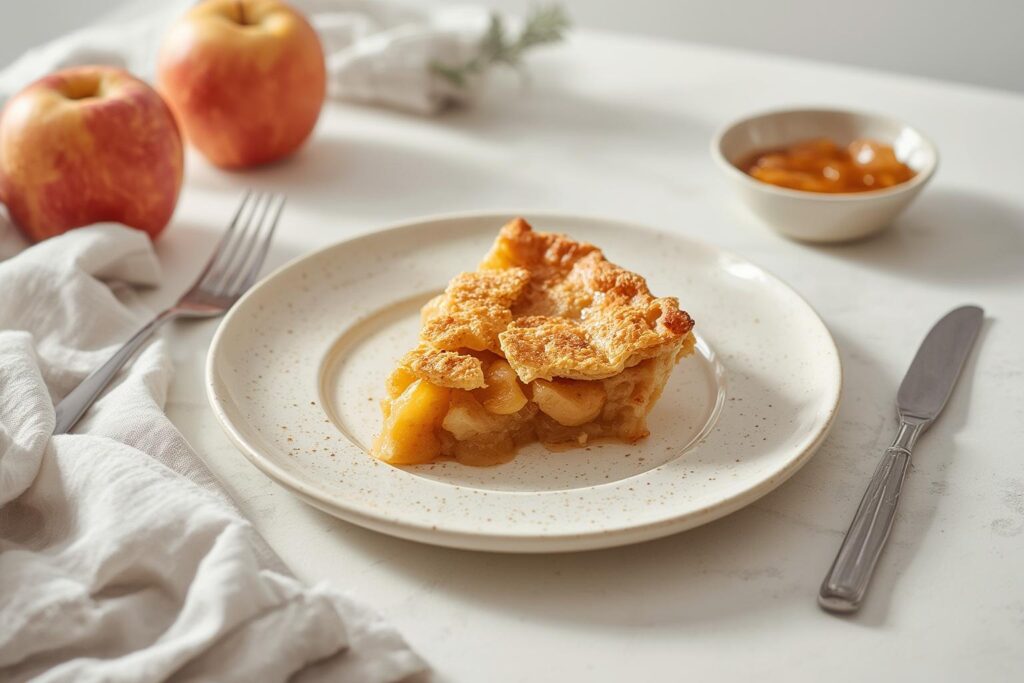
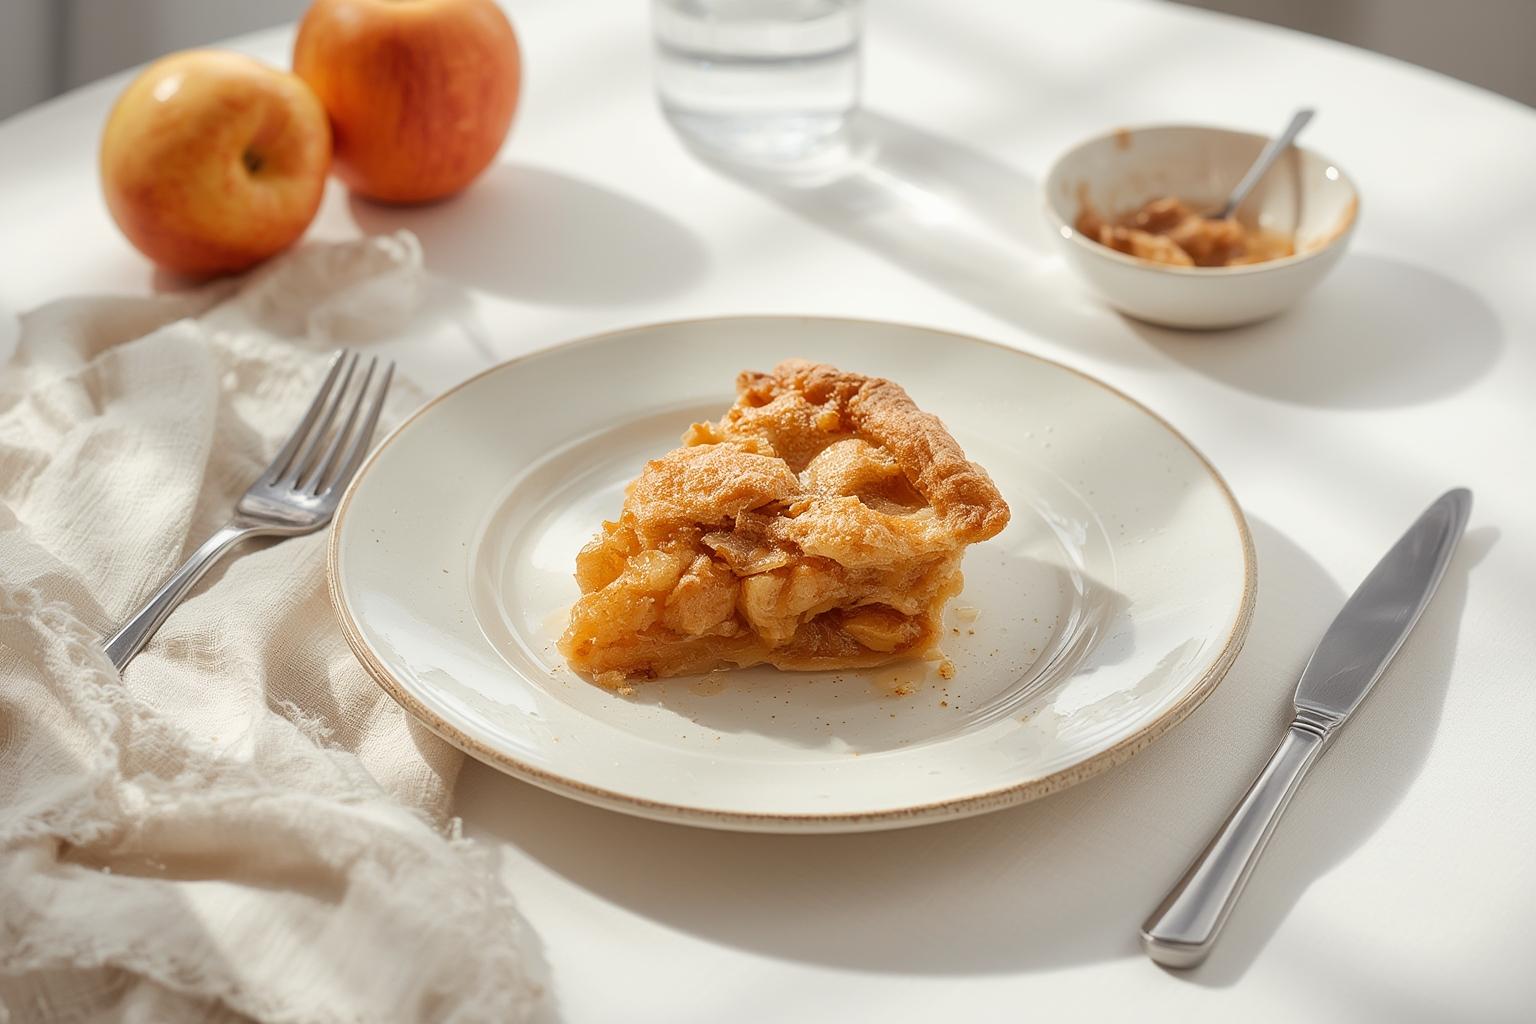
The Ultimate Guide to Baking a Perfect Apple Pie From Scratch
There’s nothing quite like the aroma of warm cinnamon and baked apples wafting through your kitchen on a crisp fall day. If you’ve ever wondered how to create that iconic, flaky-crusted dessert that feels like a warm hug, you’re in the right place. This guide will walk you through every step, proving that baking this treat at home is not only incredibly rewarding but also a fantastic way to control exactly what goes into your food. We’ll cover how to make a truly memorable Apple Pie, focusing on techniques for creating a perfect classic apple pie, homemade apple pie that will have your friends and family asking for seconds.
Table of Contents
Materials & Supplies
Creating a delicious pie from scratch is all about having the right components on hand before you start. Here’s everything you’ll need.
For the Flaky Double Crust
- All-Purpose Flour (2 ½ cups): The structural backbone of our crust. For a lighter texture, you can use a blend of all-purpose and cake flour.
- Unsalted Butter (1 cup, very cold): The secret to a flaky, tender crust. Keep it in the fridge until the very moment you need to cut it in. You can also use a high-quality European-style butter for extra richness.
- Vegetable Shortening (¼ cup, very cold): While butter provides flavor, shortening helps create a wonderfully flaky texture. A combination of the two gives you the best of both worlds.
Ice Water (½ to ¾ cup): The key is ice cold*. This keeps the fat from melting too soon, which is essential for flakiness.
- Salt (1 teaspoon): Essential for flavor, even in a dessert crust.
- Granulated Sugar (1 tablespoon): Just a touch to help with browning and add a subtle sweetness.
For the Apple Filling
- Apples (6-7 medium, about 3 pounds): The star of the show! Use a mix of tart and sweet varieties for a complex flavor and great texture. Granny Smith and Honeycrisp are a fantastic combination. Braeburn and Golden Delicious also work well. You’ll need to peel, core, and slice them into ¼-inch thick slices.
- Light Brown Sugar (½ cup, packed): Adds a deep, molasses-like sweetness that pairs perfectly with apples.
- Granulated Sugar (¼ cup): Balances the brown sugar and enhances the apple flavor.
- All-Purpose Flour or Cornstarch (3 tablespoons): This is your thickener. It will turn the apple juices into a beautiful, thick sauce as it bakes. Cornstarch will give you a slightly clearer, glossier filling.
- Ground Cinnamon (1 ½ teaspoons): The quintessential spice for apple desserts.
- Ground Nutmeg (¼ teaspoon): Adds warmth and a touch of spice complexity.
- Allspice (⅛ teaspoon): Optional, but it adds a lovely background note.
- Lemon Juice (1 tablespoon): Prevents the apples from browning and adds a bright note to cut through the sweetness.
- Unsalted Butter (2 tablespoons, cut into small pieces): You’ll dot this over the filling before adding the top crust for extra richness.
For Finishing Touches (Optional)
- Egg Wash (1 egg beaten with 1 tablespoon of milk or cream): For a beautiful, glossy, golden-brown crust.
- Coarse Sugar (1-2 tablespoons): Sprinkled on top before baking for a delightful crunch and sparkle.
Kitchen Tools
- Large Mixing Bowl: For combining the filling.
- Pastry Cutter or Food Processor: For cutting the fat into the flour.
- Rolling Pin: To roll out your dough.
- 9-inch Pie Plate: Glass, ceramic, or metal all work.
- Measuring Cups and Spoons
- Cutting Board and a Good Knife
- Vegetable Peeler and Apple Corer (optional)
- Pastry Brush: For applying the egg wash.
Timing / Cooking Schedule

- Prep Time: 45 minutes (This includes making the dough, letting it chill, and prepping the apples)
- Cook Time: 60-75 minutes
- Cooling Time: At least 4 hours (Crucial for the filling to set!)
- Total Time: Approx. 6 hours from start to ready-to-slice
Schedule Tip: This is a perfect weekend baking project. You can make the dough a day or two in advance to spread out the work. The long cooling time means you can bake it in the morning and have it ready for after-dinner dessert.
Step-by-Step Instructions
1. Make the Dough: In a large bowl (or the bowl of a food processor), whisk together the flour, salt, and sugar. Add the cold, cubed butter and shortening. Using a pastry cutter or by pulsing the food processor, cut the fat into the flour until the mixture resembles coarse crumbs with some pea-sized pieces of butter remaining. Drizzle in the ice water, 1 tablespoon at a time, mixing gently with a fork until the dough just starts to come together. Don’t overmix!
2. Chill the Dough: Turn the dough out onto a lightly floured surface. Gently knead it once or twice to bring it together. Divide it in half, shape each half into a flat disk, wrap tightly in plastic wrap, and refrigerate for at least 1 hour. This step is essential for a flaky crust.
3. Prep the Filling: While the dough chills, peel, core, and slice your apples. Place them in a large bowl. Add the lemon juice and toss to coat. In a separate small bowl, whisk together the brown sugar, granulated sugar, flour (or cornstarch), cinnamon, nutmeg, and allspice. Pour this spice mixture over the apples and toss gently until every slice is evenly coated.
4. Assemble the Pie: Preheat your oven to 425°F (220°C). On a floured surface, roll out one of your chilled dough disks into a 12-inch circle. Carefully transfer it to your 9-inch pie plate. Trim any excess dough, leaving about a ½-inch overhang. Pour the apple filling into the crust and spread it evenly. Dot the top of the filling with the small pieces of butter.
5. Add the Top Crust: Roll out the second disk of dough. You can either place it on top as a full sheet or cut it into strips for a lattice top. If using a full crust, cut a few slits in the center to allow steam to escape. Crimp the edges of the top and bottom crusts together to seal them.
6. Bake to Perfection: For an extra-golden finish and a sparkling top, brush the crust with the egg wash and sprinkle generously with coarse sugar. This is where you’ll create that irresistible homemade apple pie. Place the pie on a baking sheet to catch any drips. Bake at 425°F for 15 minutes, then reduce the oven temperature to 375°F (190°C) and continue baking for another 45-60 minutes, or until the crust is deep golden brown and the filling is bubbly. If the edges of the crust start to get too dark, cover them with a pie shield or strips of aluminum foil.
7. The Hardest Part – Cooling: Let the pie cool on a wire rack for at least 4 hours before slicing. This allows the filling to set properly. Slicing into it too early will result in a runny mess.
Nutritional Benefits & Advantages
While a pie is an indulgence, there are definite advantages to making this particular dessert at home. First, you have complete control over the quality of ingredients. You can choose organic apples, reduce the sugar to your preference, and you know exactly what’s in your crust—no hidden preservatives or artificial flavors.
Apples themselves are a great source of fiber and Vitamin C. By baking with them, you’re enjoying a dessert that has some nutritional merit. Furthermore, the act of cooking from scratch is a form of stress relief for many, and sharing a homemade dessert fosters connection. From a sustainability perspective, you eliminate the need for excessive packaging that comes with store-bought pies, and you can often use apple peels and cores to make homemade apple scrap vinegar.
Tips, Alternative Methods, or Cooking Advice
- Small Kitchen? No Problem: If you don’t have a lot of counter space, roll out your dough between two sheets of parchment paper. This makes cleanup a breeze and prevents sticking without adding too much extra flour.
- Dietary Swaps: For a gluten-free version, use a high-quality 1-to-1 gluten-free baking flour blend in both the crust and filling. For a vegan pie, use solid coconut oil or a vegan butter stick instead of butter/shortening and use maple syrup or agave in place of the egg wash.
- Alternative Cooking Methods: While baking in a conventional oven is classic, you can achieve a similar result in an air fryer for a single-serve “pot pie” version (bake at 350°F for 25-30 mins). A slow cooker can also be used to cook the filling, which you can then pour into a pre-baked or store-bought crust.
Common Mistakes to Avoid
- Using Warm Butter: The number one enemy of a flaky crust is warm fat. If your butter or shortening isn’t cold, it will melt into the flour and create a tough, greasy crust instead of distinct, flaky layers. Keep everything cold!
- Overworking the Dough: This develops gluten, which makes the crust tough and chewy. Mix only until the dough comes together. A few streaks of flour or visible butter pieces are perfectly fine.
- Skipping the Chill: Don’t rush the chilling step. It allows the gluten to relax (preventing shrinkage) and ensures the fat is solid before it hits the hot oven.
- Overfilling the Pie: It’s tempting to pile those apples high, but an overfilled pie will bubble over and make a mess in your oven. Stick to the recommended amount and mound them slightly in the center.
- Underbaking: Don’t be afraid of a deeply browned crust. The filling needs to be fully bubbling for the thickener to do its job. If the top is browning too fast, tent it with foil rather than pulling it out of the oven early.
Storage & Maintenance Tips
- Room Temperature: You can store a freshly baked pie, covered loosely with foil, at room temperature for up to 2 days. The crust will stay reasonably crisp.
- Refrigerator: For longer storage, cover the pie with plastic wrap or transfer slices to an airtight container and refrigerate for up to 5 days. Note that refrigeration will soften the crust.
- Freezer: This pie freezes beautifully! You can freeze it either baked or unbaked. If freezing unbaked, assemble the pie, wrap it tightly in a double layer of plastic wrap and then foil, and freeze for up to 3 months. Bake directly from the freezer, adding about 15-20 minutes to the total baking time. If freezing a baked pie, let it cool completely, then wrap and freeze.
- Reheating: To recrisp the crust, reheat slices in an oven or toaster oven at 350°F for 10-15 minutes. A quick zap in the microwave will warm it up but will result in a softer crust.
Conclusion
Baking a pie from scratch is a culinary journey worth taking. It fills your home with an incredible scent and provides a sense of accomplishment that store-bought desserts simply can’t match. The flaky crust, the perfectly spiced filling, and the warmth of a shared treat are all rewards for your effort. Now that you have all the knowledge, techniques, and tips, you’re ready to create your own amazing Apple Pie. Don’t be afraid to make it your own tradition—this is the foundation for the best classic apple pie, homemade apple pie you’ll ever taste. Give it a try this weekend and let us know how it turns out in the comments!
FAQs
1. My bottom crust is always soggy. How can I prevent this?
A soggy bottom is a common issue! A few things can help: make sure your filling isn’t too watery, bake the pie on the lower third rack of your oven so the bottom gets more direct heat, and preheat your baking sheet in the oven before placing the pie plate on it. Some bakers even pre-bake the bottom crust for 10 minutes (with pie weights) before adding the filling.
2. Can I make the pie filling ahead of time?
Yes, you can. Prepare the filling and store it in an airtight container in the refrigerator for up to 24 hours. The apples will release some juice, so you may need to drain a little excess liquid before assembling the pie.
3. What are the best apples for pie?
The best pies use a mix of apples for a more complex flavor and texture. A combination of a firm, tart apple like Granny Smith (for structure and tang) and a sweet, crisp apple like Honeycrisp or Braeburn (for sweetness and texture) is ideal.
4. My crust edges are burning before the pie is done. What should I do?
This happens when the filling needs more time to cook than the crust. The solution is to cover the edges with a pie shield or strips of aluminum foil about halfway through the baking time. This protects the delicate edges from the direct heat while the rest of the pie finishes baking.
5. Why is my filling runny?
A runny filling usually means the pie wasn’t baked long enough for the thickener (flour/cornstarch) to fully activate, or the apples released more liquid than expected. Make sure you see the filling actively bubbling through the vents in the crust before you pull it from the oven. Also, letting the pie cool completely (at least 4 hours) is critical for the filling to set.
