
The Ultimate Guide to Perfect Homemade Loaded Nachos
Who doesn’t love a giant platter of cheesy, crunchy nachos? They are the quintessential party snack and the ultimate comfort food. But have you ever tried making them at home instead of ordering takeout? Making this classic dish yourself is a total game-changer. You get to control exactly what goes on them, ensuring every bite is fresh, hot, and customized to your liking. It’s actually cheaper than ordering delivery, and honestly, the quality is miles better when you use fresh ingredients. Plus, there is something deeply satisfying about pulling a bubbly, golden tray out of your own oven.
Whether you are hosting game day or just want a fun Friday night dinner, learning to make restaurant-quality Loaded Nachos is a skill worth having. When you make nachos with beef and cheese, party nachos from scratch, you avoid the soggy chips and lackluster flavor of takeout. Let’s dive into how you can make the best version of this favorite dish right in your kitchen.
Table of Contents
Materials & Supplies
To create the perfect nacho platter, you don’t need fancy equipment, but you do need the right ingredients and tools. Quality matters here, especially with the cheese and chips.
Ingredients:
- Tortilla Chips: 1 large bag (12-16 oz). Look for sturdy, restaurant-style chips. Thin chips will break under the weight of the toppings.
- Ground Beef: 1 lb (80/20 blend is best for flavor). You can substitute ground turkey, chicken, or black beans for a vegetarian version.
- Taco Seasoning: 1 packet (or 2 tbsp homemade blend of chili powder, cumin, paprika, garlic powder, and onion powder).
- Shredded Cheese: 3-4 cups. A mix of Sharp Cheddar and Monterey Jack melts best. Pre-shredded cheese works, but block cheese you grate yourself melts smoother because it doesn’t have anti-caking agents.
- Beans: 1 can (15 oz) black beans or pinto beans, drained and rinsed.
- Jalapeños: 2-3 fresh peppers, sliced, or 1/2 cup pickled jalapeños for less heat.
- Fresh Toppings (to add AFTER baking):
* 1 cup diced Roma tomatoes (seeds removed to prevent sogginess)
* 1/2 cup sliced black olives
* 1/2 cup diced red onion or green onions
* 1 large avocado, diced (or 1 cup guacamole)
* 1/2 cup fresh cilantro, chopped
- Sauces: 1/2 cup salsa (pico de gallo style is great) and 1/3 cup sour cream or Mexican crema.
- Oil: 1 tbsp vegetable oil (for browning the beef).
Kitchen Tools:
- Baking Sheet: A large rimmed baking sheet is essential to catch any grease or melted cheese.
- Large Skillet: For cooking the ground beef.
- Cutting Board & Chef’s Knife: For prepping fresh veggies.
- Measuring Cups & Spoons.
- Spatula or Tongs: For breaking up the meat.
- Oven Mitts: It will be very hot!
Timing / Cooking Schedule
This is a relatively quick recipe, making it perfect for a weeknight treat or a last-minute gathering.
- Prep Time: 15 minutes (chopping veggies, draining beans, preheating oven).
- Cook Time: 15 minutes (browning beef and baking nachos).
- Total Time: 30 minutes.
Comparison: This is significantly faster than driving to a restaurant or waiting for delivery. It fits easily into a busy schedule. If you are meal prepping, you can cook the beef and beans in advance, making assembly take less than 10 minutes.
Step-by-Step Instructions
1. Preheat and Prep: Preheat your oven to 400°F (200°C). While it heats, get all your toppings chopped and ready.
2. Brown the Beef: Heat the oil in your skillet over medium-high heat. Add the ground beef and break it up with a spatula. Cook until fully browned, about 5-7 minutes. Drain off the excess grease.
3. Season: Add the taco seasoning packet and about 1/4 cup of water to the beef. Stir and simmer for 2-3 minutes until the liquid reduces and the meat is well-coated. Remove from heat.
4. Assemble the Base: Arrange your tortilla chips in a single layer on the baking sheet. If you have a wire rack, place it on the sheet and arrange chips there for ultimate crispiness.
5. First Layer: Sprinkle half of the cheese evenly over the chips. Then, distribute half of the seasoned beef and half of the drained beans over the chips. Add a few jalapeño slices if using.
6. Second Layer: Repeat the process: add the remaining beef and beans, more jalapeños, and top with the remaining cheese. Don’t overload the chips, or they will become mushy.
7. Bake: Place the baking sheet in the oven. Bake for 8-10 minutes, or until the cheese is completely melted and bubbly. You want the edges of the chips just starting to brown.
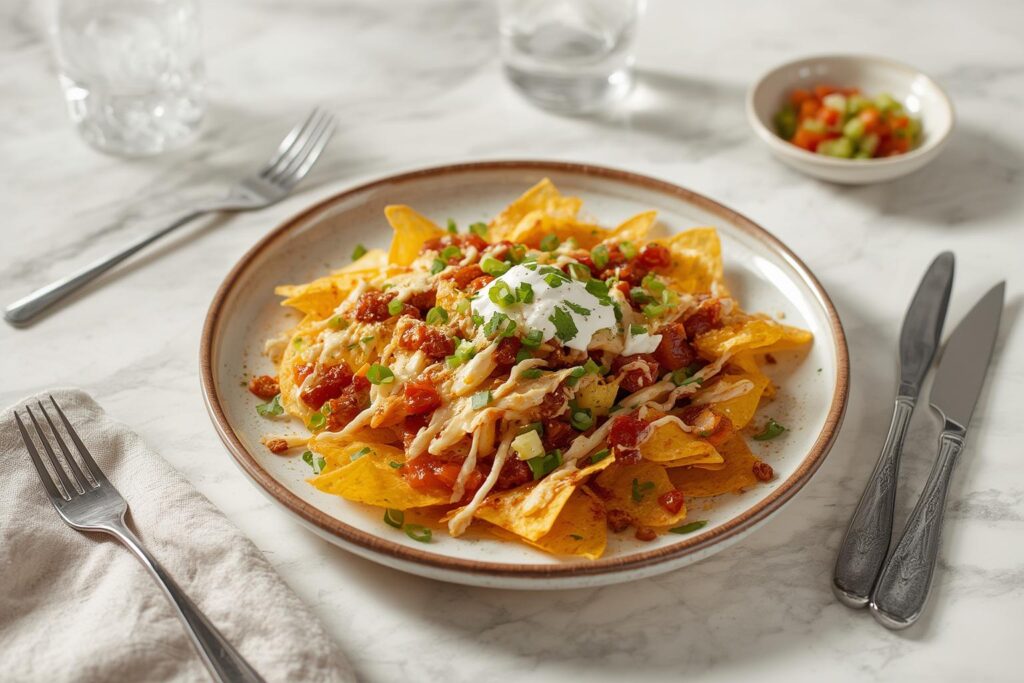
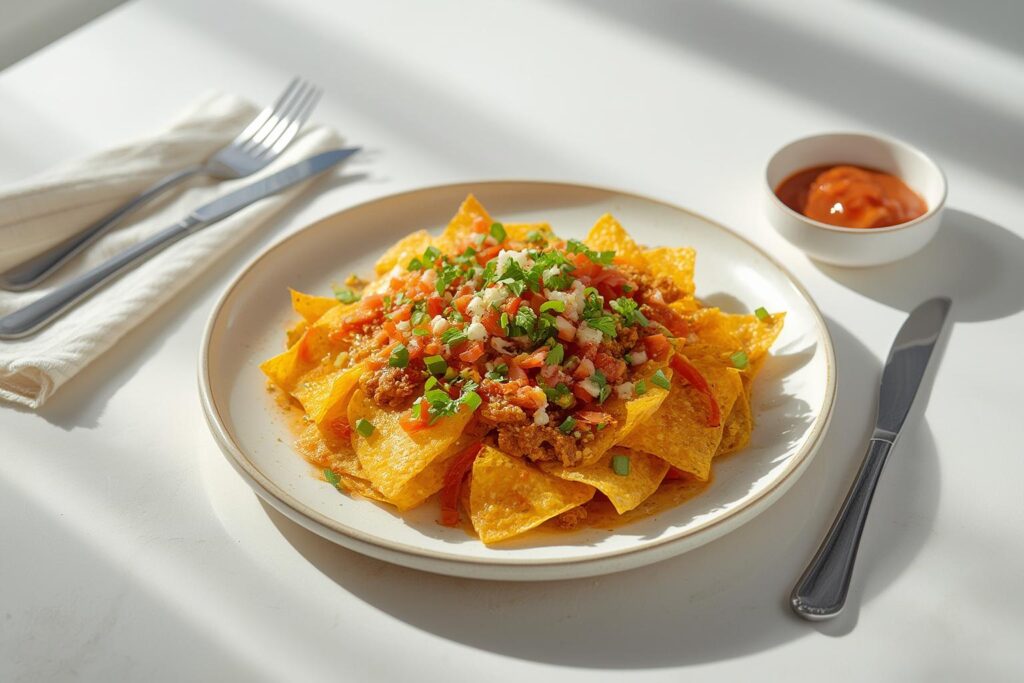
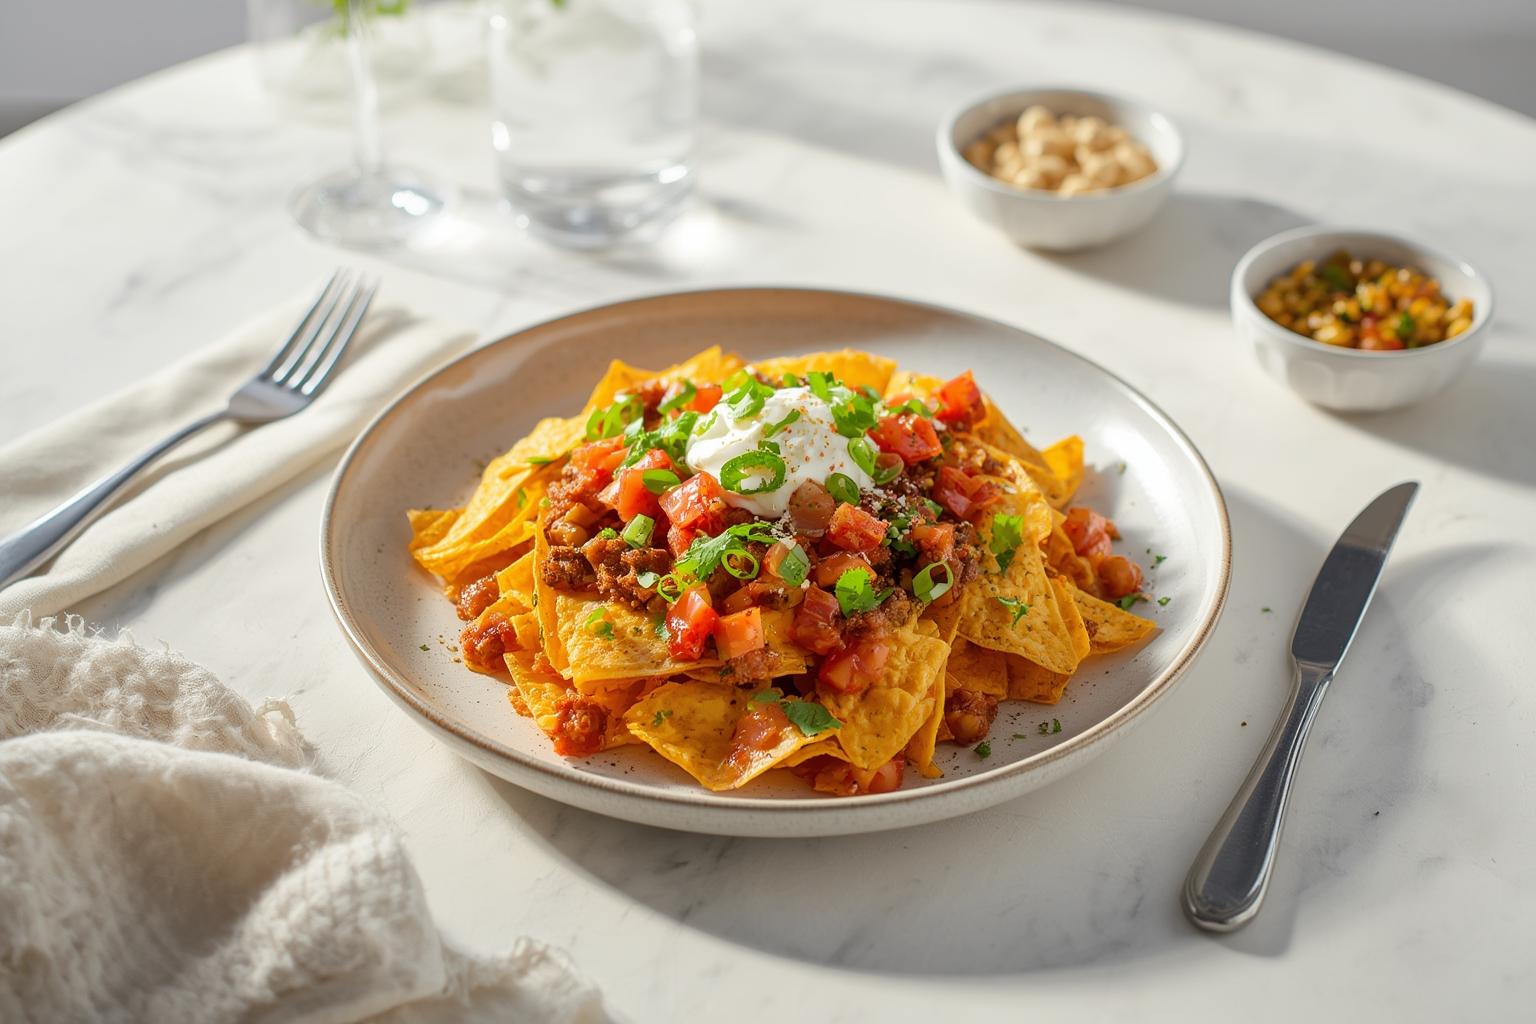
8. Finish with Fresh Toppings: Remove the tray carefully using oven mitts. Immediately sprinkle with the diced tomatoes, olives, onions, and fresh cilantro.
9. Serve: Serve immediately. Drizzle with sour cream and salsa right before eating.
Pro Tip: If you want that perfect Loaded Nachos experience where every chip has cheese, try to layer the ingredients so there are no bare spots. The key to great nachos with beef and cheese, party nachos is keeping the chips crisp by adding wet ingredients like salsa and sour cream only after baking.
Nutritional Benefits / Advantages
While nachos are often viewed as an indulgence, making them at home offers several advantages over processed fast food.
- Ingredient Control: You decide how much salt goes into the meat and how much cheese is used. You can easily swap full-fat dairy for lighter versions or lean turkey for beef.
- Freshness: There are no preservatives here. Fresh tomatoes, onions, and avocados provide vitamins and antioxidants.
- Sustainability: By buying ingredients in bulk and cooking at home, you reduce single-use plastic packaging and food waste associated with takeout orders.
- Cost Savings: A bag of chips, a pound of meat, and a block of cheese cost significantly less than ordering nachos from a delivery app.
Tips, Alternative Methods, or Cooking Advice
- The “Taco Night” Trick: If you have leftover taco meat from a previous meal, this recipe comes together in 5 minutes.
- Air Fryer Method: For a single serving, you can use an air fryer. Place chips, toppings, and cheese in the basket and cook at 370°F for 4-5 minutes.
- Dietary Swaps:
* Vegetarian: Omit the beef entirely. Use a mix of black beans, pinto beans, and roasted corn.
* Gluten-Free: Ensure your tortilla chips are certified GF (corn is naturally GF, but cross-contamination happens).
* Dairy-Free: Use a high-quality vegan cheese shred that melts well.
- Troubleshooting:
Cheese not melting?* Your oven might be too hot, browning the chips before the cheese melts. Lower the temp to 375°F and bake a little longer.
Too salty?* Skip adding extra salt to the meat and rely on the seasoning packet. Use fresh tomatoes and avocado to balance the saltiness.
Common Mistakes to Avoid
1. Overcrowding the Pan: Piling chips three inches high guarantees soggy nachos. Use a wide surface area and keep layers thin.
2. Using Shredded Cheese from a Bag (Too Early): Pre-shredded cheese has cellulose to prevent clumping, which can sometimes result in a waxier texture. If you use it, add a little extra.
3. Adding Wet Toppings Before Baking: Never put salsa, sour cream, guacamole, or fresh tomatoes in the oven. They will steam the chips and make them soggy. Bake the cheese and meat only, then add fresh toppings.
4. Not Spreading the Heat: Ensure the beef is evenly distributed. Getting a bite of just chips is disappointing.
5. Cold Chips: Warm your chips slightly before topping them if you want a restaurant-quality result.
Storage / Maintenance Tips
Nachos are best eaten fresh, but here is how to handle leftovers (if you have any!).
- Storing Leftovers: If the nachos have been sitting out for more than 2 hours, it’s best to discard them due to the meat and dairy. If you need to store them, separate the cold toppings (salsa, sour cream) and keep the cheesy chips in an airtight container in the fridge for up to 2 days.
- Reheating: Do not use the microwave if you can avoid it; it will make the chips rubbery. Reheat in an air fryer or a 350°F oven for 5-7 minutes until crisp.
- Freezing: You can freeze the cooked, seasoned beef in a freezer bag for up to 3 months. However, do not freeze the assembled nachos as the chips will lose all texture.
Conclusion
Mastering homemade nachos transforms a simple snack into a culinary highlight. By taking control of the ingredients and cooking method, you ensure every platter is crispy, cheesy, and loaded with flavor. It is a versatile dish that you can dress up or down depending on your mood. Give this recipe a try for your next gathering or cozy night in. We promise that once you see how easy and delicious these are, you won’t go back to takeout. Let us know in the comments how your tray of Loaded Nachos turned out, or share your favorite twist on classic nachos with beef and cheese, party nachos.
FAQs
Can I make these nachos ahead of time?
You can prep the beef and chop the veggies in advance. However, always assemble and bake them right before serving to keep the chips from getting soggy.
How do I keep my nachos from getting soggy?
The secret is layering. Bake the cheese directly on the chips first to create a “glue” before adding heavier meat or beans. Also, always add fresh, wet ingredients like salsa and guacamole after baking.
What is the best cheese for nachos?
A combination of Sharp Cheddar and Monterey Jack is the gold standard. Cheddar provides the flavor, while Monterey Jack provides the gooey melt. Avoid soft cheeses like feta or goat cheese for this specific recipe.
Can I use flour tortillas instead of corn chips?
You can cut flour tortillas into triangles and fry or bake them to make chips, but traditional corn tortilla chips provide the best sturdiness and flavor contrast for nachos.
Is there a way to make this recipe spicier?
Absolutely! Add diced habaneros to the meat while cooking, or use a spicy taco seasoning. You can also serve them with a side of hot sauce or drizzle sriracha over the top.
