
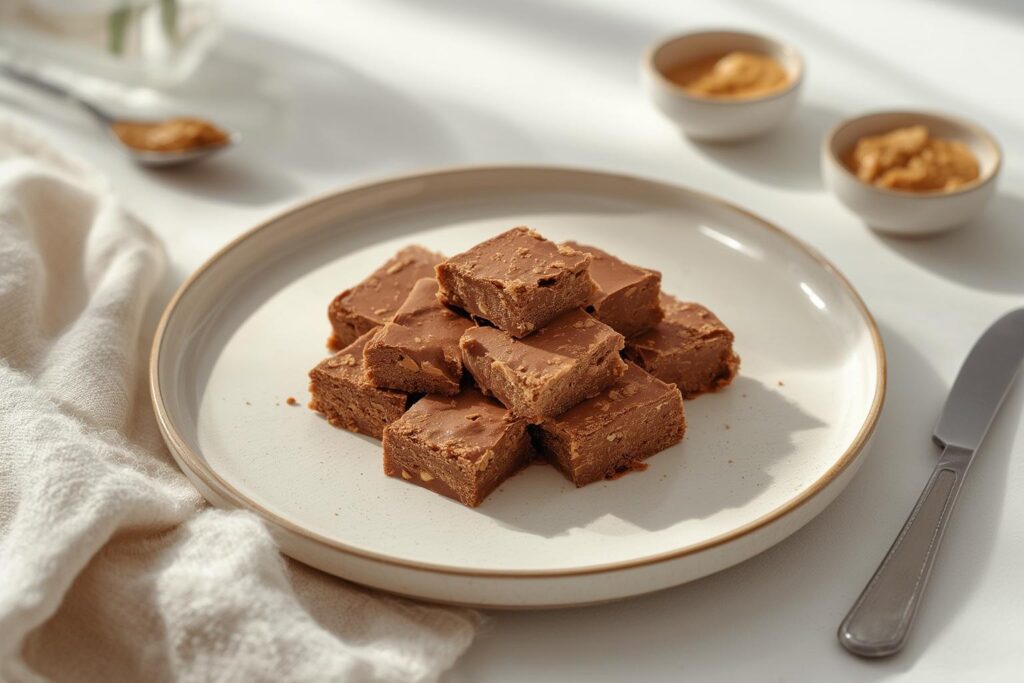
The Best Easy Homemade Peanut Butter Fudge Recipe
Ever craved a rich, creamy treat that tastes like a hug from your childhood but felt too intimidated to try making it yourself? Many home cooks believe that making classic candy at home requires a candy thermometer, fudge fail-proof methods, or pure luck, but I’m here to show you that is not the case. We are making a batch of irresistible Peanut Butter Fudge that requires just a handful of simple ingredients and a single pot. By skipping the store-bought versions and making this classic peanut butter fudge in your own kitchen, you gain full control over the sweetness, the texture, and the freshness, all while saving money.
Table of Contents
Materials & Supplies
Before we start melting and mixing, let’s gather everything we need. Having your ingredients and tools ready makes the process smooth and stress-free.
Ingredients
- Butter: 1/2 cup (1 stick) unsalted butter. This provides richness and helps create that melt-in-your-mouth texture.
- Peanut Butter: 1 cup smooth peanut butter. Creamy works best for a silky finish, but crunchy is okay if you like texture. Use a standard brand (not natural/oily) for the best set.
- Powdered Sugar: 3 to 4 cups sifted. Start with 3 cups and taste for sweetness; this acts as the structural base.
- Vanilla Extract: 1 teaspoon. Enhances the nutty flavor.
- Salt: 1/4 teaspoon. Essential to balance the sweetness.
- Optional Toppings: A sprinkle of sea salt flakes, chocolate chips, or crushed peanuts.
Kitchen Tools
- Medium Saucepan: For melting the butter and peanut butter together.
- 8×8 or 9×9 inch Baking Pan: To set the fudge. Line it for easy removal.
- Parchment Paper: Essential for lifting the fudge out of the pan without sticking.
- Large Mixing Bowl: If you plan to mix by hand, though you can mix right in the pan if you have a heat-resistant spatula.
- Silicone Spatula: For scraping every last bit of deliciousness.
- Candy Thermometer (Optional): Helpful if you want to ensure precise temperature, but not strictly necessary for this recipe.
Timing / Cooking Schedule
- Prep Time: 15 minutes
- Cook Time: 10 minutes
- Cooling/Setting Time: 2 to 3 hours
- Total Time: About 3 hours (mostly hands-off)
What this means for you: This is a fantastic weekend project or a “make-ahead” treat for parties. While the active work is under 30 minutes, the fudge needs time to firm up in the fridge. It is perfect for meal prepping a sweet snack for the week!
Step-by-Step Instructions
Follow these steps closely for the perfect consistency. The key here is timing and vigorous mixing once the sugar is added.
- Prepare the Pan: Line your baking pan with parchment paper, leaving some overhang on the sides. This “sling” will make it incredibly easy to lift the hardened fudge out later. Lightly grease the paper if you want to be extra safe.
- Melt the Base: In your medium saucepan over low heat, combine the butter and peanut butter. Stir constantly until the mixture is completely melted and smooth. Do not let it boil; we just want it fluid. Remove from heat immediately once melted.
- Combine with Sugar: Gradually stir in the sifted powdered sugar, about 1 cup at a time. If you dump it all in at once, you will have lumps. Tip: If you have an electric mixer, you can transfer the mixture to a large bowl and beat it in, but a sturdy arm and a spatula work fine too.
- Add Flavor: Stir in the vanilla extract and salt. At this stage, taste the mixture. It should be very sweet but thick. If you want a stronger peanut butter flavor, you can gently fold in some chopped peanuts here.
- Set the Fudge: Pour the thick mixture into your prepared pan. Use your spatula or the back of a spoon to press it down firmly and create a smooth, even top. This is where the magic of classic peanut butter fudge happens—the pressure ensures a dense, creamy bite.
- Chill Out: Place the pan in the refrigerator uncovered. Let it chill for at least 2 hours. It needs to be firm to the touch before you attempt to cut it. Do not rush this step!
- Cut and Serve: Lift the fudge block out of the pan using the parchment paper. Place it on a cutting board and use a large, sharp knife to cut into squares. Serve cold for a firm texture or let it sit at room temperature for 10 minutes if you prefer a softer Peanut Butter Fudge.
Nutritional Benefits & Advantages
While fudge is undoubtedly a treat, there are genuine advantages to making this specific version at home compared to buying generic, shelf-stable candies from the supermarket.
- Ingredient Control: You decide exactly how much sugar goes in. You can also swap in natural peanut butter or use a plant-based butter to accommodate dietary restrictions without sacrificing taste.
- Freshness: Homemade fudge lacks the preservatives found in commercial candies. You are tasting pure ingredients, which results in a cleaner, richer flavor profile.
- Cost Efficiency: Buying gourmet fudge by the pound is expensive. The ingredients in this recipe are pantry staples that cost a fraction of the price for a much larger yield.
- Sustainability: By baking at home, you reduce packaging waste associated with individually wrapped treats. You can store leftovers in reusable glass containers rather than throwing away plastic wrappers.
Tips, Alternative Methods, or Cooking Advice
Want to switch things up? Here are a few ways to adapt this recipe to your kitchen setup and dietary needs.
- Vegan/Dairy-Free: Simply swap the butter for a high-quality vegan butter stick or refined coconut oil. The texture will remain virtually identical.
- Microwave Method: Don’t want to use the stove? Combine butter and peanut butter in a large microwave-safe bowl. Heat in 30-second intervals, stirring in between until melted. Proceed with adding the sugar immediately.
- Chocolate Swirl: Melt 1/2 cup of chocolate chips and drizzle it over the top before chilling. Use a toothpick to create a marbled pattern.
- Texture Troubleshooting: If your fudge is too soft, it likely needed more powdered sugar or longer chilling time. If it’s too dry/crumbly, you may have overheated the peanut butter or added too much sugar.
Common Mistakes to Avoid

- Using Natural Peanut Butter: Natural peanut butter (the kind with oil on top) often separates and prevents the sugar from binding correctly, resulting in an oily mess. Stick to standard commercial brands like Jif or Skippy for this specific recipe.
- Skipping Sifting: If you dump unsifted powdered sugar into the melted butter, you will be picking sugar lumps out of your fudge forever. Sifting takes 30 seconds and guarantees a smooth texture.
- Overheating the Base: High heat can cause the butter to separate. Keep the heat low and remove the pan from the burner as soon as the mixture is liquid.
- Cutting Too Soon: Patience is key. If you try to cut warm fudge, it will gum up your knife and lose its shape. Wait until it is completely firm.
Storage / Maintenance Tips
- Refrigerator: Store fudge in an airtight container with parchment paper between layers to prevent sticking. It will stay fresh for up to 2 weeks in the fridge.
- Freezer: Fudge freezes beautifully. Wrap the block tightly in plastic wrap, then place in a freezer bag. It will last up to 3 months. Thaw in the fridge overnight before serving.
- Serving Temperature: For the best texture, remove the fudge from the fridge 15–20 minutes before serving. This takes the chill off and allows the flavors to bloom.
Conclusion
Making homemade candy doesn’t have to be complicated or scary. With this simple, no-thermometer method, you can enjoy a batch of rich, decadent Peanut Butter Fudge whenever the craving strikes. It is a cost-effective, fresh, and customizable alternative to store-bought sweets. We hope this guide helps you create the perfect classic peanut butter fudge for your family and friends.
Did you try this recipe? Let us know how it turned out in the comments below! We love hearing about your kitchen experiments.
FAQs
1. Can I use crunchy peanut butter?
Yes, you can. It will add texture to the fudge, but ensure the peanut butter is not the “natural” oil-separating kind, as the oils can prevent the fudge from setting properly.
2. Why is my fudge crumbly?
Crumbly fudge usually means too much sugar was added, or it was mixed too vigorously after cooling began. If it’s too dry, you can try gently reheating it with a splash of milk or cream, though this changes the texture slightly.
3. Do I need to grease the parchment paper?
It’s not strictly necessary if the parchment paper hangs over the edges, but a light coating of butter or non-stick spray ensures the fudge releases easily, especially if you are using a glass pan.
4. Can I double this recipe?
Absolutely. Use a 9×13 inch pan for a double batch. The setting time might need to be extended by an extra hour due to the increased thickness.
5. How long does it take to set?
Ideally, let it chill in the fridge for 2 to 3 hours. You can speed this up by placing it in the freezer for 45 minutes, but watch it closely so it doesn’t freeze solid.
