
Have you ever craved that perfect fast-food style burger—the kind with crispy, lacy edges and a juicy center—and wished you could make it better at home? Making a restaurant-quality Smash Burger is actually easier than you think and offers huge benefits over ordering out. You control the quality of the meat, the freshness of the toppings, and the amount of seasoning, resulting in a tastier and often more affordable meal. Whether you are a beginner cook or looking to up your grilling game, mastering the technique of a crispy smash burger will transform your burger nights from ordinary to extraordinary.
Table of Contents
Materials & Supplies
To make these incredible burgers, you need quality ingredients and the right tools. Here is everything you will need to get started.
Ingredients & Seasonings:
- Ground Beef (80/20 blend): 1.5 lbs (about 6 ounces per burger). The 20% fat content is essential for flavor and juiciness; leaner meat will result in dry burgers.
- Salt and Black Pepper: Simple kosher salt and fresh cracked pepper are the classic seasonings. You need about 1 teaspoon of salt total.
- American Cheese Slices: 6–8 slices. Classic yellow American cheese melts best for that gooey texture, but cheddar or pepper jack works too.
- Burger Buns: 6 standard potato buns or brioche buns. Soft buns hold up to the smash without falling apart.
- Butter (for toasting): 2 tablespoons softened butter.
Optional Toppings & Add-ins:
- Smash Sauce: Mayonnaise mixed with ketchup, pickle relish, garlic powder, and paprika.
- Pickles: Dill pickle chips for acidity.
- Onions: Thinly sliced white or red onions.
- Lettuce & Tomato: Iceberg lettuce and beefsteak tomato slices.
Kitchen Tools:
- Cast Iron Skillet or Carbon Steel Pan: Essential for retaining high heat to get a good sear. A heavy-bottomed stainless steel pan works as a second choice.
- Heavy Duty Spatula: A stiff metal spatula is best for smashing and scraping the crust off the pan.
- Parchment Paper: Cut into 6-inch squares. This prevents the beef from sticking to the spatula during the smash.
- Cutting Board & Knife: For prepping toppings.
- Mixing Bowl: For the smash sauce.
Timing / Cooking Schedule
Preparing a crispy smash burger is surprisingly fast. Unlike grilling traditional thick patties, these cook in minutes.
- Prep Time: 15 minutes (chopping veggies, making sauce, portioning beef).
- Cook Time: 12–15 minutes (cooking patties takes only 2–3 minutes per batch).
- Total Time: Under 30 minutes.
Schedule Overview:
This recipe is perfect for a busy weeknight dinner. It is “hands-on” cooking, meaning you need to be at the stove, but the actual process is quick. If you are meal prepping, you can form the beef patties ahead of time and store them in the fridge for up to 24 hours.
Step-by-Step Instructions
Follow these steps closely to ensure the perfect crust and juicy interior.
1. Prepare the Beef:
Divide your ground beef into 6 equal portions (roughly 2–2.5 ounces each). Roll them gently into loose balls. Do not pack the meat tightly; loose balls smash better. Place the balls on a tray and season the tops generously with salt and pepper. Keep them cold until you are ready to cook.
2. Make the Smash Sauce:
While the beef chills, whisk together 1/2 cup mayonnaise, 2 tablespoons ketchup, 1 tablespoon sweet pickle relish, 1/2 teaspoon garlic powder, and 1/2 teaspoon smoked paprika in a small bowl. Set aside in the fridge.
3. Heat the Pan:
Place your cast iron skillet over medium-high heat. Let it get very hot—about 2–3 minutes. You want the pan smoking slightly. Do not add oil yet; the beef fat will render out.
4. The First Smash:
Place a ball of beef into the hot, dry pan. Immediately place a square of parchment paper over the ball. Using your heavy spatula, press down firmly and evenly until the patty is about 1/4-inch thick. Hold the pressure for 10 seconds to ensure a thin, flat shape. Peel off the parchment paper.
5. Sear and Crisp:
Let the patty cook undisturbed for 2–3 minutes. You will see the meat change color up the sides and juices bubbling. Do not move it yet! You are building the “crust” (the Maillard reaction). For the best crispy smash burger texture, wait until the edges are deeply browned.
6. Flip and Melt:
Slide the spatula under the patty and flip it quickly. Immediately place a slice of cheese on top. Cook for another 60–90 seconds. The residual heat will melt the cheese perfectly while the bottom finishes cooking. Remove the patty and set it on a wire rack (not a paper towel, which creates steam and makes it soggy).
7. Toast the Buns:
Lower the heat to medium. Butter the cut sides of your buns and place them cut-side down in the skillet for 1–2 minutes until golden brown.
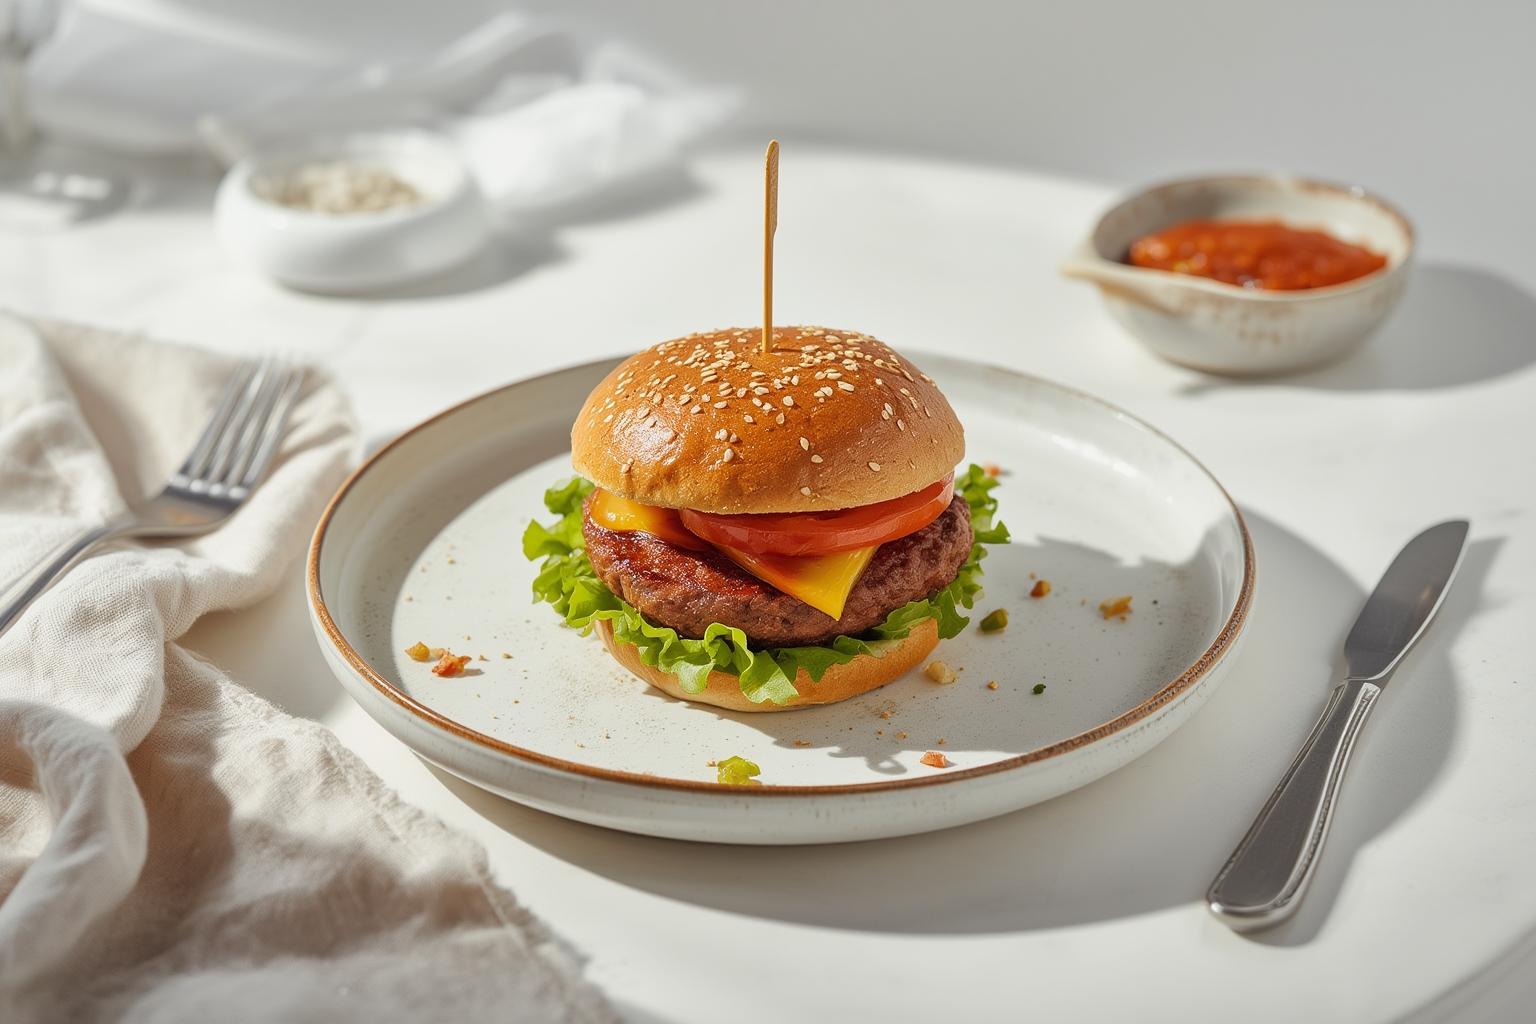
8. Assembly:
Spread a generous layer of smash sauce on both bun halves. Place the patty on the bottom bun. Add pickles, onions, and lettuce. Top with the bun and serve immediately.
Nutritional Benefits / Advantages
Cooking your own Smash Burger at home offers significant health and lifestyle advantages.
- Freshness and Nutrients: By using fresh ground beef and raw vegetables, you maximize nutrient retention compared to fast-food burgers that may sit under heat lamps.
- Ingredient Control: You eliminate hidden additives, excessive sodium, and preservatives often found in commercial burger chains. You control the salt levels and the quality of the fat.
- Sustainability: Using whole ingredients reduces packaging waste associated with fast-food wrappers and boxes. Buying beef from a local butcher can also support sustainable farming practices.
- Cost Savings: High-quality ground beef is significantly cheaper than buying six individual gourmet burgers from a restaurant.
Tips, Alternative Methods, or Cooking Advice
Mastering the smash technique takes practice, but these tips will help you succeed.
- No Cast Iron? If you don’t have a heavy skillet, use the heaviest stainless steel pan you own. Avoid non-stick pans, as they don’t retain enough heat to create a proper crust and can’t handle the high heat required.
- Outdoor Grilling: You can smash burgers on a gas or charcoal grill. Use a flat cast iron griddle plate over the grates. The process remains the same: high heat, smash, and sear.
- Dietary Swaps:
* Bun-less (Keto): Wrap the patty and cheese in large lettuce leaves (butter lettuce works best).
* Dairy-Free: Use a slice of dairy-free cheese alternative or simply omit it; the flavor comes from the sear anyway.
- Small Kitchen Hack: If you only have one small pan, you can cook 2–3 patties at a time. Keep finished patties warm on a wire rack in a 200°F oven while you finish the batch.
Common Mistakes to Avoid
Even experienced cooks can struggle with the smash technique. Here is what to watch out for:
- Overworking the Meat: Squeezing the beef balls too tightly creates a dense, rubbery texture. Keep the meat loose so it spreads easily when smashed.
- Using Cold Pans: If the pan isn’t hot enough, the meat will stick and steam rather than sear. You need high heat from the start.
- Crowding the Pan: Overcrowding lowers the pan temperature. Cook in batches to maintain that necessary high heat for a good sear.
- Smashing Too Late: You must smash immediately upon hitting the hot pan. Waiting even 30 seconds allows the meat to cook and you will lose the thin, crispy edge.
- Wiping the Pan: Don’t clean the pan between batches! Those brown bits (fond) add incredible flavor to the next batch of burgers.
Storage / Maintenance Tips
While smash burgers are best eaten fresh, you can store leftovers if necessary.
- Refrigeration: Cooked patties can be stored in an airtight container in the fridge for up to 3 days. However, note that the crispy texture will soften.
- Freezing: You can freeze uncooked smashed patties. Flash freeze them on a baking sheet, then transfer to a freezer bag. Cook directly from frozen, adding a few extra minutes to the cook time.
- Reheating: To bring back some texture, reheat patties in a hot skillet for 1–2 minutes per side. Avoid the microwave, as it will make the meat rubbery and the cheese separate. Buns should always be toasted fresh.
Conclusion
Making a perfect Smash Burger at home is a game-changer for any kitchen enthusiast. It combines the nostalgia of a classic diner meal with the satisfaction of a homemade dish. By following the steps to create that lacy, crispy smash burger crust, you elevate a simple weeknight dinner into a gourmet experience. Give this method a try this weekend—grab some fresh beef and heat up that skillet. Your taste buds will thank you!
FAQs
1. Why do I need to use 80/20 ground beef?
Fat is flavor and moisture. Leaner meat (90/10 or 93/7) lacks the necessary fat content to keep the thin patty juicy. The fat renders out in the hot pan, essentially frying the burger in its own grease.
2. Do I need a burger press or special tool?
No, you do not need a press. A heavy metal spatula and a piece of parchment paper work perfectly. The parchment paper prevents the meat from sticking to the spatula during the smash.
3. Can I cook these on a BBQ grill?
Yes, but you need a flat cooking surface (a griddle plate or a cast iron skillet placed on the grill grates). You cannot smash a burger directly onto open grill grates; the meat will fall through.
4. What is the “smash sauce” made of?
It is typically a mix of mayonnaise, ketchup, sweet relish, and spices (garlic powder/paprika). It adds a creamy, tangy element that cuts through the richness of the beef.
5. Why isn’t my burger forming a crust?
Your pan likely wasn’t hot enough. Ensure the skillet is smoking hot before adding the meat. Also, make sure you are pressing firmly enough to create maximum contact with the hot metal.
