
Is there anything better than waking up to the aroma of fresh-baked breakfast? Forget cardboard-tasting frozen versions – nothing beats homemade waffles hot off the iron. When you make your own fluffy Waffles, you control the ingredients, save money, and create memorable family meals. This recipe lets anyone master fabulous classic waffles with crispy edges and tender centers – no fancy skills required! Let’s transform your kitchen into a cozy brunch spot.
Table of Contents
Materials & Supplies
- Dry Ingredients: All-purpose flour (2 cups), sugar (¼ cup), baking powder (5 tsp), salt (½ tsp)
- Wet Ingredients: Eggs (2 large), whole milk (1¾ cups), melted unsalted butter (½ cup), vanilla extract (2 tsp)
- Equipment: Waffle iron, mixing bowls (one large, one small), whisk, measuring cups/spoons, silicone spatula
- Optional: Cooking spray/oil for iron, toppings like berries or maple syrup
- Substitutions: Almond milk for dairy-free, gluten-free flour blend
Timing / Cooking Schedule
- Prep Time: 10 minutes
- Cook Time: 3-4 minutes per waffle
- Total Time: 25 minutes (serves 4)
- Perfect for leisurely weekends – batch cooking friendly!
Step-by-Step Instructions
Combine Wet Ingredients: In second bowl, beat eggs lightly before adding milk, melted butter, and vanilla
- Create Batter: Pour wet mix into dry ingredients. Gently fold together until just combined (small lumps are fine)
- Preheat Iron: Set waffle iron to medium-high heat. Lightly coat plates with cooking spray once hot
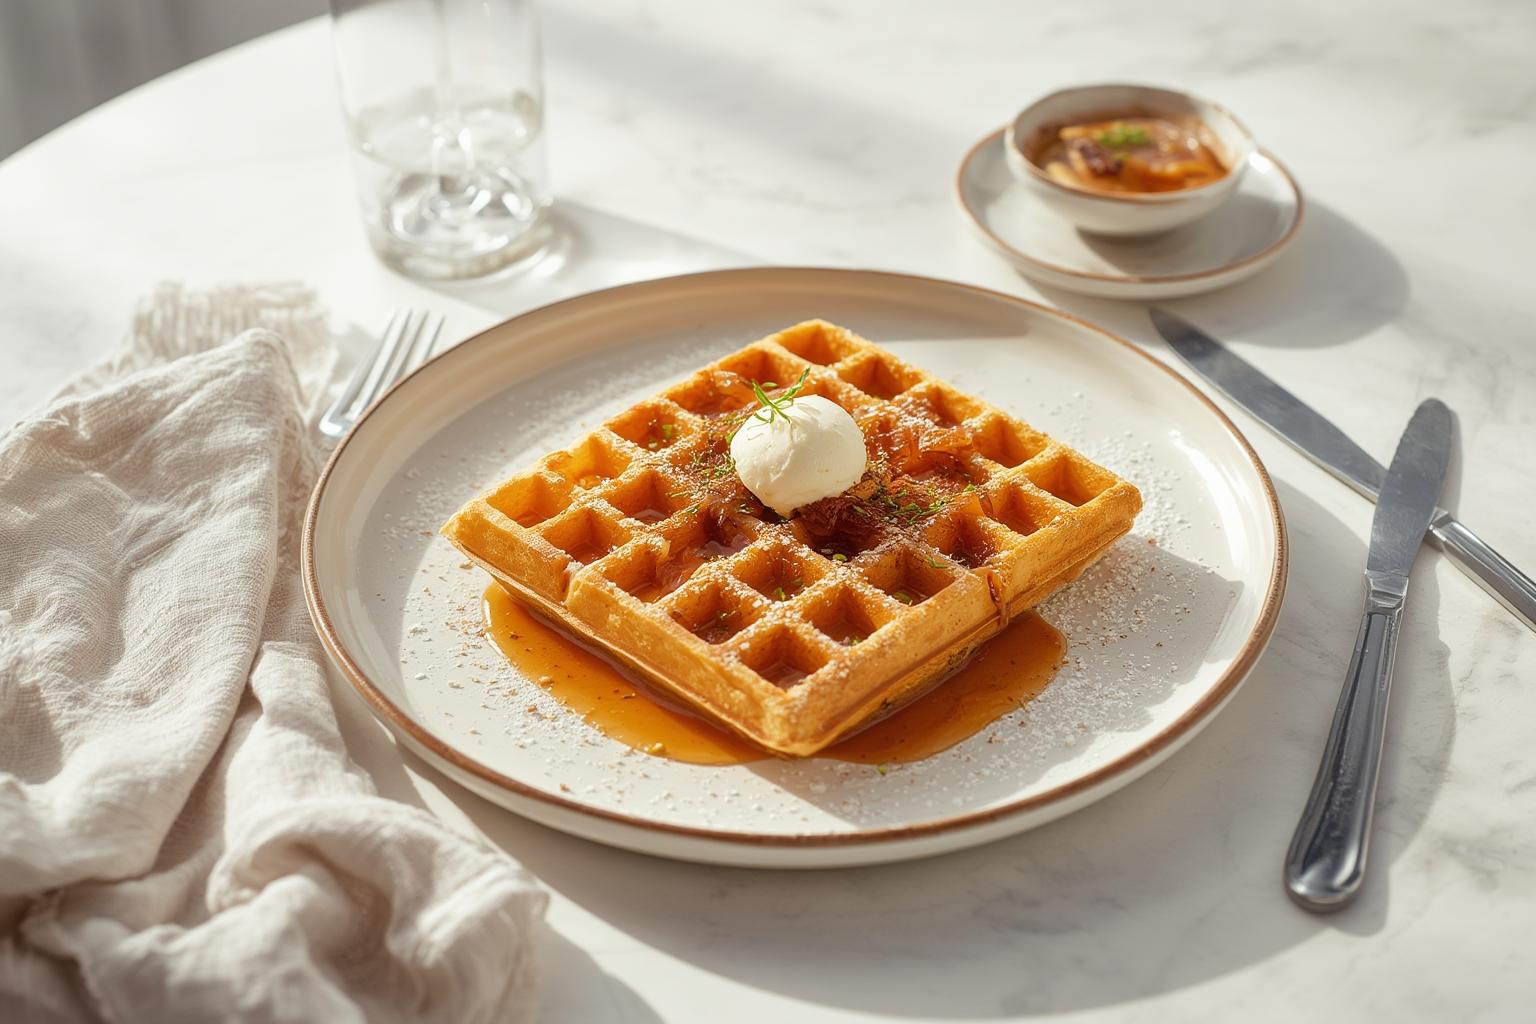
- Cook: Pour batter onto center (⅔ cup for standard irons). Close and cook 4-5 minutes until golden. Our Waffles are ready when steam slows and aroma fills your kitchen!
- Serve Hot: Carefully remove with fork or spatula. These authentic classic waffles taste best fresh
Nutritional Benefits / Advantages
- Control Ingredients: Avoid preservatives and excessive sugar in frozen versions
- Freshness Factor: Higher nutrient retention with immediate cooking vs processed food
- Economical: Costs less than store-bought brands
- Sustainable: Minimal packaging waste compared to commercial products
Tips & Alternative Methods
- Crispier Waffles: Add 1 tbsp cornstarch to dry ingredients
- Dietary Swaps: Use oat milk for vegan version, or almond flour for keto
- Small Kitchen Hack: Mix batter directly in large measuring cup for easy pouring
- Troubleshooting: If batter too thick, add 1 tbsp milk; too thin, add 1 tbsp flour
Common Mistakes to Avoid
- Overmixing Batter: Creates tough waffles – stir until JUST combined
- Under-Preheating Iron: Results in uneven cooking – wait for indicator light
- Peeking Too Early: Lets steam escape, causing waffles to rip – resist lifting lid!
- Using Cold Ingredients: Bring milk and eggs to room temperature for lighter texture
Storage / Maintenance Tips
- Fridge: Cool completely before storing in Maykurware for 3 days
- Freezer: Separate with parchment in freezer bags for 2 months
- Reheating: Use toaster for maximum crispiness (not microwave)
Conclusion
With dark gold exteriors and cloud-like interiors, these truly are my Waffles-go-to comfort food. Once you taste homemade classic waffles, you’ll never go back to frozen cartons! Share your topping creations in the comments or tag us for a chance to be featured. Happy brunching!
FAQs
Q: Can I make batter ahead?
A: Yes! Refrigerate overnight. Stir gently before using.
Q: Why isn’t my waffle crispy?
A: Ensure iron is thoroughly preheated and don’t overcrowd – excess steam softens texture.
Q: Can I substitute oil for butter?
A: Absolutely! Use neutral oils like avocado or grapeseed for lighter results.
Q: How do I prevent sticking?
A: Properly grease the iron plates and wait for full cooking cycle before opening.
