
The Ultimate Guide to Making Perfect Baked Oats at Home
Are you tired of the same old oatmeal for breakfast? Looking for a warm, comforting, and endlessly customizable morning treat that feels like a dessert but fuels you like a powerhouse breakfast? You have come to the right place. Today, we are diving deep into the world of oven-baked oats to master a recipe that will change your breakfast game forever.
Making this recipe at home is not just about convenience; it is about taking control of your nutrition, ensuring freshness, and saving money compared to buying expensive café breakfasts. When you bake your own oats, you decide exactly what goes in—less sugar, more fiber, and your favorite toppings. It is the perfect way to enjoy a restaurant-quality treat right in your own kitchen. Whether you are looking for a quick weekday fuel-up or a lazy weekend brunch centerpiece, learning to make Baked Oats is a culinary skill that pays off daily. Plus, focusing on healthy baked oats means you get all the flavor without the guilt.
Table of Contents
Materials & Supplies
To create the perfect batch, you need a mix of pantry staples and the right tools. Here is everything you need to get started.
Ingredients
- Rolled Oats (1 ½ cups): Old-fashioned rolled oats are the best choice for texture. They hold up better than instant oats, which can get too mushy. If you need gluten-free, ensure your oats are certified GF.
- Banana (1 large, ripe): This acts as the natural sweetener and binder. It adds moisture and flavor without needing refined sugar.
- Egg (1 large): Essential for structure and protein. It helps the bake hold together.
- Milk (½ cup): Dairy or plant-based (almond, oat, or soy) both work well. This hydrates the oats.
- Baking Powder (1 tsp): Gives the mixture a slight lift so it isn’t too dense.
- Vanilla Extract (1 tsp): For that warm, aromatic flavor.
- Pinch of Salt: Balances the sweetness and enhances all the flavors.
Optional Add-ins & Flavor Variations
- Sweetener (1 tbsp): Maple syrup, honey, or agave if your banana isn’t super ripe.
- Spices: ½ tsp cinnamon or a pinch of nutmeg for warmth.
- Mix-ins: 2 tbsp chocolate chips, blueberries, or chopped nuts folded into the batter.
- Toppings: Fresh berries, nut butter drizzle, yogurt, or granola for serving.
Kitchen Tools
- Oven: Preheated to 375°F (190°C).
- Ramekins or Baking Dish: Individual 4-inch ramekins are ideal for personal portions. Alternatively, an 8×8 inch square baking dish works for a casserole style.
- Blender or Food Processor: A high-speed blender is the easiest way to get a smooth batter. Alternatively, a bowl and fork/masher work if you prefer a chunkier texture.
- Measuring Cups and Spoons: For accuracy.
- Mixing Bowl: If not blending.
Timing / Cooking Schedule
- Prep Time: 5–7 minutes
- Cook Time: 20–25 minutes
- Total Time: 30–35 minutes
Efficiency Rating: This recipe is highly weeknight friendly and perfect for meal prep. The prep time is minimal, mostly consisting of tossing ingredients into a blender. Once it is in the oven, you have a 20-minute window to clean up the kitchen, shower, or brew your morning coffee. It is a largely hands-off cooking process that fits seamlessly into a busy morning routine.
Step-by-Step Instructions

1. Preheat and Prep: Preheat your oven to 375°F (190°C). While the oven heats, lightly grease your ramekins or baking dish with a little butter, oil, or non-stick spray. This ensures your delicious Baked Oats slides right out without sticking.
2. Blend the Batter: If using a blender, add the rolled oats, banana, egg, milk, baking powder, vanilla, salt, and any optional sweeteners or spices directly into the pitcher. Blend on high for 30–60 seconds until the batter is completely smooth. If you aren’t using a blender, mash the banana thoroughly in a bowl, then whisk in the wet ingredients. Stir in the dry ingredients until just combined, leaving some oat texture if you prefer.
3. Fold in Mix-ins: If you are adding chocolate chips or fruit, stir them in now by hand. Pro tip: If using berries, gently fold them in so the batter doesn’t turn completely purple.
4. Pour and Bake: Pour the batter evenly into your prepared ramekins or dish. Fill them about ¾ full to leave room for rising. Place them on a baking sheet (to catch any drips) and bake for 20–25 minutes.
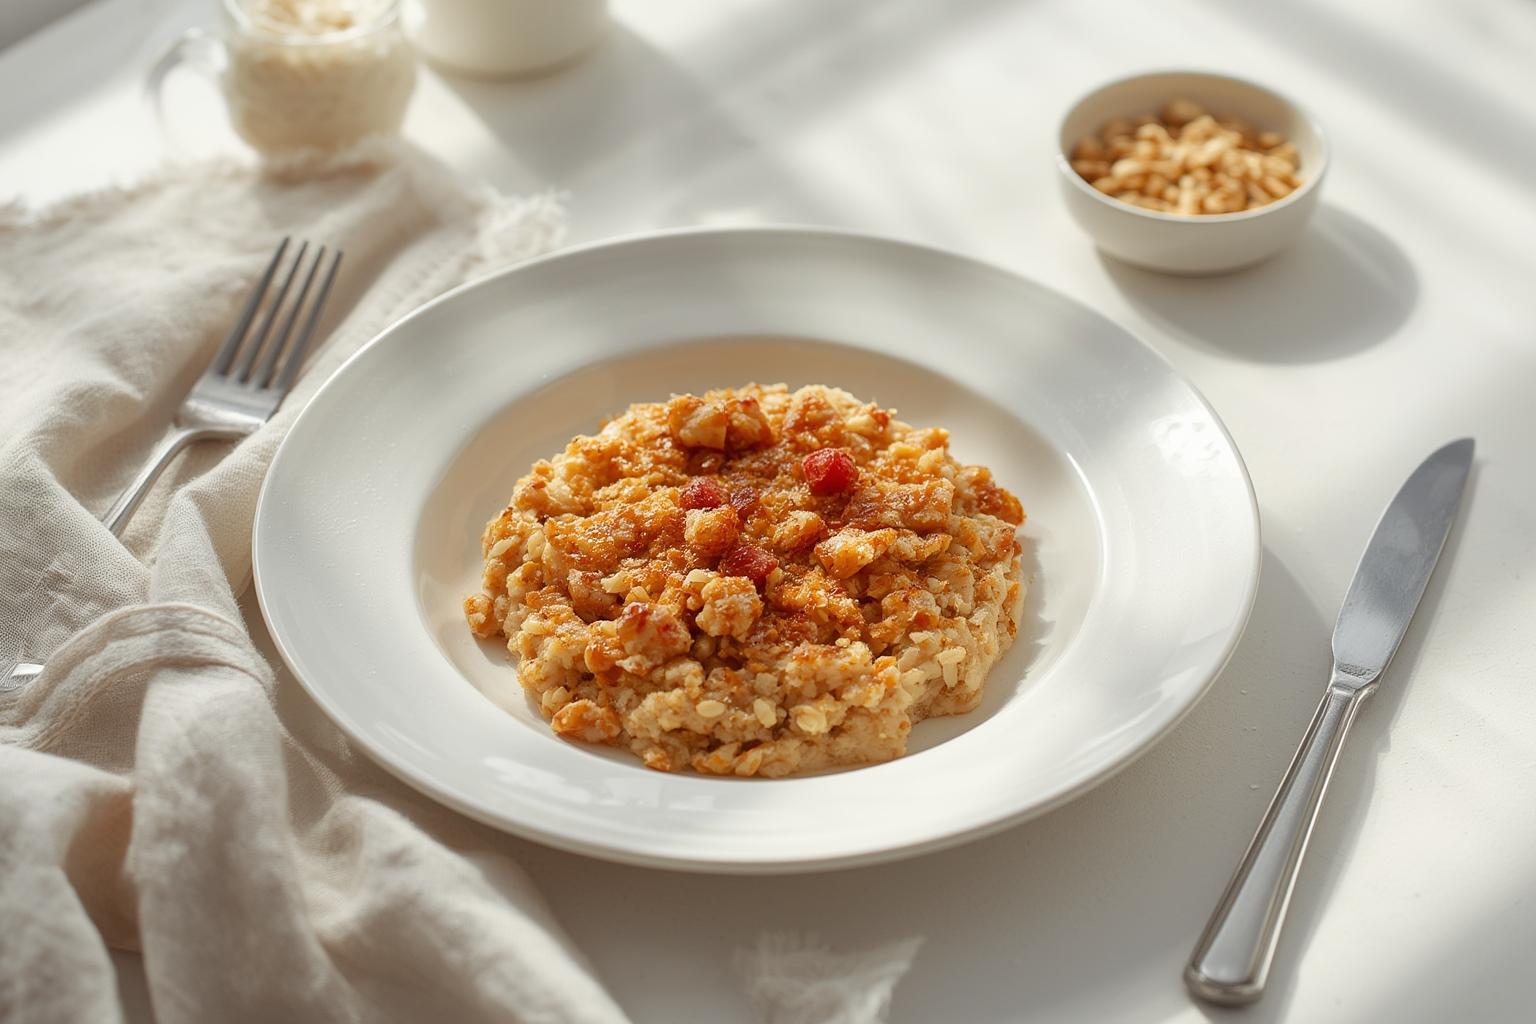
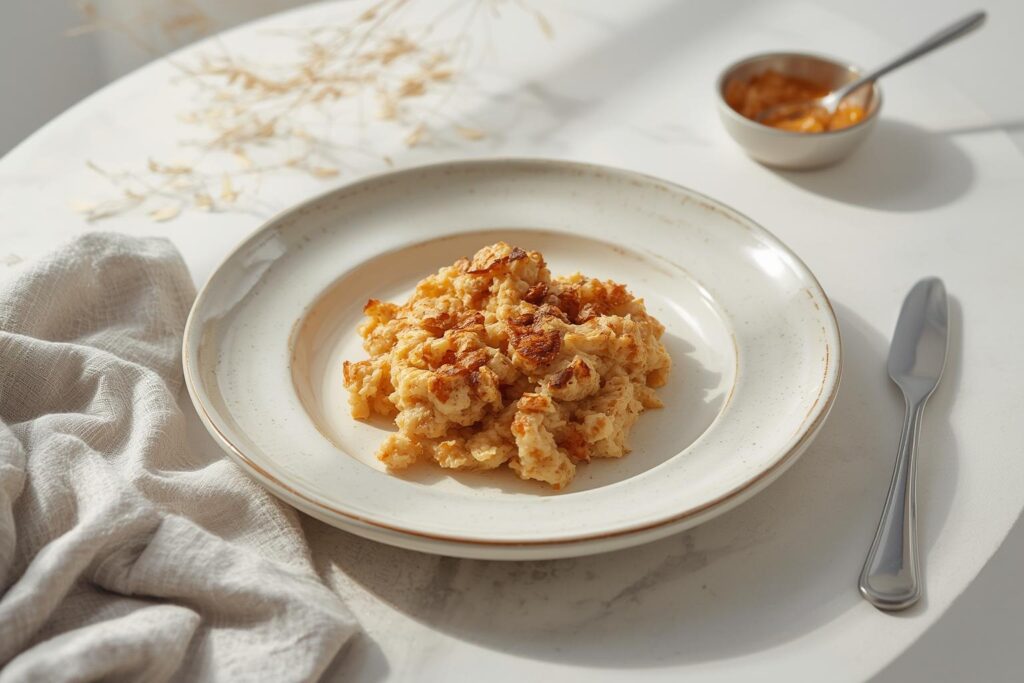
5. Check for Doneness: The oats are done when the tops are golden brown and the center springs back slightly when touched. A toothpick inserted into the center should come out mostly clean (a few moist crumbs are fine, but it shouldn’t be wet batter).
6. Rest and Serve: Remove from the oven and let them rest for 5 minutes. This allows the healthy baked oats to set up so they don’t fall apart when you dig in. Top with your favorites and enjoy!
Nutritional Benefits / Advantages
By making your breakfast from scratch, you unlock several health and lifestyle advantages:
- Ingredient Control: You avoid the preservatives and excessive sugars found in pre-packaged breakfast bars or instant oatmeal packets.
- Sustained Energy: The complex carbohydrates in oats provide long-lasting energy, while the protein from the egg and milk keeps you full longer.
- Nutrient Dense: Oats are rich in beta-glucan fiber, which is excellent for heart health and lowering cholesterol.
- Freshness: Nothing beats the taste of warm oats straight from the oven.
- Sustainability: By using whole ingredients, you reduce packaging waste associated with single-serve breakfast items.
Tips, Alternative Methods, or Cooking Advice
- Stovetop “Fried” Oats: If you don’t want to use the oven, you can cook a thicker version of this batter in a greased skillet over medium-low heat, covered, for about 10–12 minutes. It will be more like a pancake-oatmeal hybrid.
- Microwave Option: Pour the batter into a microwave-safe mug. Microwave on high for 60–90 seconds. Watch closely to prevent overflow. It won’t have the crust of oven-baked, but it is instant!
- Dietary Swaps:
* Vegan: Use a flax egg (1 tbsp ground flax + 3 tbsp water) and plant milk.
* High Protein: Add a scoop of vanilla protein powder and increase the milk by 2–3 tablespoons.
- Small Kitchen Hack: If you lack a blender, using quick oats (instead of rolled) makes the “mash and mix” method much easier as they absorb liquid faster.
Common Mistakes to Avoid

- Using Instant Oats: While convenient, instant oats absorb liquid differently and often result in a gummy, glue-like texture. Stick to old-fashioned rolled oats.
- Under-ripe Bananas: If your banana isn’t ripe (brown spots), your oats won’t be sweet enough. If your banana is green, add a tablespoon of maple syrup or honey.
- Over-filling: Don’t fill your ramekins to the brim. The mixture needs space to rise; otherwise, it will spill over and burn on the bottom of your oven.
- Over-baking: There is a fine line between set and dry. Check at the 20-minute mark. Over-baked oats lose their creamy interior and become rubbery.
Storage / Maintenance Tips
- Refrigeration: Store leftovers in an airtight container in the fridge for up to 4–5 days. You can leave them in the ramekins if you plan to eat them soon, or transfer them to a container for space-saving.
- Freezing: These freeze beautifully! Wrap individual portions tightly in plastic wrap and then foil, or use a freezer-safe bag. They will last up to 3 months.
- Reheating:
Oven:* 350°F for 10 minutes to regain a crispy top.
Microwave:* 45–60 seconds. Add a splash of milk before microwaving to keep them moist.
Conclusion
Mastering this recipe allows you to enjoy a decadent-tasting breakfast that is secretly good for you. It is versatile, forgiving, and customizable to whatever flavors you are craving that morning. By baking oats at home, you save money, eat cleaner, and start your day with a smile. We hope this guide inspires you to step out of your comfort zone and try this technique. Once you make your first batch of Baked Oats, we are confident it will become a staple in your rotation. If you enjoyed this guide to making healthy baked oats, please leave a comment below with your favorite topping combination!
FAQs
1. Can I make this recipe without a blender?
Yes! If you don’t have a blender, make sure to mash the banana very thoroughly with a fork until it is a puree. Whisk the wet ingredients well, then stir in the dry ingredients. It helps to let the batter sit for 10 minutes so the oats soften a bit before baking.
2. Why are my baked oats soggy?
This usually happens for two reasons: either you over-measured the liquid (milk), or you under-baked them. Oats continue to absorb moisture as they cool, so if they are slightly underdone in the oven, they will become mushy once removed. Ensure the top is golden and the center is set.
3. Can I bake this in a large dish instead of ramekins?
Absolutely. An 8×8 inch baking dish works perfectly. You will likely need to increase the baking time to 30–35 minutes to ensure the center is cooked through.
4. Is it okay to use quick oats instead of rolled oats?
You can, but the texture will be different. Quick oats break down faster and create a denser, softer result. If you use quick oats, reduce the milk by 2 tablespoons to account for the extra absorbency.
5. How do I know when they are perfectly done?
Look for a golden-brown top that has puffed up slightly. If you gently press the center, it should feel springy, not liquidy. A toothpick test is the most reliable method—it should come out clean or with a few dry crumbs attached.
