
INTRODUCTION
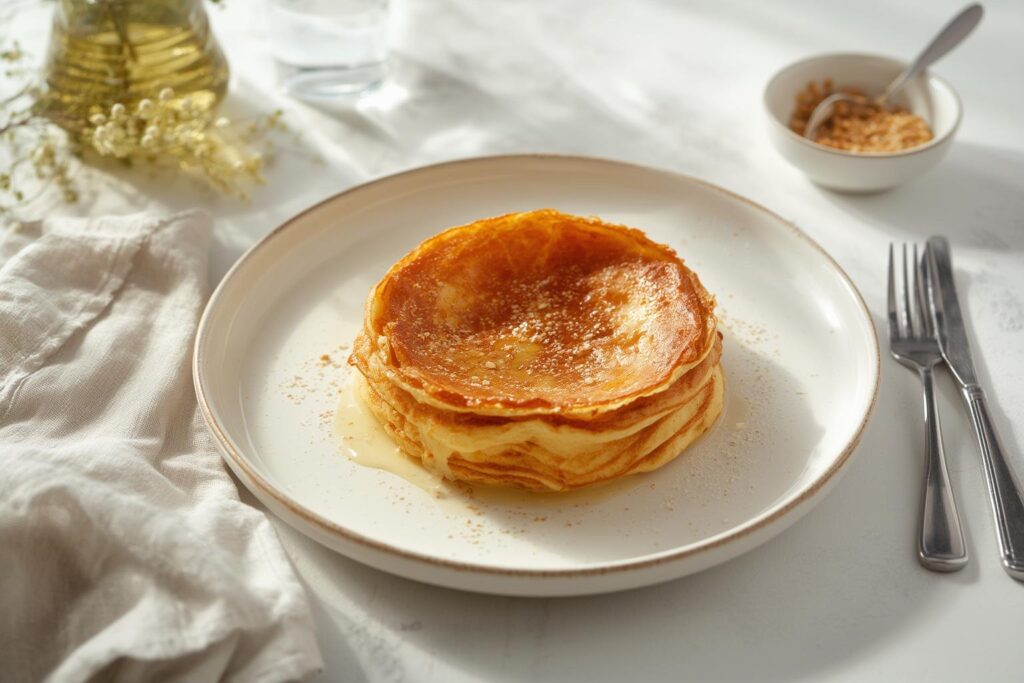
The Ultimate Dutch Baby Pancake: A Puffy, Golden Skillet Breakfast
Have you ever wanted a breakfast that looks like it came straight from a gourmet bakery but secretly requires almost zero effort? If you are tired of flipping individual pancakes or scrubbing sticky pans, there is a stunning solution waiting for your oven. Making this dish at home is a game-changer because you control the ingredients, ensure ultimate freshness, and save money compared to dining out. It’s the perfect way to impress family or guests with minimal stress. When you whip up a Dutch Baby Pancake, you are creating a show-stopping breakfast that tastes as incredible as it looks. The best part is achieving that perfect fluffy dutch baby texture that makes every bite a delight.
Table of Contents
MATERIALS & SUPPLIES
To get started, you don’t need fancy gadgets, just quality ingredients and a reliable oven setup.
Ingredients:
- Eggs (3 large): The base of the batter; room temperature helps with volume.
- All-purpose flour (¾ cup): Provides structure. You can substitute with a 1:1 gluten-free baking blend if needed.
- Whole milk (½ cup): Creates a rich custard flavor. For a lighter version, 2% milk works, but avoid skim.
- Vanilla extract (1 tsp): Adds warmth and sweetness.
- Granulated sugar (1 tbsp): Just enough to balance the savory notes.
- Salt (¼ tsp): Essential for bringing out the flavors.
- Unsalted butter (3 tbsp): You will need this for both the batter and greasing the pan. We prefer unsalted so you can control the sodium.
Tools:
- 10-inch cast-iron skillet: This is the gold standard because it holds heat incredibly well. A stainless steel oven-safe skillet works too.
- Blender or whisk: A blender ensures a silky-smooth batter, but a whisk and mixing bowl are fine if you don’t mind a few lumps.
- Measuring cups and spoons: For accuracy.
- Rubber spatula: For scraping the batter.
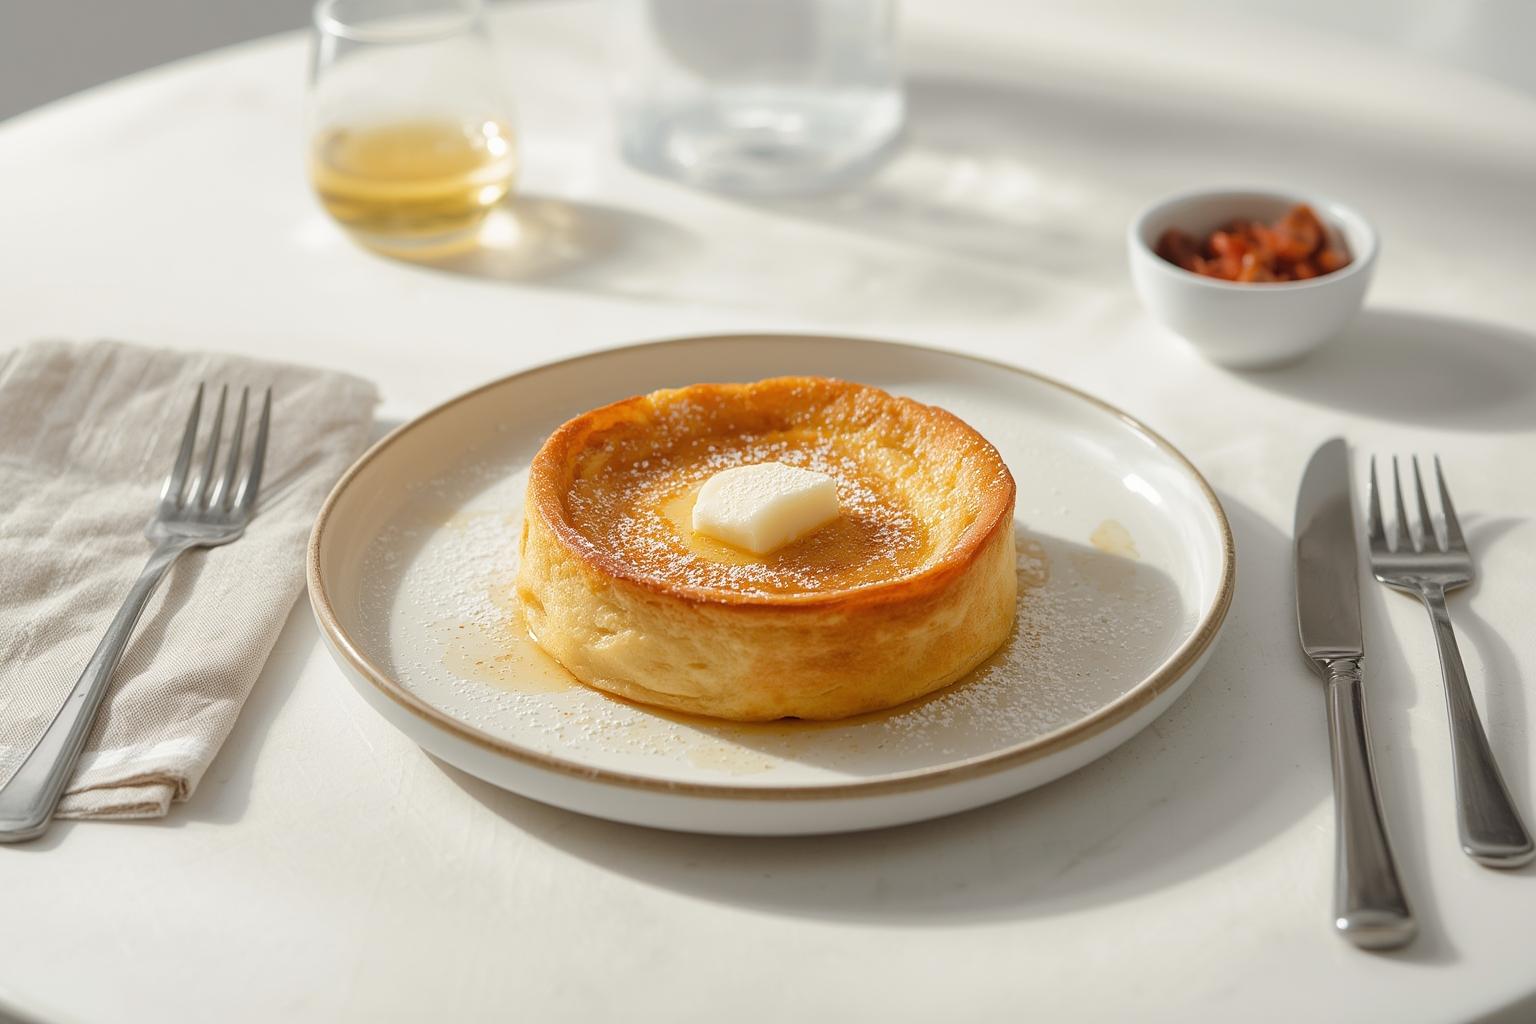
Optional Toppings (Sauces & Add-ins):
- Fresh berries (lemon zest, powdered sugar, maple syrup, whipped cream, pecans).
TIMING / COOKING SCHEDULE
- Prep Time: 5–7 minutes
- Cook Time: 18–22 minutes
- Total Time: ~30 minutes
This recipe is incredibly weeknight-friendly because the actual hands-on time is under 10 minutes. While the skillet heats up and the batter rests, you can brew coffee or slice fruit. It is largely “hands-off” cooking once it hits the oven, making it a stress-free option for lazy weekends or busy mornings.
STEP-BY-STEP INSTRUCTIONS
1. Preheat and Prep the Skillet: Place your 10-inch cast-iron skillet on the center rack of the oven and preheat the oven to 425°F (220°C). Letting the skillet get hot while the oven warms up is the secret to the signature.
2. Blend the Batter: In a blender, combine the eggs, flour, milk, vanilla, sugar, and salt. Blend on high for about 20–30 seconds until completely smooth and frothy. If whisking by hand, whisk the eggs first, then slowly add the dry ingredients, ensuring no lumps remain.
3. Rest the Batter: Let the batter sit on the counter while the oven finishes preheating (about 5–10 minutes). This allows the flour to hydrate and the gluten to relax, resulting in a tender texture.
4. Melt the Butter: Carefully remove the hot skillet from the oven (use a thick oven mitt!). Drop the butter into the skillet and swirl it around to coat the bottom and sides completely. It should sizzle and bubble immediately.
5. Pour and Bake: Pour the batter into the center of the hot, buttery skillet. Quickly place it back into the oven. Bake for 18–22 minutes. Do not open the oven door during the first 15 minutes, or it might deflate.
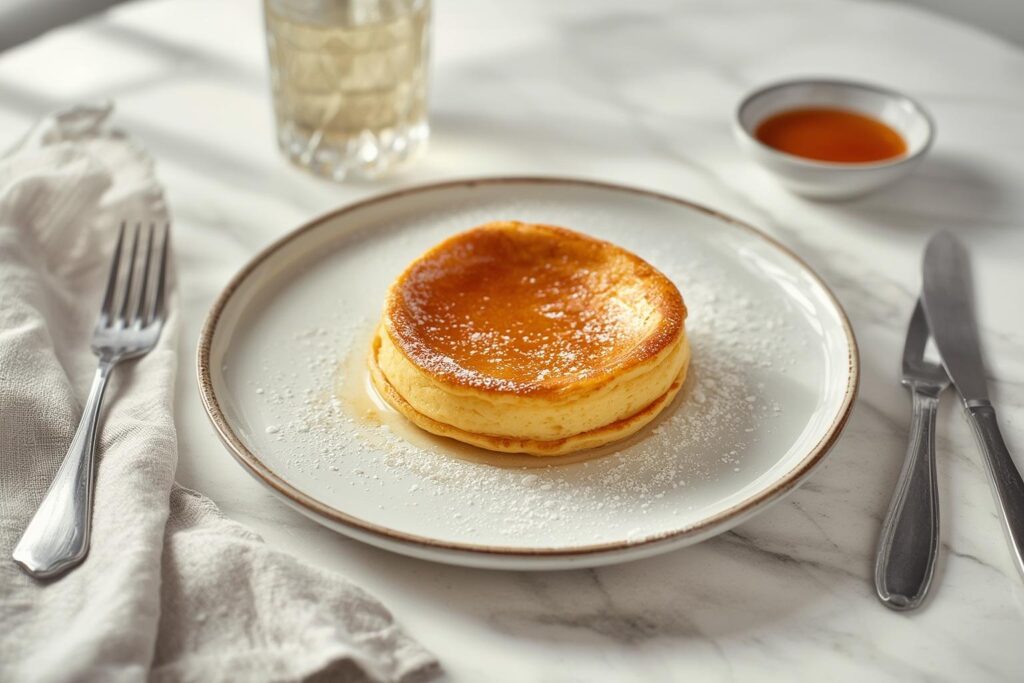
6. Check for Doneness: The pancake is done when it is puffed up dramatically around the edges and the edges are golden brown and crisp. The center will be slightly eggy and custard-like.
7. Serve Immediately: This is where you achieve that fluffy dutch baby perfection. Remove from the oven and top immediately with your favorites. As it cools, it will naturally deflate (that’s normal!), but the edges will remain deliciously crisp. A perfect Dutch Baby Pancake is best eaten right out of the oven.
NUTRITIONAL BENEFITS / ADVANTAGES
Cooking this breakfast at home offers significant advantages over processed frozen breakfast foods or fast food. You have total control over the sugar content and fat quality. Using real whole milk and eggs provides a good dose of protein and calcium to start your day.
By avoiding pre-packaged mixes, you eliminate unnecessary preservatives and packaging waste, making it a more sustainable choice. Furthermore, making a large skillet breakfast is cost-effective; feeding a family of four with this costs a fraction of what a brunch bill would be at a restaurant. Freshness is unbeatable—nothing compares to the aroma of vanilla and butter wafting through your kitchen.
TIPS, ALTERNATIVE METHODS, OR COOKING ADVICE
- Cast Iron is King: While you can use a stainless steel pan, non-stick pans usually won’t get hot enough to create the proper oven spring (the puff).
- Small Kitchen? If you don’t have a big oven, you can make this in a muffin tin for individual “puffs,” though the cooking time will be reduced to about 12–15 minutes.
- Dietary Swaps: For a dairy-free version, use oat milk or almond milk and swap the butter for a high-quality vegan butter or coconut oil (though coconut oil will change the flavor profile).
- Troubleshooting Texture: If your batter is too thick, the pancake won’t puff properly; add a splash more milk. If it’s too thin (too runny), it won’t hold its shape—add a tablespoon of flour.
COMMON MISTAKES TO AVOID
1. A Cold Pan: Putting the batter into a cold or lukewarm skillet is the reason Dutch Babies fail to puff. The thermal shock of the hot pan against the cold batter is what creates the lift.
2. Opening the Oven Door: Peeking too early releases heat and causes the delicate structure to collapse before it sets. Trust the timer!
3. Over-blending: Once you mix the batter, stop. Over-mixing can develop gluten, making the pancake tough and chewy rather than tender and custardy.
4. Under-seasoning: Don’t skip the salt. A Dutch Baby is essentially a sweet custard; without salt, it tastes flat and eggy.
5. Wrong Flour: Using cake flour will make it too delicate, and using bread flour will make it too chewy. Stick to standard all-purpose flour.
STORAGE / MAINTENANCE TIPS
Ideally, a Dutch Baby should be eaten the moment it comes out of the oven. However, leftovers do happen!
- Refrigeration: Store leftovers in an airtight container in the fridge for up to 2 days. It will lose its puff and become denser, but the flavor remains good.
- Freezing: Not recommended. The custard texture changes to a rubbery consistency when frozen and thawed.
- Reheating: To revive the crispiness, avoid the microwave (which makes it soggy). Instead, place slices in an air fryer at 350°F for 3–4 minutes or on a baking sheet in a 400°F oven for 5 minutes. This helps re-crisp the edges.
CONCLUSION
Mastering the Dutch Baby Pancake is a fantastic addition to your cooking repertoire. It strikes the perfect balance between elegant brunch centerpiece and easy, comforting breakfast. With just a few pantry staples and a hot skillet, you can achieve that bakery-quality fluffy dutch baby rise every time. Why not give it a try this weekend? Let us know in the comments below what toppings you chose—we love hearing about your kitchen adventures!
FAQs
1. Why didn’t my Dutch Baby puff up?
The most likely culprit is a pan that wasn’t hot enough. Ensure your oven is fully preheated with the skillet inside before adding the butter and batter. Also, check that your baking powder (if you added any, though this recipe relies on eggs/steam) isn’t expired, and don’t open the oven door too early.
2. Can I make the batter ahead of time?
Yes! You can blend the batter the night before and store it in the fridge in a covered jar. Let it come to room temperature for 20 minutes before baking for the best results. This actually improves the flavor.
3. Is a Dutch Baby the same as a German Pancake?
Yes, the terms are often used interchangeably. A “German Pancake” is usually baked in a rectangular jelly roll pan, while a “Dutch Baby” is typically round and made in a skillet, but the batter is essentially the same.
4. My edges aren’t crispy. What happened?
If the edges are soft, you might have overcrowded the pan with too much batter, or the skillet wasn’t hot enough when you poured it in. You need that high heat to sear the edges immediately.
5. Can I use a different type of milk?
Yes, you can use almost any milk you like—dairy or plant-based (soy, almond, oat). Just note that lower-fat milks will result in a slightly less rich flavor and slightly less puff.
