
Introduction
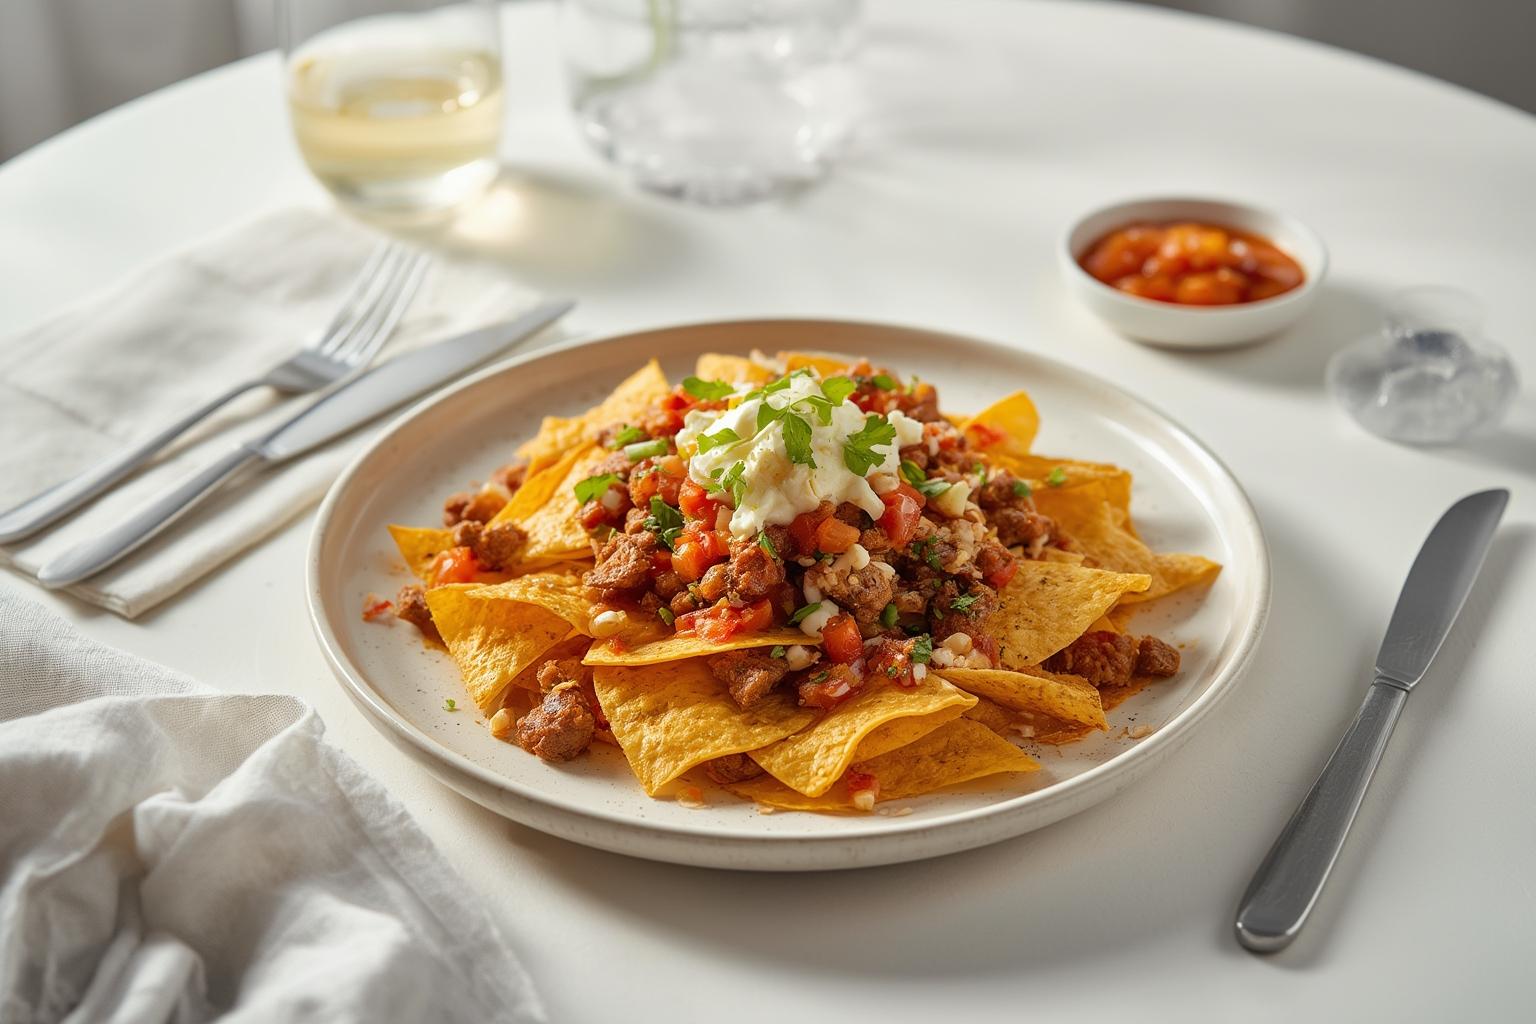
Loaded Beef Nachos: The Ultimate Crowd-Pleaser
Is there anything more satisfying on a Friday night than digging into a warm, cheesy, flavor-packed plate of nachos? While ordering takeout nachos is easy, making them at home gives you total control over freshness, quality, and cost. You can choose exactly what goes on them, ensuring every bite meets your cravings.
Making a batch of these homemade Loaded Nachos allows you to layer them perfectly so every chip has toppings—no more empty chips or clumpy cheese. Once you master a great recipe for loaded beef nachos, you’ll never want to go back to the soggy, store-bought versions again.
Table of Contents
Materials & Supplies
To create the ultimate nacho platter, you need a balance of textures and flavors. Here’s everything you’ll need:
Ingredients
- Protein: 1 lb ground beef (80/20 blend offers the best flavor without being too greasy).
- Seasoning: 1 tbsp homemade taco seasoning (chili powder, cumin, paprika, garlic powder, onion powder, salt, and pepper) or a store-bought packet.
- Base: 1 large bag of sturdy restaurant-style tortilla chips (avoid thin or flimsy chips that break under the weight of toppings).
- Cheese: 2 cups shredded sharp cheddar or a Mexican cheese blend (pre-shredded works, but block cheese melts smoother).
- Beans (Optional): 1 cup canned black beans, rinsed and drained.
- Vegetables & Fresh Toppings:
* 1 medium red onion, diced
* 1 large tomato, diced
* 1 jalapeño, sliced (fresh or pickled for heat control)
* 1/2 cup pickled jalapeños (for tang)
* 1/2 cup sliced black olives
* 1/2 cup fresh cilantro, chopped
* 1 lime, cut into wedges
* 1 avocado (for guacamole) or store-bought guacamole
* 1/2 cup sour cream (or Greek yogurt as a substitute)
* Salsa or Pico de Gallo (store-bought or homemade)
Kitchen Tools
- Baking Sheet: Large rimmed sheet pan (essential for the “oven-baked” method to get a crispy finish).
- Skillet: Cast iron or non-stick frying pan for browning the beef.
- Cutting Board & Sharp Knife: For dicing all fresh veggies.
- Measuring Cups & Spoons: To ensure proper seasoning ratios.
- Mixing Bowls: For holding prepped toppings.
- Spatula/Tongs: For stirring meat and serving.
Optional Add-ins & Substitutions
- Protein Swap: Ground turkey or chicken for a leaner option, or plant-based crumbles for vegetarians.
- Dairy-Free: Use vegan cheese shreds and dairy-free sour cream.
- Gluten-Free: Ensure corn tortilla chips are certified GF.
Timing / Cooking Schedule
Here is a breakdown of the time investment. This recipe is perfect for a weeknight dinner or weekend game day.
Prep Time: 15 minutes
Cook Time: 15 minutes
Total Time: 30 minutes
- Efficiency Tip: The prep and cook times overlap. You can chop your vegetables while the ground beef browns on the stove.
- Batch Cooking: If you are making this for a large group, consider doubling the meat and cheese. The assembly time remains roughly the same.
Step-by-Step Instructions
Follow these steps to ensure your nachos are crispy, not soggy, and perfectly layered.
Step 1: Brown the Meat
Preheat your oven to 350°F (175°C). While it heats, place a large skillet over medium-high heat. Add the ground beef. Break it apart with a spatula as it cooks. Once the beef is browned (about 5-7 minutes), drain off any excess grease. Stir in your taco seasoning and about 1/4 cup of water; simmer for 2-3 minutes until the liquid evaporates and the meat is coated. Set aside.
Step 2: Prepare Fresh Toppings
While the meat simmers, wash and chop your vegetables. Dice the tomatoes, red onion, and cilantro. Slice the jalapeños. If you are making guacamole, mash the avocado with lime juice and salt now. Having all toppings ready in small bowls makes assembly smooth.
Step 3: Build the Perfect Layer (The Key to Great Nachos)
Grab your large baking sheet. Spread a thin layer of tortilla chips across the surface. Do not overcrowd them. If you pile them too high, the bottom chips won’t get any toppings. Sprinkle half of the cooked beef, half of the beans (if using), and half of the cheese evenly over this first layer. Add a few slices of pickled jalapeños here if you like extra heat.
Step 4: Add the Second Layer
Add a second layer of chips over the first. Top with the remaining beef, beans, cheese, and olives. The goal is to ensure chips on the bottom aren’t left plain. This layering technique is the secret to authentic Loaded Nachos.
Step 5: Bake to Perfection
Place the baking sheet in the preheated oven. Bake for 10-12 minutes, or until the cheese is fully melted and bubbly. Watch carefully—the chips can go from golden to burnt quickly. You want the edges of the chips to be slightly browned.
Step 6: Add Fresh Toppings
Remove the nachos from the oven. Immediately sprinkle the fresh diced tomatoes, red onions, and cilantro over the hot cheese. The residual heat will slightly soften the onions but keep the tomatoes crisp.
Step 7: Serve Immediately
Drizzle sour cream and salsa over the top. Serve hot with lime wedges on the side. These loaded beef nachos are best eaten right away while the chips retain their crunch.
Nutritional Benefits & Advantages
While nachos are often viewed as an indulgent treat, there are significant benefits to preparing them at home:
- Ingredient Control: You decide the salt, fat, and sugar levels. By using lean meat and adding more fresh vegetables, you increase the fiber and nutrient density.
- Freshness: Homemade nachos lack the preservatives found in processed microwave meals. The fresh vegetables provide vitamins A and C, while the cheese offers calcium and protein.
- Sustainability: Cooking at home reduces packaging waste associated with takeout containers and individual snack packs.
- Cost Savings: A bag of chips, a pound of meat, and cheese cost significantly less than ordering an equivalent platter from a restaurant.
Tips, Alternative Methods, or Cooking Advice
Alternative Cooking Methods
- Oven vs. Stovetop: While the oven method creates the classic melted cheese finish, you can make a quick stovetop version in a large skillet. Layer chips and cheese in a skillet with a lid over low heat until melted, then add toppings.
- Air Fryer Method: For smaller batches (snack size), use an oven-safe dish in the air fryer. Cook at 350°F for 4-5 minutes.
- Slow Cooker (Meat Only): You can keep seasoned taco meat warm in a small slow cooker if you are serving a crowd over a long period.
Seasoning & Substitutions
- Spice Levels: If you are sensitive to heat, remove the seeds from fresh jalapeños before slicing. If you love heat, add a dash of cayenne pepper to the taco meat.
- Texture Fixes: If your cheese isn’t melting well, it might be too cold. Let shredded cheese sit out for 10 minutes before baking, or use freshly grated cheese rather than pre-shredded (which contains anti-caking agents).
- Small Kitchens: No oven? No problem. Use a toaster oven or a covered skillet on the stovetop.
Common Mistakes to Avoid
Even a simple recipe like nachos has pitfalls. Here’s how to avoid them:
- The “Soggy Chip” Disaster: This usually happens when the nachos are piled too high or baked too long. To prevent this, layer ingredients thinly and bake only until the cheese melts.
- Overcrowding the Pan: If you use a pan that is too small, the heat won’t circulate, and the chips in the middle won’t crisp up. Use a large rimmed baking sheet.
- Underseasoning the Meat: The chips are bland on their own, so the meat needs to be flavorful. Taste your taco meat before layering it; it should taste slightly saltier than you prefer, as the chips and cheese will balance it out.
Skipping the Fresh Toppings: Baking the tomatoes and onions makes them mushy. Always add raw, fresh veggies after* baking for texture and brightness.
Storage / Maintenance Tips
Nacho leftovers are tricky because chips lose crispness when moist, but they don’t have to go to waste.
- Storing Leftovers: If you have uneaten nachos, separate the cold toppings (sour cream, salsa, guacamole) before storing. Place the cheesy chips in an airtight container in the refrigerator for up to 2 days.
- Reheating: Avoid the microwave, which makes chips rubbery. Reheat leftovers in an oven or toaster oven at 350°F for 5-8 minutes until hot and crisp. You can also toss them in a dry skillet over medium heat.
- Freezing: It is not recommended to freeze fully assembled nachos. However, you can freeze the cooked taco meat for up to 3 months. Thaw and reheat in a skillet before assembling fresh chips and cheese.
Conclusion
Mastering homemade Loaded Nachos is a game-changer for your cooking repertoire. By layering ingredients correctly and using fresh toppings, you create a texture and flavor profile that takeout simply cannot match. Whether you are feeding a hungry family or hosting a game day party, these loaded beef nachos are sure to be a hit. Give this recipe a try this week, and don’t forget to customize it with your favorite toppings!
FAQs
1. Can I make these nachos ahead of time?
It is best to assemble the nachos just before baking. However, you can prep all the ingredients (cook the meat, chop the veggies) up to 24 hours in advance and store them in the fridge.
2. How do I keep my nachos from getting soggy?
The key is layering. Don’t pile chips too high, ensure even cheese distribution, and add wet ingredients (like salsa or sour cream) only after baking.
3. What is the best cheese for nachos?
While pre-shredded blends are convenient, block cheddar cheese that you grate yourself melts better and has a superior flavor. A mix of Monterey Jack and Cheddar is the classic choice.
4. Can I make this vegetarian?
Absolutely! Swap the ground beef for black beans, pinto beans, or a meat substitute like lentils or seasoned tofu crumbles.
5. How long do leftovers last?
Stored in an airtight container in the refrigerator, leftover nachos will stay fresh for 2-3 days. Reheat them in the oven to restore crispiness.
